Advertisement
Quick Links
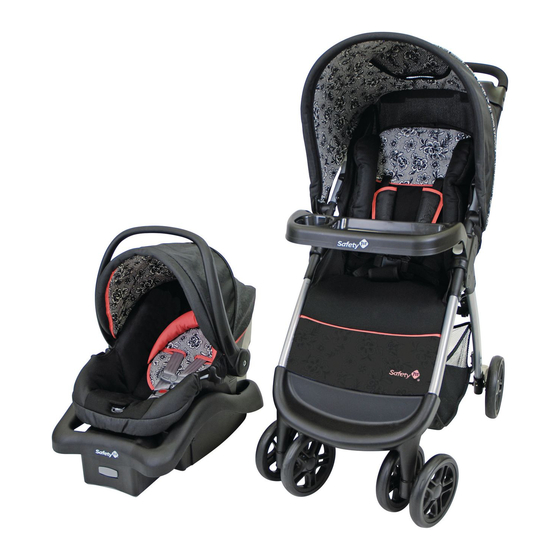
Sistema de viaje "Amble Quad"
Styles may vary.
Los estilos varían.
Spanish Guide Included
Incluye guía en español
Amble Quad Travel System
Model/Modelo TR321, TR324
User Guide/ Guía del usuario
Questions? Comments?
Missing Parts? Contact us:
www.djgusa.com (800) 544-1108
Made in CHINA. Hecho en CHINA.
Los estilos y los colores pueden variar.
Distributed by (distribuido por)
2525 State St. Columbus, IN 47201-7494
873 Hodge, St. Laurent, QC H4N 2B1
www.safety1st.com
©2014 Dorel Juvenile.
www.safety1st.com
Styles and colors may vary.
Dorel Juvenile Group, Inc.,
Dorel Distribution Canada,
07/03/14 4358-6593
Advertisement

Related Manuals for Safety 1st Amble Quad TR321


Summary of Contents for Safety 1st Amble Quad TR321
- Page 1 Amble Quad Travel System Sistema de viaje “Amble Quad” Model/Modelo TR321, TR324 User Guide/ Guía del usuario Questions? Comments? Missing Parts? Contact us: www.safety1st.com Styles may vary. Los estilos varían. ©2014 Dorel Juvenile. www.djgusa.com (800) 544-1108 www.safety1st.com Made in CHINA. Hecho en CHINA. Styles and colors may vary.
- Page 2 WARNING FOR THE SAFETY OF YOUR CHILD, PLEASE READ THE FOLLOWING WARNINGS AND ASSEMBLY INSTRUCTIONS AND KEEP FOR FUTURE REFERENCE. • Adult assembly required. CAUTION: Keep small parts away from children during assembly. • NEVER LEAVE CHILD UNATTENDED. ALWAYS keep child in view when in stroller.
- Page 3 ADVERTENCIA POR LA SEGURIDAD DE SU HIJO, POR FAVOR LEA LAS SIGUIENTES ADVERTENCIAS E INSTRUCCIONES DE ENSAMBLE, Y GUÁRDELAS PARA CONSULTA FUTURA. • PRECAUCIÓN: El armado debe ser realizado por un adulto. Durante el armado, mantenga las piezas pequeñas fuera del alcance de los niños. •...
- Page 4 Parts / Lista de piezas Parent’s tray Charola para los padres Child’s tray Charola para el niño 2 Front wheels assemblies 2 Ensamble de ruedas frontales Rear axle Eje trasero 2 Rear wheels 2 Ruedas traseras 4 Washers 4 Arandelas 2 Cotter pins 2 Pasadores de chaveta 2 Hubcaps...
- Page 5 Assembly / Armado 1. Unfold Stroller Unlatch stroller lock (Figure 1). Lift handlebar (Figure 1a). Stroller will click when completely opened and locked. 1. Abra la carriola Destrabe el seguro de la carriola (Figura 1). Levante el manubrio (Figura 1a). Cuando la carriola esté...
- Page 6 Assembly / Armado NOTE: Hardware for rear wheel assembly is located on axle. 3. Install Rear Wheels Remove cotter pin Helpful Hint: For ease and one washer from axle leaving one washer on the axle (Figure 3). With the spokes facing of removal and assembly of out, slide a wheel onto the axle.
-
Page 7: To Adjust Seat Position
To Use / Para Uso Tip: Child tray can be opened and closed without removing. 1. To Use Child’s Tray To open: Squeeze button (Figure 1) and rotate tray all the way over (Figure 1a). To remove completely, squeeze both buttons and pull tray off posts. -
Page 8: Restraint System
To Use / Para Uso WARNING • NEVER LEAVE CHILD UNATTENDED. ALWAYS keep child in view when in stroller. • AVOID SERIOUS INJURY from falling or sliding out. ALWAYS use seat belt. Check frequently to make sure it is secure. •... - Page 9 To Use / Para Uso WARNING • For proper installation of the restraint system, make sure both anchors lay flat against the back board. • NEVER use stroller without BOTH restraint and crotch straps. ADVERTENCIA • Para la instalación correcta del sistema de correas, asegúrese de que ambos anclajes queden planos contra la tablilla del respaldo.
- Page 10 To Use / Para Uso To Install Infant Car Seat / Para instalar el autoasiento de bebé WARNING To avoid serious injury: ® • Use ONLY Cosco Light ‘n Comfy, Comfy Carry, Safety 1 Comfy Carry Elite, ® ® Safety 1 Light ‘n Comfy Elite, onBoard™, onBoard™...
- Page 11 To Use / Para Uso continued / continuación Una vez instalado correctamente, el When properly installed, car seat will come to rest on child tray and stroller frame autoasiento descansará sobre charola para el (Figure 7c). niño y el armazón de la carriola (Figura 7c). Tire del autoasiento hacia arriba para Pull up on car seat to make sure it is se- asegurarse de que esté...
- Page 12 Stroller Care and Maintenance / Cuidado y mantenimiento de la carriola • Spot clean pad, restraint and crotch straps with cold water and mild soap. Air dry. • Periodically check for loose screws, worn parts, torn material or loose stitching. Tighten or replace parts as needed.
Need help?
Do you have a question about the Amble Quad TR321 and is the answer not in the manual?
Questions and answers