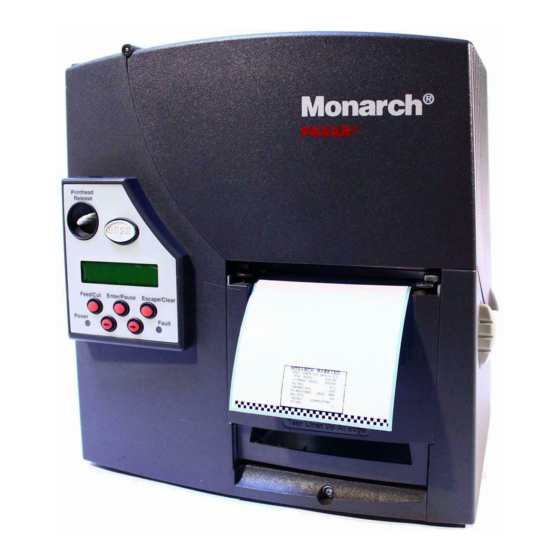
Paxar Monarch 9825 Quick Reference
Paxar corporation quick reference printer monarch 9825
Hide thumbs
Also See for Monarch 9825:
- Operating instructions manual (80 pages) ,
- Reference manual (294 pages) ,
- Operator's handbook manual (106 pages)
Summary of Contents for Paxar Monarch 9825
- Page 1 Monarch 9825 Printer TC9825QR Rev. AA 2/02 ©2002 Paxar Corporation. All rights reserved.
-
Page 2: Using Control Panel
Set the communication values on the printer to match those at the host. Turn on the printer. Press ( I ) to turn on and ( O ) to turn off the printer. U s i n g t h e C o n t r o l P a n e l The control panel has a two-line LCD display, 2 status lights, and five buttons. -
Page 3: Loading Labels Or Tags
Place the roll of supply on the supply holder. For labels, the supply unrolls from the top or the bottom. For tags, make sure the supply unrolls from the bottom, because tag rolls are wound face in. Do not pick up the printer by the supply holder. - Page 4 Push down on the supply lever to unlock the supply guides. Lay the label strip across the supply guide so that a few inches extend past the front of the printer. Tuck the supply under the nibs and in between the die cut sensor.
-
Page 5: Loading Labels For The Optional Peel Mode
Press Feed/Cut to position the supply under the printhead. Loading Labels for the Optional Peel Mode Peel mode must be purchased separately. In peel mode, the printer separates the backing paper from the label. The next label is not printed until the completed one is removed from the printer. -
Page 6: Adjusting Wide/Narrow Knobs
When removing the backing paper, pull up across the saw-toothed tear edge. Make sure the backing paper tears at the edge. Close the printer's cover. Press Feed/Cut to position the supply under the printhead. A d j u s t i n g t h e W i d e / N a r r o w K n o b s You may need to adjust the two wide/narrow knobs according to the width of your supply. -
Page 7: Loading Ribbon
L o a d i n g R i b b o n Open the cover. Unlock the printhead by turning the retaining latch. Lift printhead assembly using the printhead tab until the assembly locks into place. Push the deflector tab down. Slide the extra ribbon core on the take-up reel as far as it will go with the "Monarch This End Out"... -
Page 8: Printing
C l e a r i n g J a m s When you are printing and a jam occurs, the Fault light on the printer's front panel blinks. Turn off the printer and open the cover and printhead assembly. - Page 9 Turn off the printer and open the cover and printhead assembly. Remove the label roll and ribbon (when cleaning the printhead). Press down on the exit cover tabs to open the exit cover on the front of the printer. Clean the platen roller with a cloth moistened with water.
-
Page 10: Troubleshooting
Blank labels print or 750 series errors. Action Turn off the printer, wait fifteen seconds and then turn on the printer. Call Technical Support if the error message reappears. Check supply, check ribbon, send a corrected format and batch packet. -
Page 11: Common Errors
The printer sensed a calibration of different-sized black marks. Make sure the correct supply type is loaded. Printer has not sensed a supply mark when expected or is out of supplies. Press Escape/Clear and try to continue printing. Change supply. - Page 12 édicte par le ministère des Communications du Canada. Trademarks MONARCH is a registered trademark of Monarch Marking Systems, Inc. 9825 is a trademark of Monarch Marking Systems, Inc. Paxar is a trademark of Paxar Corporation. Paxar Corporati on 170 Monarch Lane...


Need help?
Do you have a question about the Monarch 9825 and is the answer not in the manual?
Questions and answers