Table of Contents
Advertisement
Advertisement
Table of Contents

Related Manuals for Midland G9


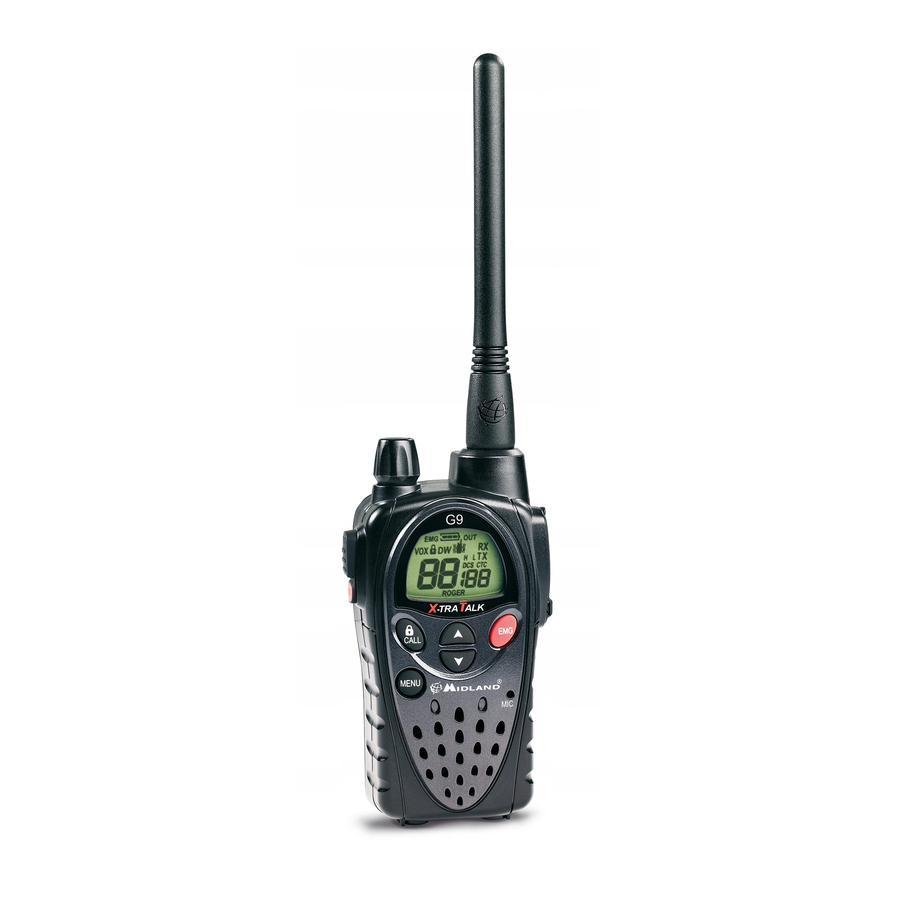
Summary of Contents for Midland G9
- Page 1 Midland G9/G9E Plus ” Instruction guide P M R 446+ L P D / P M R 4 4 6 |...
-
Page 2: Table Of Contents
Index Content Coverage/range Batteries and battery compartment Warnings Features Main characteristics Versions Description of the controls and functions Display Radio Operations Turning on/off Selecting the PMR466 or LDP band Channel selection Displaying the channel/sub audio tone Transmission and reception Transmitting TOT Setting VOLUME adjustment “CALL”... - Page 3 ROGER BEEP (End transmission tone) Keypad Beep Emergency Call function Activating / Deactiving the Emergency feature Changing the emergency channel Manual Out of range function Dual Watch Automatic Out-of-Range Display illumination Power save Battery recharge Technical specifications Midland G9/G9E Plus instruction guide...
-
Page 4: Content
European countries. Combining the latest technology in radio communication along with a stur- dy mechanical frame, the Midland G9 Plus makes the ideal and effective solution for the professionals who need to stay in touch with colleagues in construction sites and buildings. -
Page 5: Batteries And Battery Compartment
Do not use detergents, alcohol, solvents, or abrasives to clean the equipment. Just use a soft, clean cloth. If the radio is very dirty, slightly dampen the cloth with a mixture of water and a neutral soap. Midland G9/G9E Plus instruction guide... -
Page 6: Features
Emergency messages on the dedicated channel. Simply keep pressed the EMG button for 3 seconds and an emergency CALL will be sent to all the G9 Plus within the range: they will be automatically tuned on the “EC” channel (Emer- gency Channel). -
Page 7: Main Characteristics
Power supply: 4 AA NiMH rechargeable batteries (or an optional 800 mAh NiMH battery pack) • 2pin accessory plug Versions • G9 Plus Dual band (PMR446/LPD) 24 PMR446 channels (8+16 pre-set)/69 LPD channels • G9E Plus (PMR446 only) 24 PMR446 channels (8+16 pre-set) Midland G9/G9E Plus instruction guide... -
Page 8: Description Of The Controls And Functions
Description of the controls and functions Display Midland G9/G9E Plus instruction guide... - Page 9 Your Midland G9 Plus keeps you constantly updated about its operatio- nal status through a Liquid Crystal Display (LCD). The symbols and their corresponding parameters that may appear, according to the operational status of the device, are described as follows:...
-
Page 10: Radio
Radio CALL MENU 10 | Midland G9/G9E Plus instruction guide... - Page 11 To activate the Emergency and the Manual Out of range functions. 23. ▲▼ buttons To change the setting within the MENU 24. Built-in Here is where sound is picked up by the micro- microphone phone. Midland G9/G9E Plus instruction guide | 11...
-
Page 12: Operations
Selecting the PMR466 or LDP band (only for the dual band version) Midland G9 Plus (Dual band) is pre-set at factory on the PMR446 band. To switch to the LPD band, keep pressed the MENU button until the LPD shows channel ‘1’ . -
Page 13: Transmission And Reception
When the Emergency function is enabled (EMG blinks on the display) keep pressed EMG for 3 seconds and you send an emergency CALL to the other G9 Plus within your range. The Emergency function is activated by default. Midland G9/G9E Plus instruction guide... -
Page 14: Mon (Monitor) Function / Squelch
Press ▲ for 2 seconds: the scanning will start. To stop it, push PTT: the Midland G9 Plus will go back to the channel from which the scanning originally started. You can activate the scanning feature only if the “Emergency” function is disabled. -
Page 15: Channel Selection
Activating the CTCSS tones: Turn on the unit. Select the desired channel by pushing the MENU button and the ▲▼ channels. Press the MENU button till the display shows CTC and the CTCSS Midland G9/G9E Plus instruction guide | 15... -
Page 16: Hi/Low Power Selection (Only In Pmr446 Band)
If your radio has to operate within a short range, you can select the low power and therefore extend the battery life. On LPD channels (only for G9 Plus Dual band version) the output power 16 | Midland G9/G9E Plus instruction guide... -
Page 17: Vox Function
Output power is “H-high”; so it is really recommended to change this pa- rameter to “L-low”. VOX function Midland G9 Plus enables hands free conversations through the VOX fun- ction: just speak in the direction of the microphone and the communica- tion will be automatically activated. -
Page 18: Vibra-Call Function
Push PTT [11] to confirm or wait for 5 seconds. CALL feature Midland G9 Plus can send 5 different CALL tones. To send this audio si- gnal to other users, press the CALL/ key. To select the CALL tones: Press MENU, until the display shows “CA”... -
Page 19: Emergency Call Function
When the radio is operating on the Emergency channel (EC displayed), all the buttons except PTT and CALL are disabled. The G9 Plus will return to the channel in use after one minute from the last transmission. To return immediately, push EMG. Now you can use all the MENU fun- ctions. -
Page 20: Manual Out Of Range Function
By pushing EMG twice, you will send a request of acknowledge to the other G9 Plus operating within your range and tuned on the same chan- nel. If any radio replies, it means that it’s within your range and you will receive an audio tone for confirmation. -
Page 21: Automatic Out-Of-Range
This function can be activated only if the “Emergency” feature is disabled. Automatic Out-of-Range By setting this mode a pair of G9 Plus is transmitting every 30 seconds a data control code. As soon as the contact between both units is getting lost and one radio doesn’t receive this data control code twice consecuti-... -
Page 22: Battery Recharge
Dispose of the batteries according to the procedures set out by local regulations. Do not mix old and new batteries or batteries of different types or batteri- es which have been used in different manners. 22 | Midland G9/G9E Plus instruction guide... -
Page 23: Technical Specifications
1st :21,4 MHz ; 2nd:450 KHz Jack for ext.mike and recharge stereo 2,5 mm Jack for ext. speaker mono 3.5 mm Maximum transmission 6 minutes, equivalent to a duty cycle time in an hour of 10% Midland G9/G9E Plus instruction guide | 23... - Page 24 Specifications are subject to change without notice. Hereby, CTE International declares that this G9 Plus is in compliance with the essential requirements and other relevant provisions of Directive 1999/5/EC. WARNING: Direct plug-in ac/dc power supply must be used for discon- necting the transceiver from the mains;...
- Page 25 Midland G9/G9E Plus instruction guide | 25...
- Page 26 C/Cobalt, 48 - 08940 Cornellà de Llobregat (Barcelona - España) Tel: +34 902 384878 Fax: +34 933 779155 www.midland.es El uso de este equipo puede estar sujeto a la obtención de la correspondiente autori- zación administrativa. Lea atentamente las instrucciones antes de usar el equipo. si el producto contiene pilas o baterías no las tire al fuego ni las disperse en el ambiente...
Need help?
Do you have a question about the G9 and is the answer not in the manual?
Questions and answers