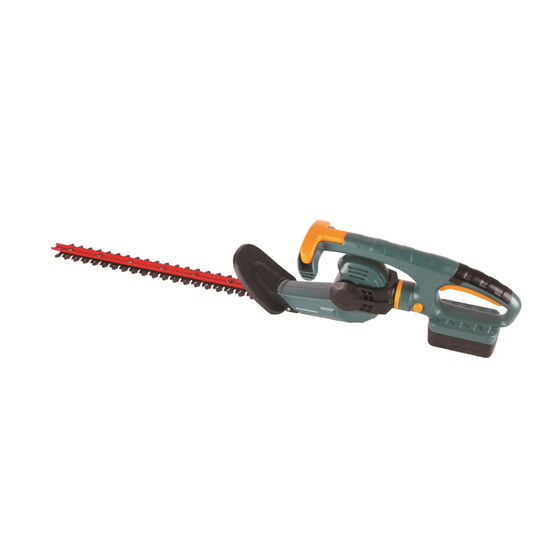
Summary of Contents for Eckman ekht36
- Page 1 36 V LI-ION MULTI-ANGLE HEDGE TRIMMER MODEL EKHT36 INSTRUCTION MANUAL PLEASE READ AND SAVE THE INSTRUCTION MANUAL FOR FUTURE REFERENCE Any questions please call the Eckman helpline on:0844 441 3011 or go to www.eckman.co.uk...
-
Page 2: Table Of Contents
CONTENTS TECHNICAL DATA..............3 INTENDED USE...............3 SAFETY INSTRUCTIONS...........4-8 PARTS IDENTIFICATION..........8-9 ASSEMBLY................9 CHARGING THE BATTERY..........10-11 OPERATION................12 HANDLE ADJUSTMENT..........12-13 MAINTENANCE..............13 GUARANTEE................14... -
Page 3: Technical Data
TECHNICAL DATA Model No./Factory No. EKHT36/ET1305 Voltage 36V DC Blade Double -action and two sided Blade strokes(no load) 1400 /min Blade length 510mm Blade gap 11mm Blade brake time <1S Blade material 65 Mn Distance of teeth 14mm Battery type... -
Page 4: Safety Instructions
SAFETY INSTRUCTIONS Know your power tool · Warning! Carefully observe the instructions in this manual to reduce the risk of personal injury or material damage. · Read all of this manual carefully before operation. · Before operating, make sure that you know how to switch the machine off in an emergency . - Page 5 e) Do not overreach. Keep proper footing and balance at all times. This enables better control of the power tool in unexpected situations. f) Dress properly. Do not wear loose clothing or jewellery. Keep your hair, clothing and gloves away from moving parts. Loose clothes, jewellery or long hair can be caught in moving parts.
- Page 6 may cause burns or a fire. e) Under abusive conditions, liquid may be ejected from the battery; avoid contact. If contact accidentally occurs, flush with water. If liquid contacts eyes, additionally seek medical help. Liquid ejected from the battery may cause irritation burns.
- Page 7 the cord away from heat , oil and sharp edges . · Never attempt to charge non-rechargeable batteries. · The cord of charger is not changeable, do not continue to use if the cord is damaged. · Do not expose to water or rain, do not use in wet condition. ·...
-
Page 8: Parts Identification
· Take care to avoid hard objects (e.g. metal wire, railings)when trimming. Should you accidentally hit any such object immediately switch the tool off and check for any damage. · Should the tool start to vibrate abnormally, immediately switch it off and check for any damage. -
Page 9: Assembly
4.Guard 5.Battery pack 6.Charger 7.Charge station 8.Blade sheath 9.Charging indicator 10. Adjustment knob ASSEMBLY Warning! Before assembly, remove the battery pack from the tool. Fig.B Fitting and removing the battery (Fig.B) Your hedge trimmer is equipped with a battery pack, which powers the unit. To fit battery pack 1. - Page 10 sufficient power on jobs that were easily done before. When charging the battery for the first time, or after prolonged storage, it will only accept an 80% charge. After several charge and discharge cycles, the battery will attain full capacity. The battery may become warm while charging, this is normal and does not indicate a problem .
-
Page 11: Operation
a normal condition, and does not indicate a problem. (2). Use the charger in normal room temperatures whenever possible. To prevent overheating, do not cover the charger and do not charge battery packs in direct sunlight or near heat sources. (3). -
Page 12: Handle Adjustment
Fig.D For your safety, this tool is equipped with a double switch system. This system prevents starting the tool inadvertently and will only allow operation while holding the tool with both hands. Switching on · Squeeze the front handle switch (1). ·... -
Page 13: Maintenance
Hold the handle 7 tightly, slide the lock button 1 up and then turn the cutter head 6 to the desired position. Release the lock button 5 again and check whether the cutter head is locked in place. Note: The trimmer head can be adjusted in six positions (-45°、-22.5°、0°、22.5°、 45°、67.5°) Fig. -
Page 14: Guarantee
GUARANTEE This product is guaranteed against faulty workmanship for a period of 24 months from date of purchase. Your guarantee will be invalidated if the machine is modified in any way, used for purposes outside the parameters of this instruction manual or willfully damaged or abused.


Need help?
Do you have a question about the ekht36 and is the answer not in the manual?
Questions and answers