
Related Manuals for Dru G31 Propane


Summary of Contents for Dru G31 Propane
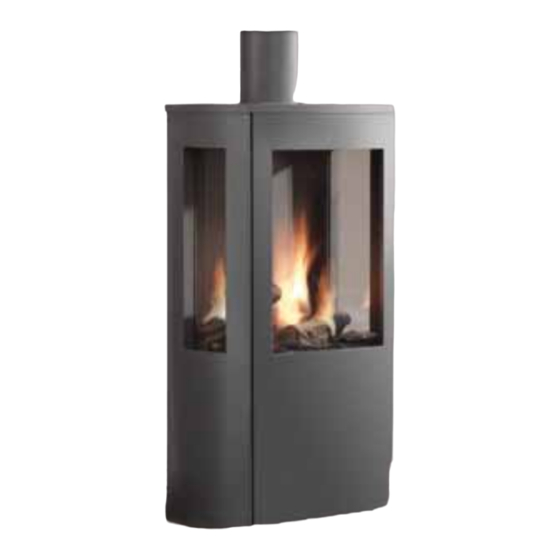
- Page 1 Trio G31 Propane Instructions for installation (GB / IE) Please retain this document carefully...
-
Page 2: Table Of Contents
Appendix 4 Figures Preface DRU, a manufacturer of gas heating appliances, develops and produces products that comply with the highest qua- lity, performance and safety requirements. This guarantees that the user will be able to enjoy using his product for many years to come. -
Page 3: Introduction
The appliance is supplied with a wireless remote control that works on batteries. CE Declaration We hereby declare, that the design and construction method of the gas-fired heating appliance issued by Dru complies with the essential requirements of the gas appliance directive. -
Page 4: Instructions
Caution Heat-resistant glass is a ceramic material. Very small irregularities in the glass pane(s) cannot be avoided, but are wit- hin the required quality standards. !Caution Keep plastic bags away from children. Contact DRU Service if you do not have all the parts after you finished removing the packaging; ➠ Dispose packaging in accordance with local regulations. -
Page 5: Flue Gas Discharge / Combustion Air Supply System
If necessary, you can also use an existing discharge channel (see section 6.5.4). Caution - Only use the concentric system supplied by DRU (Ø100 / Ø150 mm). This system was tested in combination with the appliance; DRU cannot guarantee a proper and safe operation of other systems and cannot accept liability for these systems;... - Page 6 t r i o i n s t r u c t i o n f o r i n s ta l l at i o n !Caution - Make sure that the right insertion length is maintained; - Place the wall duct with the groove/folded seam at the top; - Make sure the horizontal concentric pipe pieces are sloping towards the wall duct, in order to prevent rain water from entering.
- Page 7 t r i o i n s t r u c t i o n f o r i n s ta l l at i o n Table 1: Relation construction concentric system / setting appliance total number of total number of meters vertical and/or sloping pipe length meters horizontal ↓5...
-
Page 8: Connecting Gas
The following requirements apply when connecting to an existing chimney flue: - only allowed when used in combination with the special DRU chimney installation set. The installation regulation is also supplied; - the dimensions should be at least 150 x 150 mm;... -
Page 9: Panes
t r i o i n s t r u c t i o n f o r i n s ta l l at i o n 6.8.1 Wood set The wood set consists of vermiculite (see Appendix 4, Fig. 7), chips (see Appendix 4, Fig. -
Page 10: Wireless Remote Control
t r i o i n s t r u c t i o n f o r i n s ta l l at i o n Wireless remote control The appliance is supplied with a wireless remote control. Ignition, controlling the flame height and switching off are performed by a remote control that operates a receiver in the control box. -
Page 11: Alternative Operation
4, Fig. 19). For connecting an external control unit, you will need a “Domotics connection cable for GV60”. Consult DRU’s service website. The following contacts are possible: - Ignition: connect both contacts 1 + 3, for one second (if there is a 2nd thermocouple, the appliance should burn at full power for at least 20 sec. -
Page 12: Flame Picture
t r i o i n s t r u c t i o n f o r i n s ta l l at i o n 8.3.1 First ignition of the appliance after installation or adjustments !Caution After installation, or after work has been performed, you should ignite the appliance for the first time without the glass window. -
Page 13: Delivery
t r i o i n s t r u c t i o n f o r i n s ta l l at i o n Caution - If necessary, place back the wood set correctly; see section 6.8. Inspect the flue gas discharge / combustion air supply system;... -
Page 14: Malfunctions
t r i o i n s t r u c t i o n f o r i n s ta l l at i o n 11. Malfunctions Fires with electronic ignition, fault finding: Ignition and burning Start 2.10 Do(es) main burner(s) 2.06 Pilot can be lit. - Page 15 Lack of combustion air. Check: two/three sided appliances flue system permissible; (no slots allowed). proper flue terminal used, make should be ‘DRu’; Flames: too high terminal correctly sited on Line pressure. roof or wall relative to Burner pressure.
- Page 16 t r i o i n s t r u c t i o n f o r i n s ta l l at i o n Malfunction search diagram atmospheric gas-fired heating appliance with electronic ignition: Starting up cycle. Start 1.05 1.01...
-
Page 17: Appendix 1 Parts Included With The Delivery
t r i o i n s t r u c t i o n f o r i n s ta l l at i o n Appendix 1 Parts included with the delivery In the following table you can find the parts that are supplied with the appliance. Table 5: Parts included with the delivery Part Quantity... -
Page 18: Appendix 4 Figures
t r i o i n s t r u c t i o n f o r i n s ta l l at i o n Appendix 4 Figures 1x90° 38c-744g min. 40mm Fig. 1 Fig. 2 Fig. 3 38c-1220 Fig. - Page 19 t r i o i n s t r u c t i o n f o r i n s ta l l at i o n Fig. 6 Fig. 7 Fig. 8 Fig. 9...
- Page 20 t r i o i n s t r u c t i o n f o r i n s ta l l at i o n Fig. 10 Fig. 11 Fig. 12 Fig. 13...
- Page 21 t r i o i n s t r u c t i o n f o r i n s ta l l at i o n Fig. 14 Fig. 15 Fig. 16 Fig. 17 Fig. 18...
- Page 22 t r i o i n s t r u c t i o n f o r i n s ta l l at i o n Fig. 19 Fig. 20 38p-0181 38C-2031/1 Fig. 21 Fig. 22 38p-0182 38p-0179 Fig.
- Page 23 t r i o i n s t r u c t i o n f o r i n s ta l l at i o n Notes ........................................... . .
- Page 24 DRu Verwarming B.V. The Netherlands Postbus 1021, NL-6920 BA Duiven Ratio 8, NL-6921 RW Duiven...
Need help?
Do you have a question about the G31 Propane and is the answer not in the manual?
Questions and answers