Advertisement
Quick Links
Download this manual
See also:
Quick Manual
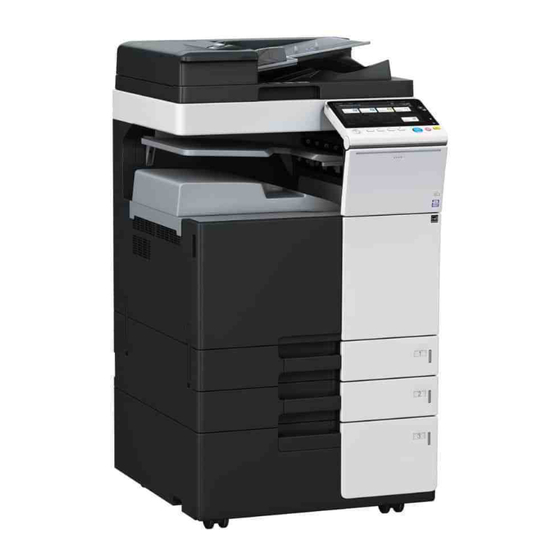
d-Color MF364/d-Color MF304
© Olivetti S.p.A
<Important>
Be sure to correctly follow the procedures in order as explained in this Installation Manual.
If you do not follow the procedure in order, the image trouble may occur.
1. Outline of installation procedures
AU-102
AU-201S
DF-704
FS-533
PK-519
When installing the main body and associated options as a system, follow the order shown on the upper.
Caution:
• Lifting the main body in an awkward position or transporting it in a poorly balanced position could result in
personal injury. When transporting the main body, assign an adequate number of persons to the job and
ensure that each person can take a good position of not being excessively loaded.
(mass: approx. 85 kg (187-3/8 lb))
Note:
• For the detailed installation procedures for each option, follow the instructions given in the corresponding
installation manual and perform the procedures correctly.
• When placing the main body on the floor, make sure to use the paper feed cabinet to secure the perfor-
mance and the quality of the product.
• To use this machine, install the dual scan document feeder, the reverse automatic document feeder, or
the original cover.
• Once the Power Switch is turned ON, do not turn OFF it until the installation work has been completed.
Y117020-9
INSTALLATION MANUAL
HT-509
TK-101
PC-110
PC-210
KP-101
Machine
KH-102
UK-212
Electronic system options
MK-735
WT-506
SP-501
DF-629
CU-101
JS-506
FS-534
PK-520
Applied Machines: d-Color MF364/d-Color MF304
MK-734
PC-410
LU-302
Electronic system options
MK-730
OC-511
MK-745
RU-513
FS-534SD
E-1
EK-609*
EK-608*
HD-524*
UK-211*
SC-508*
FK-514*
IC-416
VI-508
*: No particular order in
installation procedures.
Installation Manual
Advertisement

Related Manuals for Olivetti d-Color MF364


Summary of Contents for Olivetti d-Color MF364
- Page 1 MF364/d-Color MF304 INSTALLATION MANUAL Applied Machines: d-Color MF364/d-Color MF304 © Olivetti S.p.A <Important> Be sure to correctly follow the procedures in order as explained in this Installation Manual. If you do not follow the procedure in order, the image trouble may occur.
- Page 2 2. Installation space (unit: mm (inch)) 4. Notes on using touch panel d-COLOR MF364 + DF-704 + PC-210 + FS-534 Be sure to instruct users on the following points. + MK-730 + LU-302 • This machine uses a capacitive touch panel.
- Page 3 6. Installing the main body and the Paper Feed Cabinet (1) Take the main body and the Paper Feed Cabinet If a power cord is not supplied, use only out from its packaging. the power cord that meets the following conditions.
- Page 4 7. Removing protective tape, packing and (2) Open the right door and remove the protective sheet and locking materials. other shipping materials Note: (1) Remove the protective tape and the protective • After removing the locking materials, make sure materials. that the transfer roller assy is secured in place.
- Page 5 (6) Slide out the tray 2 and remove the tray locking (10) Remove the protective sheets. materials. (11) Open the front door. (7) Remove the protective tapes from the inside of the tray 2 and remove accessory parts. (12) Remove the protective tape. (8) Remove the locking screws.
- Page 6 (13) Remove the protective tape from the develop- (16) Slightly slide the drum unit (K) out and remove ing units. the protective tape Note: Do not remove the tape A in this procedure. (17) Slide the drum unit (K) into the machine. (18) Lock the drum unit (K) with the lever.
- Page 7 8. Installing the toner cartridge (3) Push the toner cartridge all the way in and rotate it clockwise to lock it. Note: Note: Since cartridge is not supplied with the machine, Make sure that the toner cartridge is pushed all the purchase toner cartridge (of different colors) sepa- way in.
- Page 8 (2) Set the stylus pen in the place shown in the illus- (5) Attach the supplied duct cover. tration. (3) Attach the supplied cord clamp to the scanner 11. Connecting the power cord rear cover of the machine. (One supplied screw (1) Connect the power cord.
- Page 9 (3) Plug the power cord into the power outlet. 15. Unit change Note: This function allows the user to select the type of message that will appear when the replacement time arrives for each of the different units. (1) Select the Unit Change function as follows: System 2 →...
- Page 10 17. Configuring other options 18. Connecting the network cable (1) If any of the following options are installed, refer (1) Connect the main body and networking equip- to the “Configuration procedures” of the installa- ment (HUB) using the network cable. tion manual for each option and configure the Note: option(s).
- Page 11 <When using the Paper Feed Cabinet PC-410/PC- d) Route the cable through the notch and attach 210/PC-110> the rear right cover. (Two screws) a) Remove the rear right cover from the paper feed cabinet. (Two screws) 19. Network setting b) Remove the knockout from the rear right cover using nippers.
- Page 12 21. Adjusting each option 23. Installing the user’s guide holder If any of the following options are installed, adjust Install the user’s guide holder. each option as necessary. (Refer to the “Adjustment procedures” of the installation manual for each option.) •...
- Page 13 OC-511 Original Cover INSTALLATION MANUAL 1. Accessory parts 2. Installation procedures (1) Remove the two knockouts using nippers or a Name Shape Q’ty similar tool. 1. Original cover 2. Hinge cover (right) 3. Hinge cover (left) 4. Screw (2) Attach the supplied hinge cover (right) and hinge cover (left).
Need help?
Do you have a question about the d-Color MF364 and is the answer not in the manual?
Questions and answers