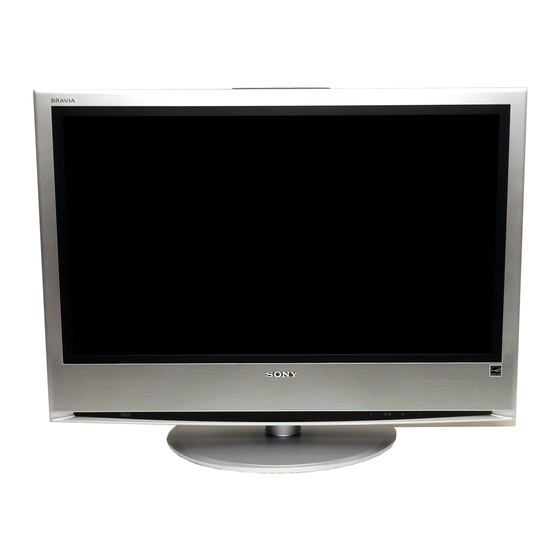
Sony KLV-S40A10 Manual
Installing the wall-mount bracket
Hide thumbs
Also See for KLV-S40A10:
- Operating instructions manual (68 pages) ,
- Quick setup manual (2 pages) ,
- Service manual (89 pages)
Advertisement
Table of Contents
- 1 Before Installation
- 2 Step 1: Check the Parts Required for the Installation
- 3 Step 2: Decide on the Installation Location
- 4 Step 3: Install the Plate Unit on the Wall
- 5 Prepare for the Installation of the Display Unit
- 6 Step 4: Install the Display Unit
- 7 Display Installing Dimensions Table
- Download this manual
See also:
Service Manual
Advertisement
Table of Contents

Summary of Contents for Sony KLV-S40A10
- Page 1 KLV-S40A10 Installing the Wall-Mount Bracket © 2005 Sony Corporation 2-651-191-11(2)
- Page 2 Sony is not liable for any damages or injury caused by mishandling or improper Change the position of the Mounting Hook Unit installation. Your Statutory Rights (if any) are supported shafts.
- Page 3 Prepare for the installation of 3 Attach the four hooks with the four screws the Display Unit (+PSW5 × L16) (supplied wih SU-PW2). Before removing the Table-Top Stand, disconnect all the cables from the Display Unit. 1 Place the Display Unit, with its screen facing down, on a stable, cloth-covered work surface, at least 20 cm off the floor.
- Page 4 (CT)
- Page 5 (CT)
- Page 6 (AR) (AR)
- Page 7 (AR) (AR)
- Page 8 Unit: mm/ Weight/ Mounting angle (α°)/ (× 4)* 0° 5° 26.5 kg KLV-S40A10 310.5 10° (106 kg) 15° 20° * The wall must be strong enough to support at least four times the weight of the display that you are installing./...


Need help?
Do you have a question about the KLV-S40A10 and is the answer not in the manual?
Questions and answers