Table of Contents
Advertisement
Quick Links
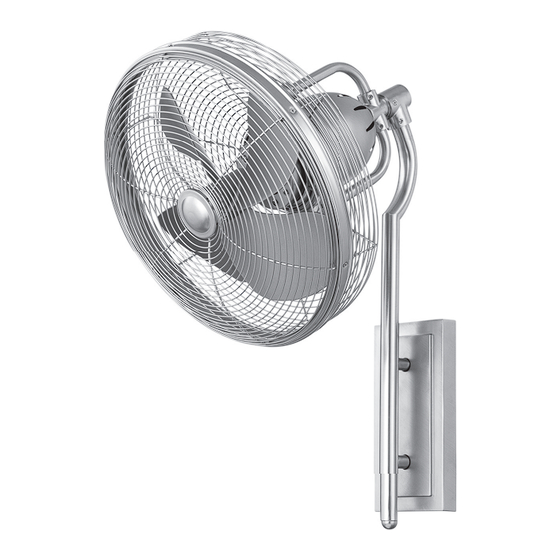
THE VERANDA WALL MOUNTED FAN
INSTALLATION INSTRUCTIONS
Please read and save these instructions
These instructions are to be used in
the installation of the following
QUORUM INTERNATIONAL fans...
The Veranda
© 2014 Quorum International. All Rights Reserved.
P.O. Box 961008 • Fort Worth, TX 76161 • (817) 626-5483 • FAX (817) 626-5540
IO220-01/14
Advertisement
Table of Contents

Related Manuals for QUORUM INTERNATIONAL The Veranda


Summary of Contents for QUORUM INTERNATIONAL The Veranda
- Page 1 These instructions are to be used in the installation of the following QUORUM INTERNATIONAL fans... The Veranda © 2014 Quorum International. All Rights Reserved. P.O. Box 961008 • Fort Worth, TX 76161 • (817) 626-5483 • FAX (817) 626-5540 IO220-01/14...
- Page 2 QUORUM'S UNIQUE LIMITED LIFETIME WARRANTY This warranty gives you specific legal technical skill, competence, or experience superior product if the defective unit is of the user. rights, and you may also have other rights returned prepaid to us. which vary from state to state. 8.
- Page 3 1. SAFETY RULES Model #92413-xx: 14.08 lbs 1. To avoid possible electric shock, turn 5. Before applying power, visually 8. To reduce the risk of personal injury, off the electricity at the main fuse box or re-inspect the installation. Make sure that install the supplementary mounting means circuit panel before you begin the fan all guards and protective devices are...
- Page 4 3. MOUNTING OPTIONS 1. Disconnect the power by removing fuses WARNING: TO REDUCE THE RISK OF ELECTRIC SHOCK, FIRE, OR PERSONAL INJURY, or turning off circuit breakers. MOUNT THE FAN ONLY TO AN OUTLET MARKED ACCEPTABLE FOR FAN SUPPORT. 2. If there is an existing wall junction box, Fig.
- Page 5 4. MOUNTING/INSTALLATION OF THE FAN WARNING – Turn off the power. Fig. 2 Fig. 5 1. Remove the two fan base screws that Wall mounting Fan base screws pre-installed on the top of the wall plate screws Wire mounting plate, keep it for future use. connectors 2.
- Page 6 5. ELECTRICAL CONNECTIONS REMEMBER -Turn off the power! ● Connect the black/white wire (labeled Use the wire nuts supplied with your fan Use ONLY wall controls approved by “AC IN L”) from the wall control to the when making connections. Secure the Quorum.
- Page 7 6. FAN OPERATION AND CARE Restore power to the ceiling fan and test 3. Clean you fan periodically using only Fig. 8 for proper operation. a cloth dampened with a mild detergent solution for all hardware - never use A. The fan 3-speed control knob is used to solvents.
- Page 8 7. TROUBLESHOOTING FAN WILL NOT START 3. Use of a standard light rheostat or an 1. Check that the electricity has been REPLACEMENT PARTS AVAILABLE unapproved fan wall control to control the turned on at the circuit breaker which had fan speed will always cause an annoying A full range of genuine replacement spare parts are available at reasonable...
Need help?
Do you have a question about the The Veranda and is the answer not in the manual?
Questions and answers
Is there a control to adjust the fans (Veranda) oscillation. It currently oscillates to far to the left ( spending time blowing on a window) and I would like to adjust so that it moves further to the right ( Less time on the window, more time in the open space). Don’t have the operating manual. Did not see a way to adjust here. Any guidance appreciated.