
Related Manuals for Arlec EALC070


Summary of Contents for Arlec EALC070
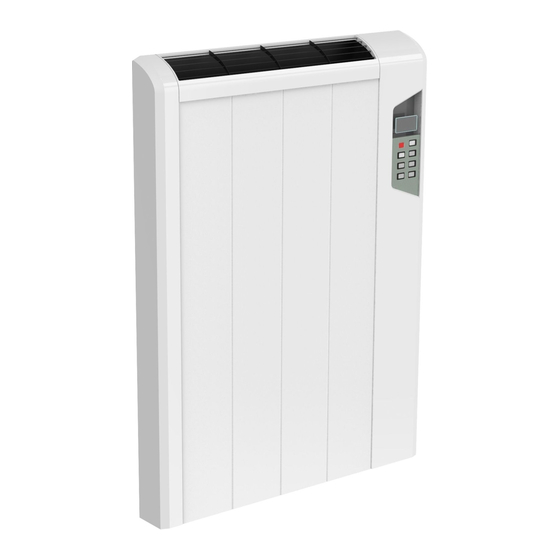
- Page 1 ARLEC User Instructions Used for model:EALC070, EALC090, EALC125, EALC150, EALC180 (Picture is only for reference purposes only)
- Page 2 Products in the carton: Once open the carton, pls. check everything is complete in the package, they are as follows: A body B feet C fixing flat D small expansion screw E hook F big expansion screw G screw for feet H screw...
- Page 3 Models: Rated Models: Power(W) Rated voltage fins frequency EALC070 220-240V~ 50Hz EALC090 220-240V~ 50Hz EALC125 1250 220-240V~ 50Hz EALC150 1500 220-240V~ 50Hz EALC180 1800 220-240V~ 50Hz Important safeguards : In order to avoid any fire, electric shock or injury risk, please read and comply with the following instructions: 1)...
- Page 4 The dimensions are as follows: Models a (mm) b (mm) e (mm) f (mm) EALC070 EALC090 EALC125 EALC150 EALC180 First, drill 2 holes on the wall (diameter: 10mm; depth: 60mm), the 2 holes’ distance is corresponding to the “e” position shown on the above pictures. Fix the hooks (letter E item as below picture) on the wall with the big expansion screws (letter F item as below picture).
- Page 5 All models need 2 fixing flats except the EALC070 which needs only 1 fixing flat.) Pls. see below pictures for installation. Φ10mm 60mm 60mm 2) Hang the appliance on the hooks (shown as below). Be sure the bracket is totally hung on the hook.
- Page 6 Control panel is shown below: (1)On/Off “ ” button: a. “ ”. The heater starts working. When the heater is Press working, press “ ” again, the heater stops working and turns into stand-by state. (2) “ ”button: Press this button for 3 seconds to enter into the programmed mode, and shift the date by pressing the “PROG”...
- Page 7 When setting the heater, the display’s background light is blue and after the setting been finished for 10 seconds, the blue light will be off. The LCD will indicate the room’s temperature (shown as below) when the heater is under normal working and standby state. When the heater is “...
- Page 8 a) Current time set: Press the button “ ” for 3 seconds to enter into the time setting interface (shown as below): The first two digits are for the hour flash, by pressing the button “ ” or “ ” to regulate the ”to enter into the minute setting.
- Page 9 4.When Monday’s setting is finished, press the button “ ” to enter into Tuesday’s setting. Set the Monday to Sunday’s program in the same way and once finished, pressing the “ ”and the program will be repeated weekly as long as the heater is not powered off or been turned off by the switch.
Need help?
Do you have a question about the EALC070 and is the answer not in the manual?
Questions and answers