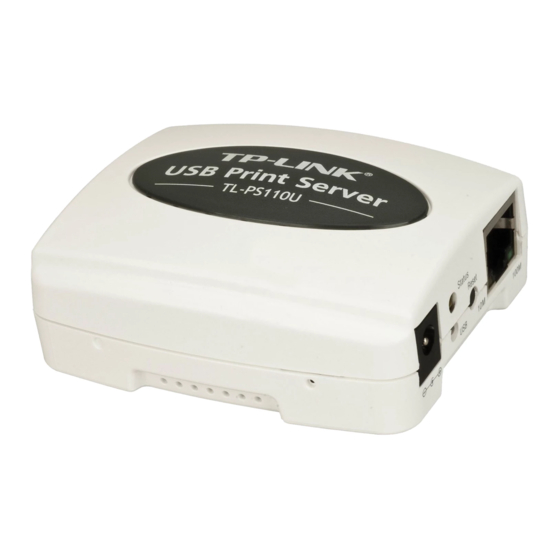
TP-Link TL-PS110U Installation Manual
Hide thumbs
Also See for TL-PS110U:
- User manual (58 pages) ,
- Quick installation manual (16 pages) ,
- Quick installation manual (16 pages)
Table of Contents
Advertisement
Quick Links
Download this manual
See also:
User Manual
Note
The product model shown in this QIG is TL-PS110U, as an example.
Before you start, you should prepare the following items
Windows 2000/XP/2003/Vista/7 computer with print server setup CD
One Printer
One Printer cable
One Router
Hardware Installation
1.
Turn off the printer's power.
2.
Connect the print server to
your printer with the supplied
printer cable. Connect the
print server to your Router
with the RJ45 cable. The
image beside is the classic
infrastructure
reference:
3.
Turn the printer's power on.
4.
Plug the AC power adapter into the power connector on the print server.
5.
Wait 40 seconds as part of the print server's Power On Self Test (POST).
Factory Default Settings
Username: admin
IP Address: 192.168.0.10
Subnet Mask: 255.255.255.0
Note
The TL-PS110U is produced without password by default.
topology for
1
Advertisement
Table of Contents

Summary of Contents for TP-Link TL-PS110U
-
Page 1: Hardware Installation
Note The product model shown in this QIG is TL-PS110U, as an example. Before you start, you should prepare the following items Windows 2000/XP/2003/Vista/7 computer with print server setup CD One Printer One Printer cable One Router Hardware Installation Turn off the printer’s power. -
Page 2: Configuring The Printer Server
Insert the provided CD into your computer’s CD dirve, the Setup Wizard will automatically pop up on your computer’s screen. Select TL-PS110U If you don’t have a CD-ROM, you can click to our web site Note (http://www.tplink.com/support/download.asp) and download the PrintServer_Setup_Wizard. -
Page 3: Configure The Print Server
Click Next On the Select A Print Server screen, TL-PS110U will be detected as “1P_PrintServXXX”. Select the print server Click Next Configure the Print Server Please select Yes. Leave the Password blank Click Next... - Page 4 Assign a static IP to your Print Server. The IP should be within the same subnet of your Router Click Next The IP address of the print server must be within the same subnet with your Note Router, for example: Network device IP address Router/Gateway...
- Page 5 PSWizard is saving the configurations to the print server Click Next...
-
Page 6: Configuring The Printer
Configuring the Printer This page will then display. If your printer has already appeared in the Printer Name list, please follow the instruction . Otherwise please follow the instruction Select an existing printer by the printer name Click Next, and then follow the step by step instructions to complete the installation You have now installed the print server and the printer successfully. - Page 7 Click Add New Printer Click Next Select Local printer attached to this computer Click Next...
- Page 8 Tick Use the following port and select LPT1: (Recommended Printer Port) from the pull-down list Click Next Select the manufacturer and model of your printer Click Next If you already have the printer’s driver installed, you will be asked whether to Note keep or replace it.
- Page 9 Select No Click Next Click Next, and then follow the step by step instructions to complete the installation You have now installed the print server and the printer successfully. You can print through the network. The print server needs to be configured only once, other users who want to Note share the printer only need to install the driver of the printer and configure the TCP/IP port on their computers.
-
Page 10: Technical Support
For all other technical support, please contact us by using the following details: Global Australia & New Zealand Tel: +86 755 26504400 Tel: AU 1300 87 5465 E-mail: support@tp-link.com NZ 0800 87 5465 Service time: 24hrs, 7days a week E-mail: support@tp-link.com.au Service time: Monday to Friday Singapore...


Need help?
Do you have a question about the TL-PS110U and is the answer not in the manual?
Questions and answers