Sign In
Upload
Download
Table of Contents
Contents
Add to my manuals
Delete from my manuals
Share
URL of this page:
HTML Link:
Bookmark this page
Add
Manual will be automatically added to "My Manuals"
Print this page
×
Bookmark added
×
Added to my manuals
Manuals
Brands
STIEBEL ELTRON Manuals
Heat Pump
WPC 04
Operation and installation
STIEBEL ELTRON WPC 04 Operation And Installation
Hide thumbs
1
Table Of Contents
2
3
4
5
6
7
8
9
10
11
12
13
14
15
16
17
18
19
20
21
22
23
24
25
26
27
28
29
30
31
32
33
34
35
36
37
38
39
40
41
42
43
44
45
46
47
48
49
50
51
52
53
54
55
56
57
58
59
60
61
62
63
64
65
66
67
68
69
70
71
72
page
of
72
Go
/
72
Contents
Table of Contents
Troubleshooting
Bookmarks
Table of Contents
Table of Contents
1 Special Information
General Information
Safety Instructions
Other Symbols in this Documentation
Units of Measurement
2 Safety
Intended Use ������������������������������������������������������ 4 12.7 Internet Service Gateway ISG
General Safety Instructions
Test Symbols
3 Appliance Description
Special Features of the WPC
4 Operation �����������������������������������������������������6 Settings
Controls
Entering Parameters �������������������������������������������� 7 14.2 Heating and DHW Programs
Selecting Operating Modes ������������������������������������ 8 14.3 Appliance Handover
Picture Symbols
5 Menu Structure _______________________________________________
Menu Structure
INFO Menu
DIAGNOSIS Menu
PROGRAMS Menu
SETTINGS Menu
FE7 Remote Control
FEK Remote Control
Internet Service Gateway (ISG)
6 Maintenance and Care
7 Troubleshooting
Other Problems
8 Safety
General Safety Instructions ����������������������������������� 23 18.4 Output Diagrams WPC 04 | WPC 04 Cool
Instructions, Standards and Regulations
9 Appliance Description ������������������������������������� 23 18.6 Output Diagrams WPC 07 | WPC 07 Cool
Mode of Operation
Special Features of the WPC
Standard Delivery
Accessories
10 Preparations
Electrical Installation
11 Installation
Transport
Siting
Opening the Appliance
Installing the Heat Source System
Heating Water Connection
Oxygen Diffusion
Filling the Heating System
Venting the Heating System
DHW Connection
Fitting the Push-Fit Connectors
DHW Circulation Connection
Operation with Buffer Cylinder
12 Power Supply
General
Sensor Installation
FE7 Remote Control
FEK Remote Control
Uponor dem WP Module
13 Commissioning
Checks before Commissioning
Heating Curve Adjustment During Commissioning
COMMISSIONING Menu
Wpm3I Commissioning Report
14 Settings _____________________________________________________
Standard Settings
15 Shutting down
16 Troubleshooting
Fault Display
Fault Message
Resetting the High Limit Safety Cut-Out
Resetting the Compressor High Limit Safety Cut-Out
Fault Table
17 Maintenance
DHW Cylinders
18 Specification
Dimensions and Connections
Wiring Diagram WPC 04 | WPC 04 Cool | WPC 05 | WPC 05 Cool
Wiring Diagram WPC 07 | WPC 07 Cool | WPC 10 | WPC 10 Cool | WPC 13 | WPC 13 Cool
Output Diagrams WPC 05 | WPC 05 Cool
Output Diagrams WPC 10 | WPC 10 Cool
Output Diagrams WPC 13 | WPC 13 Cool
Data Table WPC
Data Table WPC
Advertisement
Quick Links
1
General Information
Download this manual
OperatiOn and installatiOn
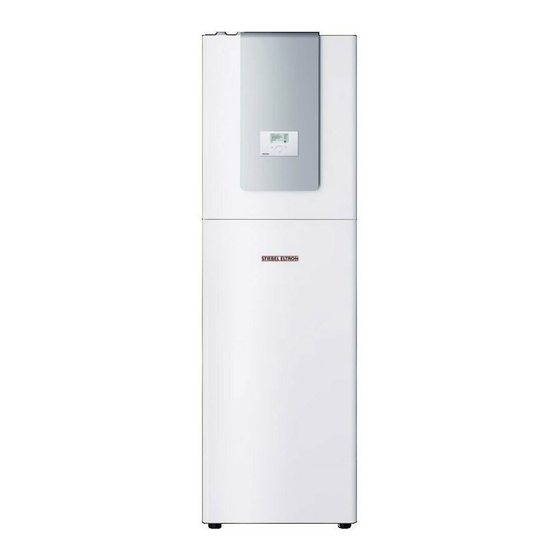
Brine | water heat pump
» WpC 04
» WpC 05
» WpC 07
» WpC 10
» WpC 13
» WpC 04 cool
» WpC 05 cool
» WpC 07 cool
» WpC 10 cool
» WpC 13 cool
Table of
Contents
Previous
Page
Next
Page
1
2
3
4
5
Advertisement
Table of Contents
Troubleshooting
Maintenance and care
22
Shutting down
42
Need help?
Do you have a question about the WPC 04 and is the answer not in the manual?
Ask a question
Questions and answers
Related Manuals for STIEBEL ELTRON WPC 04
Heat Pump STIEBEL ELTRON WPC 10 Operation And Installation
(72 pages)
Heat Pump STIEBEL ELTRON WPC 13 Operation And Installation
(72 pages)
Heat Pump STIEBEL ELTRON WPC 07 Operation And Installation
(72 pages)
Heat Pump STIEBEL ELTRON WPC 5 S GB Operating And Installation Instructions
Brine/water heat pump (53 pages)
Heat Pump STIEBEL ELTRON WPL 33 HT Operation And Installation
Air/water heat pump (40 pages)
Heat Pump STIEBEL ELTRON WPM 3 Operation And Installation
Heat pump manager (56 pages)
Heat Pump STIEBEL ELTRON WPF 5 Operating And Installation Instructions
Water/water heat pump, brine/water heat pump (45 pages)
Heat Pump STIEBEL ELTRON WPL 10 A Installation Instructions Manual
Compact air/water heat pump (24 pages)
Heat Pump Stiebel Eltron WPL 15 AS Operation And Installation
Air-water heat pump (44 pages)
Heat Pump Stiebel Eltron WPL E Series Manual
Air/water heat pumps (39 pages)
Heat Pump STIEBEL ELTRON WPE-I 33 H 400 Premium Operation And Installation
Ground source heat pump (36 pages)
Heat Pump STIEBEL ELTRON WPL 10 AC Operation And Installation Manual
Air/water heat pump (36 pages)
Heat Pump STIEBEL ELTRON WPL 10 ACS Operation And Maintenance Manual
Air water heat pump (28 pages)
Heat Pump Stiebel Eltron WPL 13 basic Operation And Installation
Air source heat pump (36 pages)
Heat Pump STIEBEL ELTRON WPE Installation Manual
Extension (36 pages)
Heat Pump STIEBEL ELTRON WPKI 6 Installation Manual
Compact heat pump (21 pages)
This manual is also suitable for:
Wpc 05
Wpc 10
Wpc 13
Wpc 04 cool
Wpc 05 cool
Wpc 07 cool
...
Show all
Wpc 10 cool
Wpc 07
Wpc 13 cool
Table of Contents
Save PDF
Print
Rename the bookmark
Delete bookmark?
Delete from my manuals?
Login
Sign In
OR
Sign in with Facebook
Sign in with Google
Upload manual
Upload from disk
Upload from URL


Need help?
Do you have a question about the WPC 04 and is the answer not in the manual?
Questions and answers