Table of Contents
Advertisement
Quick Links
Advertisement
Table of Contents

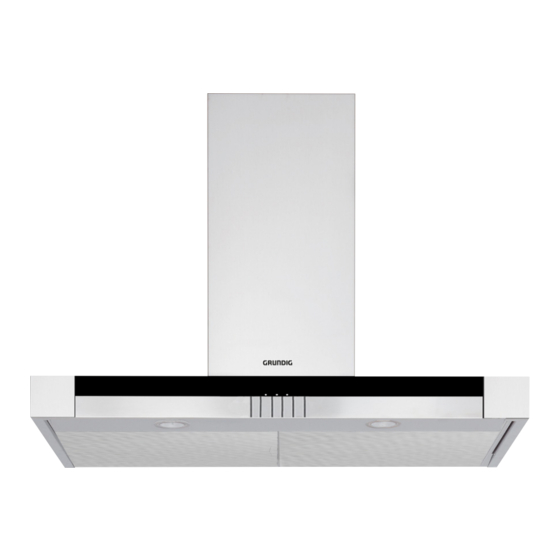
Summary of Contents for Grundig GDK 2382 XB
- Page 1 COOKER HOOD GDK 2382 XB...
- Page 3 Please read this user manual first! Dear Customer, Thank you for purchasing this Grundig product. We hope that you get the best results form your product which has been manufactured with high quality and starte-of-the-art technology. Therefore, please read this entire user manual and all other accompanying documents carefully before using the product and keep it as a reference for future use.
-
Page 4: Table Of Contents
TABLE OF CONTENTS _____________________ 1 Safety and set-up 2 At a glance Control, parts and accessories ..8 3 Operation 9-12 Wall drilling and bracket fixing ..9 Mounting the hood body... 9 Connections ducted version air exhaust system . - Page 5 ________________________________________________________...
-
Page 6: Safety And Set-Up
SAFETY AND SET-UP ______________________ The Instructions for Use apply For Class I appliances, check to several versions of this ap- that the domestic power sup- pliance. Accordingly,you may ply guarantees adequate find descriptions of individual earthing. Connect the extrac- features that do not apply to tor to the exhaust flue through your specific appliance. -
Page 7: Safety And Set-Up
SAFETY AND SET-UP ______________________ Never leave high naked Maintenance flames under the hood when Switch off or unplug the ap- it is in operation. pliance from the mains supply Adjust the flame intensity to before carrying out any main- direct it onto the bottom of the tenance work. -
Page 8: At A Glance
AT A GLANCE ____________________________ Control, parts and accessories GDK 2382 XB See the figure on page 3. Depth 345 mm Hood Body, complete with: Controls, Light, Width 598 mm Blower, Filters Min Height 730-1060 mm Telescopic Chimney comprising: Upper Section... -
Page 9: Operation
OPERATION ________________________________ Wall drilling and bracket Insert the two screws (4,2 x 44,4) supplied in the hood body fixing holes, leaving a gap fixing of 5-6 mm between the wall and the head of the screw. Mounting the hood body Before attaching the hood body, tighten the two screws Vr located on the hood body mounting points. -
Page 10: Recirculation Version Air Outlet
OPERATION ________________________________ Recirculation Version Air Electrical Connection Outlet Connect the hood to the mains through a two- pole switch having a contact gap of at least Assemble the two halves of the hood body 3 mm. extension piece 14. Remove the grease filters (see paragraph Push fit the assembled hood body extension Maintenance) being sure that the connector piece 14 onto the air outlet. -
Page 11: Control Panel
OPERATION ________________________________ Control Panel The hood can be switched on pushing directly onto the requested speed without firstly having to select 0/1 button. Functions Turns the motor off. Speed Turns the motor on at speed one. Speed Turns the motor on at speed two. The relevant speed Press and hold for 2 seconds to switch on and off the function Delay. -
Page 12: Grease Filters
OPERATION ________________________________ Grease Filters Fit the new filter by hooking it into its seating. Refit the metal grease filters. Lighting Cleaning Metal Self- Sup- porting Grease Filters Light Replacement The filters must be cleaned every 2 months of 20 W Halogen Light. operation, or more frequently for particularly heavy usage, and can be washed in a dish- washer. -
Page 13: Information
INFORMATION _____________________________ Technical data This product conforms to European Directives 2004/108/EC, 2006/95/EC, 2009/125/EC and 2011/65/EU. Power supply Operating voltage: 220-240V ~ , 50Hz 220 V ~ , 60 Hz Technical and design modifications reserved! Environmental note The symbol on the product or on its pack- aging indicates that this product may not be treated as household waste. -
Page 14: Guarantee
GUARANTEE ________________________________ Guarantee for Refrigeration, Cooking Appliance, Washing Machines & Dishwashers Your new Grundig product is guarenteed against the cost of breakdown repairs for 5 years from the daie of the orginals purchase. “Please visit the “support” section on the Grundig website at www.grundig.co.uk to register your 5 year warranty. -
Page 15: Service
If you have purchased an exlended guarantee please refer to the instructions contained within the extended guarantee agreement document. Otherwise please call the appropriate number above where service can be oblained at a charge. Grundig, 1 Greenhill Crescent, Watford Herts WD18 8QU... - Page 16 FOR A GOOD REASON...


Need help?
Do you have a question about the GDK 2382 XB and is the answer not in the manual?
Questions and answers