
Related Manuals for Husqvarna LC221A


Summary of Contents for Husqvarna LC221A
- Page 1 Operator’s manual LC221A Please read the operator’s manual carefully and make sure you understand the instructions before using the machine. E E E E n n n n g g g g l l l l i i i i s s s s h h h h...
-
Page 2: Safety Rules
SAFETY RULES Children IMPORTANT! THIS CUTTING MACHINE IS CAPABLE WARNING! Children can be seriously OF AMPUTATING HANDS AND FEET AND injured or killed by this equipment. THROWING OBJECTS. FAILURE TO OBSERVE THE Carefully read and follow all of the safety FOLLOWING SAFETY INSTRUCTIONS COULD RESULT IN SERIOUS INJURY OR DEATH. -
Page 3: Slope Operation
SAFETY RULES • See manufacturer’s instructions for proper operation Safe handling of gasoline and installation of accessories. Only use accessories To avoid personal injury or property damage, use extreme approved by the manufacturer. care in handling gasoline. Gasoline is extremely flammable and the vapors are explosive. -
Page 4: Key To Symbols
KEY TO SYMBOLS Key to symbols WARNING! The machine can be a Explanation of warning levels dangerous tool if used incorrectly or carelessly, which can cause serious or The warnings are graded in three levels. fatal injury to the operator or others. WARNING! Please read the operator’s manual carefully and make sure you... -
Page 5: Table Of Contents
CONTENTS Contents Spark plug ............22 Air filter ..............22 SAFETY RULES Blade ..............23 Children ..............2 Drive belt ............... 25 General operation ..........2 TROUBLESHOOTING Slope operation ............ 3 Troubleshooting schedule ........27 Safe handling of gasoline ........3 General service ............ -
Page 6: Presentation
Congratulations on your choice to buy a Husqvarna • Read and observe the safety rules. product! Husqvarna is based on a tradition that dates • Follow the maintenance schedule in this manual. Any back to 1689, when the Swedish King Karl XI ordered the... -
Page 7: Steps Before Using A New Lawn Mower
A spark arrester for the muffler is available health hazard. through your nearest authorized service center. Husqvarna AB has a policy of continuous product development and therefore reserves the right to modify WARNING! In order to prevent accidental... -
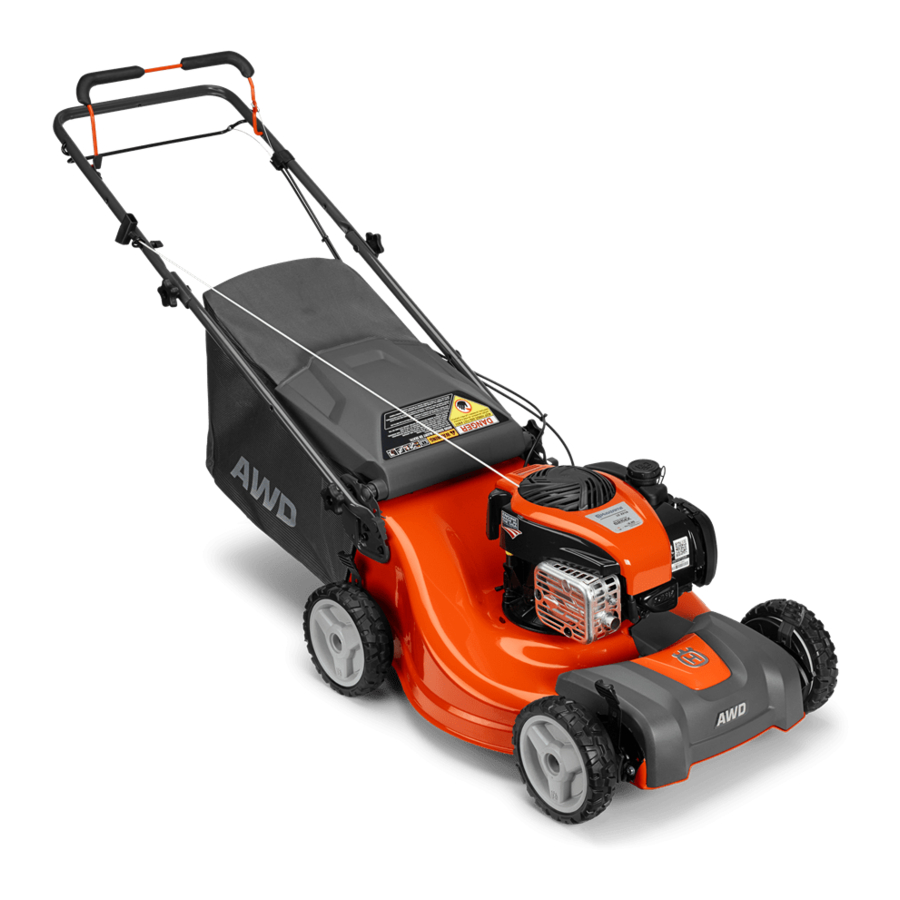
Page 8: What Is What
WHAT IS WHAT? What is what on the lawn mower? Engine brake handle Muffler Drive bail 10 Wash-out port Starter handle 11 Rear deflector Grass catcher 12 Engine oil cap with dipstick Fuel cap 13 Cutting height control Air filter 14 Mulch plug Spark plug 15 Operator’s manual... -
Page 9: Machine´s Safety Equipment
MACHINE´S SAFETY EQUIPMENT General Rear deflector The rear deflector, attached between the rear wheels of This section describes the machine′s safety equipment, your mower, is provided to minimize the possibility that its purpose, and how checks and maintenance should be objects will be thrown out of the rear of the mower into the carried out to ensure that it operates correctly. -
Page 10: Assembling And Adjustments
ASSEMBLING AND ADJUSTMENTS General Vertical handle storage The handle can be set in a vertical storage position. WARNING! Prevent unintentional starting Loosen the lower handle knobs. by removing the ignition cable from the spark plug. Rotate the handle and align the handle bar pins with the vertical slots on the handle bracket. -
Page 11: Grass Catcher
ASSEMBLING AND ADJUSTMENTS Grass catcher Convert the lawn mower Assembly of the catcher Your lawn mower was shipped ready to be used in Put the grass catcher frame into the grass bag with mulching mode. the rigid part of the bag on the bottom. Make sure the The mulching mode will recut the grass clippings many handle of the frame is outside of the top of the bag. -
Page 12: Cutting Height
ASSEMBLING AND ADJUSTMENTS Mulching Cutting height Lift the back shield and remove the grass bag (if The cutting height can be adjusted to 9 (1-9) different equipped). positions. Insert the mulch plug into the collector channel. Raise wheels for low cut and lower wheels for high cut. Adjust cutting height to suit your requirements. -
Page 13: Fuel Handling
FUEL HANDLING General Engine oil CAUTION! Check the oil level before starting the lawn WARNING! Running an engine in a mower. A too low oil level can cause serious damage to confined or badly ventilated area can result in death due to asphyxiation or the engine. -
Page 14: Operating
OPERATING Personal protective equipment Children You must use approved personal protective equipment WARNING! Children can be seriously whenever you use the machine. Personal protective injured or killed by this equipment. equipment cannot eliminate the risk of injury but it will Carefully read and follow all of the safety reduce the degree of injury if an accident does happen. -
Page 15: Always Use Common Sense
OPERATING Always use common sense Work area safety It is not possible to cover every conceivable situation you • Branches, twigs, stones, etc. should be removed from can face. Always exercise care and use your common the lawn before you start to mow. sense. -
Page 16: Basic Working Techniques
OPERATING • Pay particular attention when pulling the machine Slope operation towards you during work. Mowing slopes can be dangerous. Do not use the lawn • Never lift up the lawn mower or carry it around when mower on slopes steeper than 15°. All slopes demand the engine is running. -
Page 17: Starting And Stopping
OPERATING Starting and stopping When the drive starts feeling slow you need to adjust the drive control cable. Finely adjust the cable using the adjuster screw. Before starting WARNING! Please read the operator’s manual carefully and make sure you understand the instructions before using the machine. -
Page 18: Emptying The Grass Catcher
OPERATING Stopping • Stop the engine by releasing the engine brake handle. The drive is also disengaged when you release the engine brake handle. Emptying the grass catcher • Lift up on grass catcher using the frame handle. • Remove grass catcher with clippings from under lawn mower handle. -
Page 19: Maintenance
If you need further information please contact your nearest servicing dealer. • Let your Husqvarna dealer regularly check the machine and make essential adjustments and repairs. • Replace any damaged, worn or broken parts. -
Page 20: General Recommendations
MAINTENANCE General recommendations Cleaning The warranty on this lawn mower does not cover items WARNING! Always disconnect the spark that have been subjected to operator abuse or plug before performing maintenance or negligence. To receive full value from the warranty, service. -
Page 21: Engine
MAINTENANCE Gear cases Engine • To keep your drive system working properly, the gear Lubrication cases and area around the drive should be kept clean Use only high quality detergent oil rated with API service and free of trash build-up. Clean under the drive cover classification SG-SL. -
Page 22: Muffler
MAINTENANCE Add oil Slowly pour oil down the oil fill spout, stopping evey few ounces to check the oil level with the dipstick. Do The lawn mower should stand on flat ground when not overfill! you check the oil level. Ensure the ignition lead has Always be sure to retighten oil dipstick before starting been removed from the spark plug before you open engine. -
Page 23: Blade
MAINTENANCE Blade Replacing the blades Always disconnect the spark plug before performing WARNING! Always wear heavy-duty maintenance or service. gloves when servicing and maintaining Always empty the fuel tank before you place the lawn the blade. The blade is very sharp and mower on its side. - Page 24 MAINTENANCE Assembly: Verify the spark plug wire is disconnected from the engine. Position the blade adapter on the engine crank shaft. Be sure key in adapter and crankshaft keyway are WARNING! Always disconnect spark aligned and that the drive belt is inside the tab of the plug wire and place wire where it cannot belt retainer.
-
Page 25: Drive Belt
MAINTENANCE Drive belt Remove the drive belt Mulch plug Rear insert • Empty the fuel tank by running the machine until the Transmission drive pulley tank is empty. • Always disconnect the spark plug before performing Idler bracket maintenance or accessing mocable parts. Drive cover •... - Page 26 MAINTENANCE • Remove the blade bolt by turning the bolt counter- • Remove all 3 idler pulleys from idler assembly. clockwise. Remove blade and attaching hardware: bolt, lock washer and hardened washer. • Remove belt from blade adapter / engine pulley and idler assembly.
-
Page 27: Troubleshooting
TROUBLESHOOTING Troubleshooting schedule WARNING! If service operations or troubleshooting does not require the machine to be on, the engine should be switched off, and the spark plug wire disconnected from the spark plug. Problem Probable cause Potential Solution Incorrect starting procedure. See instructions under the heading Starting and stopping. - Page 28 Original instructions 1157788-27 ´®z+Yo)¶5(¨ ´®z+Yo)¶5(¨ 2015-12-29...
Need help?
Do you have a question about the LC221A and is the answer not in the manual?
Questions and answers
Model LC221a, all wheel drive. Forward motion not engaging on it's own. I have to give it a push. The manual shows a way to tighten the clutch cable, however mine does not have that adjustor. How do I tighten the clutch cable?
If the Husqvarna LC221A does not have an adjuster for the clutch cable, you can tighten it by replacing or adjusting the cable and spring manually. The cable pulls upward to create tension, tightening the belt that drives the wheels. The spring provides slack when the handle is released. To increase tension:
1. Inspect the cable and spring for wear or stretching.
2. Disconnect the spring from its mounting hole.
3. Replace or reposition the spring or cable to reduce slack.
4. Ensure the cable tightens the belt when the handle is pulled.
If components are worn, replacing the drive cable, belt, or spring may be necessary.
This answer is automatically generated
I mowed my front yard, stopped the engine, took it around back and now it won’t start
The Husqvarna LC221A mower may not start after mowing your front yard due to several possible reasons:
1. Incorrect starting procedure – Ensure you follow the correct steps to start the mower.
2. Clogged air filter – Clean or replace the air filter.
3. Empty fuel tank – Refill with fuel.
4. Defective or disconnected spark plug – Replace the spark plug and make sure the wire is connected.
5. Loose blade or broken blade adapter – Check and tighten or replace if needed.
6. Defective engine brake handle – May require service by an authorized technician.
7. Fuel valve (if equipped) is OFF – Turn it to the ON position.
8. Low battery voltage or incorrect battery connection (if equipped) – Charge or reconnect the battery properly.
Check each of these factors to identify and fix the issue.
This answer is automatically generated
I need to replace my spark plug core power supply pack on my Husqvarna self propelled all wheel drive 21" push mower. Lc221a
Im needing to replace the shat assembly i bought a new one do i need keys to keep assembly on