Table of Contents
Advertisement
Quick Links
Advertisement
Table of Contents

Subscribe to Our Youtube Channel
Related Manuals for Quest Engineering MX601


Summary of Contents for Quest Engineering MX601
- Page 1 MX601 / MX601W / MX801 / MX801W...
-
Page 2: General Description
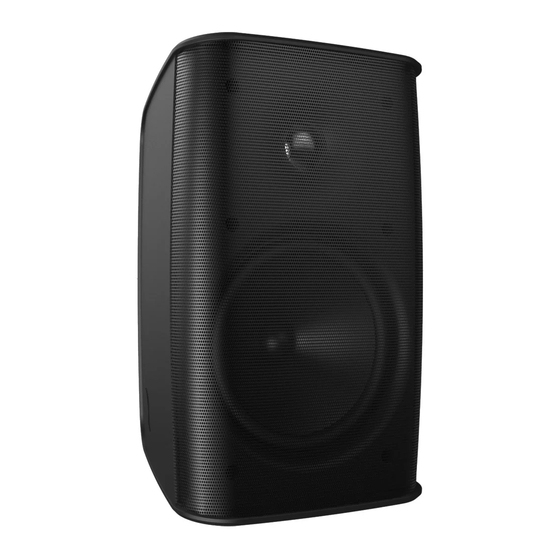
Mounting hardware and metal parts are made from corrosion resistant materials, and installation in direct rain exposed locations is possible. The MX Series is available in black (MX601/MX801) or white (MX601W/MX801W) cabinets finished in clear low sheen finish formulated to resist harsh environmental conditions. - Page 3 * Quest Engineering reserves the right to make changes in specifications, or products without prior notice. ** The figures shown above are ‘real world’, usable specifications and are conservative as a result. Quest Engineering does not believe in portraying misleading or exaggerated specifications.
- Page 4 UB1 / UB2 Bracket Instructions Attach base plate to wall or ceiling, Mate loudspeaker to bracket and lightly fasten locking clamp, NOTE To achieve additional horizontal or vertical positions, it is possible to remove and rotate the steel insert in the ball face 90 degrees.
- Page 5 Attach safety cable. NOTE Before installation, if the system requires 70/100V line operation select the correct tap setting by rotating the selector on the rear face of the loudspeaker. *MX601 Shown...
- Page 6 Amplifier Wiring Examples Parallel Wiring (low impedance selected) Total Amplifier Load 4Ω from speakers amplifier connector wiring is the same for both examples 100V/70V System (example shows 15W tap setting) Total Amplifier Load 120W (not including other parasitic loading, always allow amplifier headroom)
-
Page 7: Installation Accessories
Installation Accessories UB1 (UB1W white) Installation Bracket Wall pan/tilt mounting kit for MX601/ MX801and MX601W/MX801W UB2 (UB2W white) Installation Bracket Ceiling pan/tilt mounting kit for MX601/MX801 and MX601W/MX801W IPMX1 Connector Shroud and Cable Gland Kit required to meet IP67 rating... -
Page 8: Register Your Product
Register Your Product Thank you for choosing Quest. Please take the time to complete your product registration. Registering your Quest Engineering product will: • CONFIRM YOUR WARRANTY • REGISTER YOUR PRODUCT • PROTECT YOUR NEW PRODUCT REGISTER ONLINE: www.questengineering.com.au/registration For spare parts and service, contact your local authorised Quest Dealer.
Need help?
Do you have a question about the MX601 and is the answer not in the manual?
Questions and answers