
Subscribe to Our Youtube Channel
Related Manuals for Tanita BC-G02


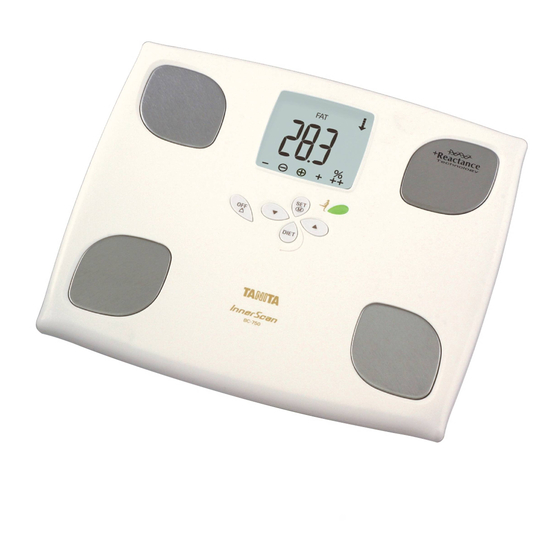
Summary of Contents for Tanita BC-G02
- Page 1 MANUAL Model: BC-G02 Instruction Manual Read this Instruction Manual carefully and keep it for future reference.
-
Page 2: Table Of Contents
Table of Contents Introduction …………………………………………………………… 3 Features and Functions ……………………………………………… 3 For Your Safety ………………………………………………………… 4 Getting Accurate Readings…………………………………………… 5 Preparations Before Use……………………………………………… 6 Positioning the Monitor ……………………………………………… 6 Automatic Shut-down Function……………………………………… 6 Setting (Resetting) Date and Time…………………………………… 7 Set Your Location Code ……………………………………………… 8 Changing the Weighing Unit …………………………………………... -
Page 3: Introduction
• Have a lifetime history of fitness and who used to do more than 12 hours a week but do less now. Recorded data may be lost if the unit is used incorrectly or is exposed to electrical power surges.Tanita cannot accept any responsibility for losses incurred due to the loss of recorded data. -
Page 4: For Your Safety
Implementing weight loss measures and exercise programmes based on self-analysis could be harmful to your health. Always follow the advice of a qualified professional. The Tanita Body Composition Monitor product provides readings for informational purposes only. This product is not intended to diagnose or treated any disease or abnormalities. -
Page 5: Getting Accurate Readings
Place the monitor on a hard, flat surface where there is minimal vibration to ensure safe and accurate measurement. Avoid excessive impact or vibration to the monitor. Doing so may damage the monitor or cause it to malfunction, or may cause setting to be erased. Do not use or store this monitor in the following locations. -
Page 6: Preparations Before Use
Preparations Before Use Inserting the Batteries Note: ・Be sure that the batteries are inserted in the correct orientation. If the batteries are inserted incorrectly, fluid may leak from the batteries and damage the floor. ・If you do not intend to use this unit for a long period of time, remove the batteries before storage. -
Page 7: Setting (Resetting) Date And Time
Setting (Resetting) Date and Time 1. Set Date Insert batteries into the monitor and then press any button to start the Year setting. Press the Up/Down buttons to set year and then press the SET/M button. The monitor beeps once to confirm. 2. -
Page 8: Set Your Location Code
Set Your Location Code Different locations across the world have different gravitational pulls. These differences affect the accuracy of the weight measurement. You can obtain the most accurate weight readings by selecting the correct gravity setting on the scale according to your geographical location. SET/M Button 1.When the power is off, press and hold the OFF button for 3 seconds. -
Page 9: Setting And Storing Personal Data In Memory
Setting and Storing Personal Data in Memory The monitor can only be operated if data has been programmed into one of the personal data memories. 1. Turn on the Power Press the SET/M button to turn on the monitor. The monitor beeps to confirm activation, the Personal data number is displayed, and the display flashes. Note: If you don’t operate the monitor for 60 seconds after the monitor has been turned on, it turns off automatically. - Page 10 5. Set Whether to Enable the Diet Mode for Females Note: Perform the following operations if you are 18 years of age or above and have selected “Female”. Otherwise, please proceed to "6. Set Your Height". Press the Down button or Up button to enable/disable the diet mode for females. Press the SET/M button to enter.
-
Page 11: Taking Measurements
Taking Measurements After programming your personal data you are ready to take readings. 1. Step onto the Monitor Step onto the monitor while the monitor is off; the monitor turns on automatically and starts measuring. 2. Get Your Readings After the measurement is taken, readings are automatically displayed in the order listed on the next page. -
Page 12: Measurement Results
Measurement Results Press the Up button to manually switch the display. Press the SET/M button to view the previous readings in the display. (kcal→kJ) Muscle V-FAT Obese High Higher Risk High Overfat Average Lower Risk Average Standard Plus Under Healthy Under Standard Minus Underfat... -
Page 13: Setting Your Target Weight
Setting Your Target Weight Set the target value within a realistic range. 1. Setting the Target Value Press the Up button when the measurement results are being displayed (P.12) until the body weight is displayed, and then press the DIET button. Press the SET/M button to display your individual data. - Page 14 Setting Your Target Weight (Continued) Deleting/Changing the Target Value Press the SET/M button when the target value and difference with the target value are being displayed. "CLr" is displayed. To delete the value: Press the Up or Down button to select "YES", and press the SET/M button.
-
Page 15: Using The Diet Mode For Females
Using the Diet Mode for Females There are times when a woman’s body responds well to diet and exercise and times when it doesn’t, and these times are dictated by the balance of hormones. This function indicates these times with lamps to support effective dieting. - Page 16 Note: • The diet mode for females assumes that the person has a menstrual cycle that is within the normal range. (The normal menstrual cycle range is between 25 - 38 days, and the variation between the number of days per cycle is within 6 days.) Users who have different menstrual cycles should use this information for reference only.
-
Page 17: What Is The Diet Mode For Females
What is the Diet Mode for Females? We recommend a healthy diet and self-care based on your natural hormone rhythm and your physical and mental condition. Women have an optimal phase for fitness and dieting and a phase where the body needs more rest due to the balance of hormones. -
Page 18: Viewing Previous Measurements
Viewing Previous Measurements Recall Function To obtain previous reading press the SET/M button while the readings are being displayed. The following result of previous readings will be displayed by using the Up button. Press the SET/M button again to go back to the current result display. Note: For children (age 5-17), the unit will only display the Weight and the Body Fat% and BMI. -
Page 19: Specifying The Personal Data Number For Measurement
Specifying the Personal Data Number for Measurement Follow these instructions if the monitor continues to mis-recognize your number. 1.When the power is off, press the Down button to start measuring. Select your personal number using the Up/Down buttons and then press the SET/M button. 2.Step onto the monitor when “0.0kg”... -
Page 20: Deleting Personal Data
Deleting Personal Data 1. Select the Number to Delete Check that the display is off, and press SET/M button. Press Down or UP to select the number that you want to delete. Press and hold SET/M button for more than 3 seconds. Registered details of the number to be deleted are displayed. -
Page 21: Troubleshooting
Troubleshooting If the following problems occur ...then... • The wrong weight format appears followed by kg, lb, or stlb. Refer to “Changing the Weighing Unit” on p.8. • “Lo” appears on the display, or all the data appears and immediately disappears. Batteries are low. -
Page 22: Specifications
Specifications BC-G02 Weight Capacity 150kg (330lb) (23st 8lb) Weight Increments 0 to 150kg/0.1kg 0 to 330lb/0.2lb 0 to 23st8lb/0.2lb Disposal Applicable Age Range Body Fat % This is an electronic device. Please 5 to 99 years old dispose of it as an electronic device, not as general household waste. - Page 24 BCG027601 ( 0 ) -1507FA © 2015 TANITA Corporation...
Need help?
Do you have a question about the BC-G02 and is the answer not in the manual?
Questions and answers