Subscribe to Our Youtube Channel
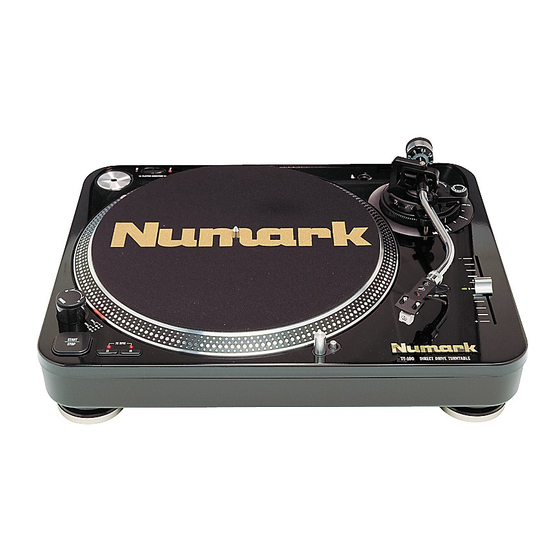
Summary of Contents for Numark TT-100
- Page 1 Professional Disc Jockey Products TT-100 DIRECT DRIVE TURNTABLE OWNER’S MANUAL ©2000 Industries http://www.numark.com...
-
Page 2: Safety Instructions
PRO TT-2 Turntable Safety Information SAFETY INSTRUCTIONS Read Instructions - All the safety and operating instructions should be read before this product is connected and used. Retain Instructions - The safety and operating instructions should be kept for future reference. -
Page 3: General System Precautions
Never attempt to make any adjustments or repairs other than those described in this manual. Take the TT-100 to your dealer or to an authorized Do not place the unit in a location where it will be exposed to direct sun light or near a heating appliance. -
Page 4: Introduction
• 45RPM adapter and holder • Extra Stylus Holder ©2000 Industries TT-100 TT-100 Direct Drive Turntable. This unit has been designed to deliver • S Shaped Tone arm assembly with: • Counterweight • Height Adjustment • Skating Adjustment • Height Lock •... -
Page 5: Table Of Contents
MODEL: __________________________ SERIAL NUMBER:__________________ ©2000 Industries TABLE OF CONTENTS Contents of this package • Main Unit • Turntable platter • Turntable slip mat • Dust cover • Dust cover clips • 45-rpm adapter • Counterweight • Headshell Product Registration PURCHASED FROM:_________________________... -
Page 6: Diagram And Parts Description
To fully appreciate the features of the TT-100 should be placed on a level sturdy surface. Keep in mind that there are a few features you may never have seen before on a turntable of this type that you will need to read about to use properly. -
Page 7: Tone Arm Assembly
Attach now by sliding the counterweight onto the rear of the tonearm. Twist it lightly and it will screw onto the rear shaft of the tonearm. - The Leader in DJ Technology - 7 - PRO TT-2 Turntable http://www.numark.com... - Page 8 PRO TT-2 Turntable TONE ARM SETTINGS The following explains proper counterweight and anti-skating set up. Cartridge manufacturers usually specify the proper settings. a) Remove the stylus protector, do not touch the stylus tip during the adjustment. b) Set the cueing lever to the lower position so it does not effect tone arm height.
-
Page 9: Rear Panel Diagram
REAR PANEL DIAGRAM 27. Removable Lid - Protects the turntable from dirt and dust. 28. Hinge Assembly - Holds the lid and turntable together. Attach now by sliding the bottom tabs of the Hinge Assembly into the Hinge Holders. 29. Platter Speed Output - This output is to be used with external devices that require platter speed information. -
Page 10: Operating Instructions
2. Turn on and raise the target light for illuminating the stylus tip by pushing the target light button. 3. Place a record on the turntable mat. When playing a 45rpm record with a large center hole; place the 45- rpm adapter on the center spindle. -
Page 11: Specifications
0-4g 0-7g 6-10g AC110-127V / 220-240V, 50/60Hz 15 Watts 450 x 352 x 148.5 mm 17 3/4” x 13 3/4” x 5 7/8” 10.3 Kgs 24 lbs. - The Leader in DJ Technology - 11 - PRO TT-2 Turntable http://www.numark.com... -
Page 12: Limited Product Warranty
What is covered and for how long? NUMARK INDUSTRIES LCC ("NUMARK") warrants to the original purchaser that NUMARK'S DJ mixers and amplifiers are free from defects in material and workmanship under normal use and service for the period commencing upon the date of purchase from an authorized NUMARK dealer and continuing for the following period of time after that date for (2) Years.


Need help?
Do you have a question about the TT-100 and is the answer not in the manual?
Questions and answers