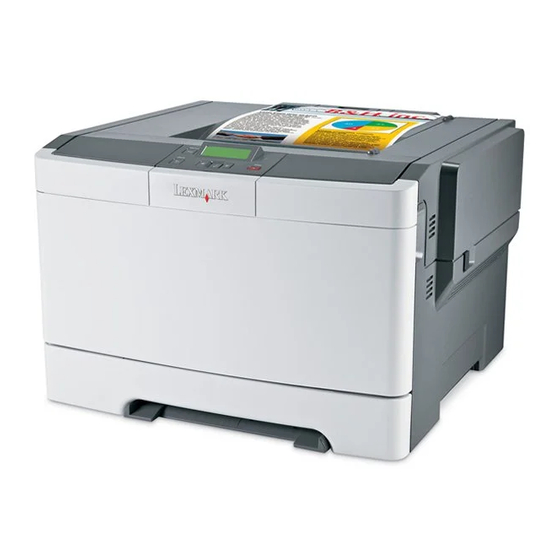
Lexmark C543DN Manual
Hide thumbs
Also See for C543DN:
- Quick manual (4 pages) ,
- Service manual (270 pages) ,
- User manual (180 pages)
Advertisement
Quick Links
Advertisement

Related Manuals for Lexmark C543DN


Summary of Contents for Lexmark C543DN
- Page 1 Configuring Lexmark C543DN Laser Printer for myMEDIA BurnBar™ Server August 19, 2011...
- Page 2 Those have not been repeated here. See Setup guide for unpacking directions during step #1. 1. Follow Steps #1 through #12 in the Setup Guide enclosed with your new Lexmark C543DN printer. 2. Determine whether you wish to place your printer on your local myMEDIA BurnBar™ network or communicate with it locally via USB.
- Page 3 6. Click on Agree. 7. Select Suggested, then click on Next.
- Page 4 8. Select Local Attach and then click Next. 9. The screen below will be shown while files are being copied to your system. Do not move mouse or press any keys on keyboard during this step.
- Page 5 10. When the printer software file copy is complete, the following screen will be displayed. Connect your printer via the supplied USB cable as shown in fig 1 and 2 below. Connect the power cord to the printer and then to a properly grounded wall outlet. Turn on the printer. When printer is connected and powered up, choose Yes, I want to restart my computer now.
- Page 6 12. Placing your new Lexmark C543Dn Printer on the local myMEDIA BurnBar™ network. Connect the network cable to the printer and then to a network wall outlet. Connect the power cord to the printer and then to a properly grounded wall outlet. Turn on the printer.
- Page 7 16. The Network setup page lists the IP address and MAC address. Take note of both items. 17. Place the disk that came in the Lexmark C543DN Printer box into your DVD drive.
- Page 8 18. Click on Install Printer and Software. 19. Click on Agree.
- Page 9 20. Select Suggested, then click on Next. 21. Select Wired Network Attach and then click Next.
- Page 10 22. Select Lexmark C543 and then click Next. 23. Your new printer should be shown as below. The IP address will match the info in the report printed in step #8. Click Finish to continue.
- Page 11 24. The screen below will be shown while files are being copied to your system. Do not move mouse or press any keys on keyboard during this step. You may choose at this point to Register your printer with Lexmark or Skip this step...
- Page 12 27. Click on the Start button in the lower left corner of your screen, place the mouse pointer over Settings and then click on Printers and Faxes. The following screen will be displayed. The CD printer, usually an Xlnt, must be set as the default printer, not the Lexmark.
- Page 13 28. Right-click on the printer named Lexmark C543 XL and then Click on Printing Preferences. 29. The following screen will be displayed. Select Collate Copies and Print Last Page First in the Copies Section. Select 2-sided long edge in the 2-sided printing Section. Ensure that the...
- Page 14 30. Ensure that the remaining options match what is shown in the pictures below.
- Page 15 System Options and put a check mark in the Redirect Printer box. Click on the arrow to open a list of installed printers. Select the Lexmark C543DN. Put a check mark in the box for “Duplex Printing”. Save settings. Then exit this screen and close and restart the MMBB program.
Need help?
Do you have a question about the C543DN and is the answer not in the manual?
Questions and answers