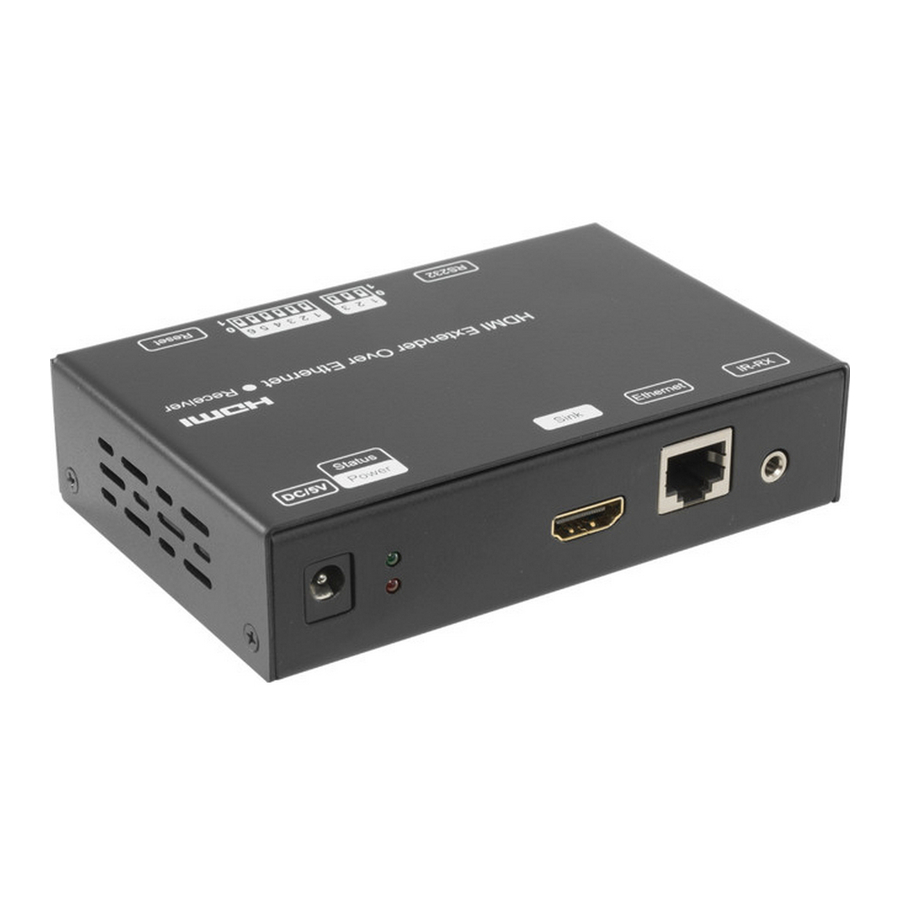
Summary of Contents for Pro2 HDMIIPECO
- Page 1 Operating Instructions 120m HDMI Extender over IP with H.264 encoder Support IR, RS232 Model: HDMIIPECO...
-
Page 2: Firmware Update
Operating Instructions Operating Instructions 7. Firmware update Operating Instruction We provide the firmware to upgrade the units when it is necessary. Please follow up bellowing steps to update the firmware. Step1: Connect TX / RX to the PC with a short Cat5e cable Step2: Power on TX/ RX with power adapter 5V2A. -
Page 3: Specifications
Operating Instructions Operating Instructions 2. Specifications 6.2 Baud rate setting Performance 6.2.1 Use 3-Bit DIP Switch to select other baud rate. Protocol H.264 encoder over TCP/IP The 3 Bit switch is binary as well, when pull up its value is “0”; when pull down, its Support Video format 480i/480p/576i/576p/720p/1080i/1080p@60HZ value is “1”. -
Page 4: Panel Description
Operating Instructions Operating Instructions 6. RS232 and Baud rate 3. Packing content 1). 1x Transmitter The unit provides a path to pass through the RS232 signal, RS232 passes from TX to 2). 1x Receiver RX or from RX to TX, connect to your RS232 devices, such as PC, IP Camera, Creston 3). -
Page 5: Installation And Configuration
Operating Instructions Operating Instructions 2). RX ※ Daisy chain the switch if its RJ45 port is not enough. ※ The quantity of Transmitter is no more than 64 pcs according to the 6-bit DIP switch. ※ The total quantity of Transmitter and Receiver is no more than 256 pcs. -
Page 6: Setting The Ip Address
Operating Instructions Operating Instructions Our this over IP Extender has been assigned unique default MAC address for every TX and RX, so you don’t have to set the MAC for the units. HDMI Source PS3,Blu-ray DVD player, etc. You just need to set the IP address and Group ID following below steps. 5.1.1 Setting the IP address A). - Page 7 Operating Instructions Operating Instructions NOTE: Insert/Extract cables gently. Step 3: Login in IE: 192.168.1.11 (default IP for TX) or 192.168.1.12(default IP for RX), You can setup IP address for the TX and RX. TX requires user name: admin and password: admin Please set IP address for each TX and each RX, IP: 192.168.1.XX (XX:1-255.
-
Page 8: Preparing The Switch
Operating Instructions Operating Instructions Step5: Change the group ID at “ Stream setting”, “00” means group “00” here which Group ## = DIP setting can be chosen from 00 to 63. Step 6: Click “Submit” (transmitter) or update (receiver). Group 00 = 000000 Group 01 = 000001 Group 02 = 000010 Group 03 = 000011...


Need help?
Do you have a question about the HDMIIPECO and is the answer not in the manual?
Questions and answers