Advertisement
Advertisement
Table of Contents

Related Manuals for Makita XDT11


Summary of Contents for Makita XDT11
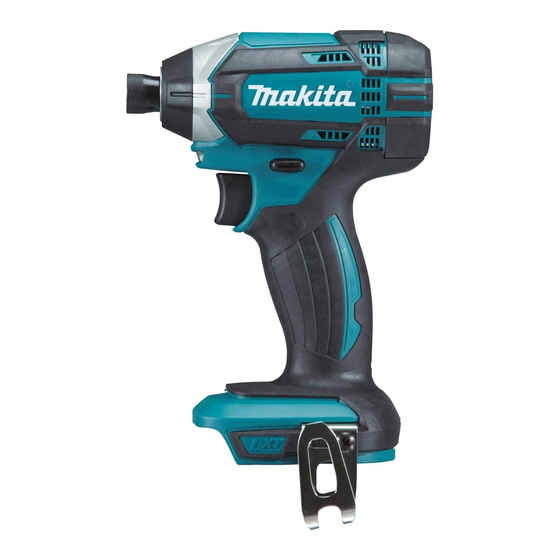
- Page 1 INSTRUCTION MANUAL Cordless Impact Driver XDT11...
-
Page 2: Specifications
ENGLISH (Original instructions) SPECIFICATIONS Model: XDT11 Fastening capacities Machine screw 4 mm - 8 mm (5/32" - 5/16") Standard bolt 5 mm - 16 mm (3/16" - 5/8") High tensile bolt 5 mm - 12 mm (3/16" - 1/2") No load speed (RPM) - Page 3 Power tool use and care Cordless impact driver safety Do not force the power tool. Use the correct warnings power tool for your application. The correct power tool will do the job better and safer at the Hold power tool by insulated gripping sur- rate for which it was designed. faces, when performing an operation where Do not use the power tool if the switch does the fastener may contact hidden wiring.
-
Page 4: Functional Description
Avoid storing battery cartridge in a con- tainer with other metal objects such as nails, coins, etc. Do not expose battery cartridge to water or rain. A battery short can cause a large current flow, overheating, possible burns and even a breakdown. - Page 5 Low battery voltage: Switch action The remaining battery capacity is too low and the tool will not operate. In this situation, remove and recharge the battery. Indicating the remaining battery capacity Only for battery cartridges with "B" at the end of the model number 1.
-
Page 6: Installing Hook
Reversing switch action 1. Driver bit 2. Sleeve To install the driver bit, insert it into the sleeve as far as 1. Reversing switch lever it will go. CAUTION: Always check the direction of rotation before operation. CAUTION: Use the reversing switch only after the tool comes to a complete stop. -
Page 7: Operation
Hold the tool firmly and place the point of the driver bit The hook is convenient for temporarily hanging the tool. This can be installed on either side of the tool. To install in the screw head. Apply forward pressure to the tool to the hook, insert it into a groove in the tool housing on the extent that the bit will not slip off the screw and turn either side and then secure it with a screw. -
Page 8: Replacing Carbon Brushes
Replacing carbon brushes 1. Carbon brush cap Make sure to place the lead wire in opposite side 1. Limit mark of the arm. Replace when they wear down to the limit mark. Keep the carbon brushes clean and free to slip in the holders. All carbon brushes should be replaced at the same time. -
Page 9: Optional Accessories
be performed by Makita Authorized or Factory Service Centers, always using Makita replacement parts. OPTIONAL ACCESSORIES CAUTION: These accessories or attachments are recommended for use with your Makita tool specified in this manual. The use of any other accessories or attachments might present a risk of injury to persons. Only use accessory or attachment for its stated purpose.
Need help?
Do you have a question about the XDT11 and is the answer not in the manual?
Questions and answers