Table of Contents
Advertisement
Quick Links
nglis ,
C O 42
C O 42 O
Positioning
Electrical connection
escription o t e appliance, -
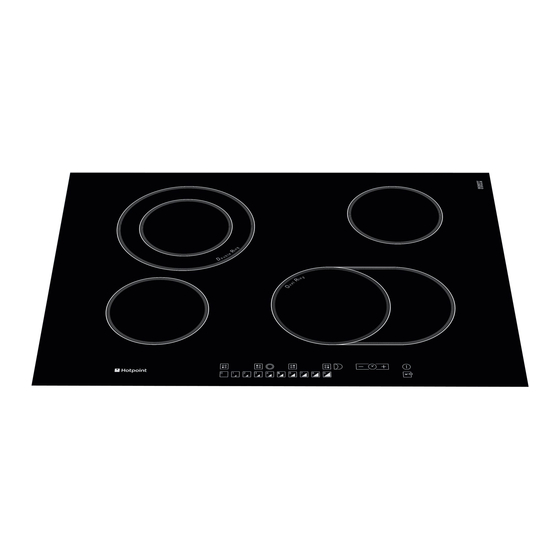
Control panel
Extendable cooking zones
tart-up an use, -
Switching on the hob
Switching on the cooking zones
Switching off the cooking zones
Power function
Heating elements
Programming the cooking duration
Timer
Control panel lock
Switching off the hob
“Demo” mode
Practical advice on using the appliance
Safety devices
Practical cooking advice
recautions an tips,
General safety
Disposal
Care an
aintenance, 2
Switching the appliance off
Cleaning the appliance
Disassembling the hob
ec nical escription o t e
ter ales er ice, 4
uarantee,
e Contacts,
O
o els,
Advertisement
Table of Contents


Need help?
Do you have a question about the CRO642DB and is the answer not in the manual?
Questions and answers