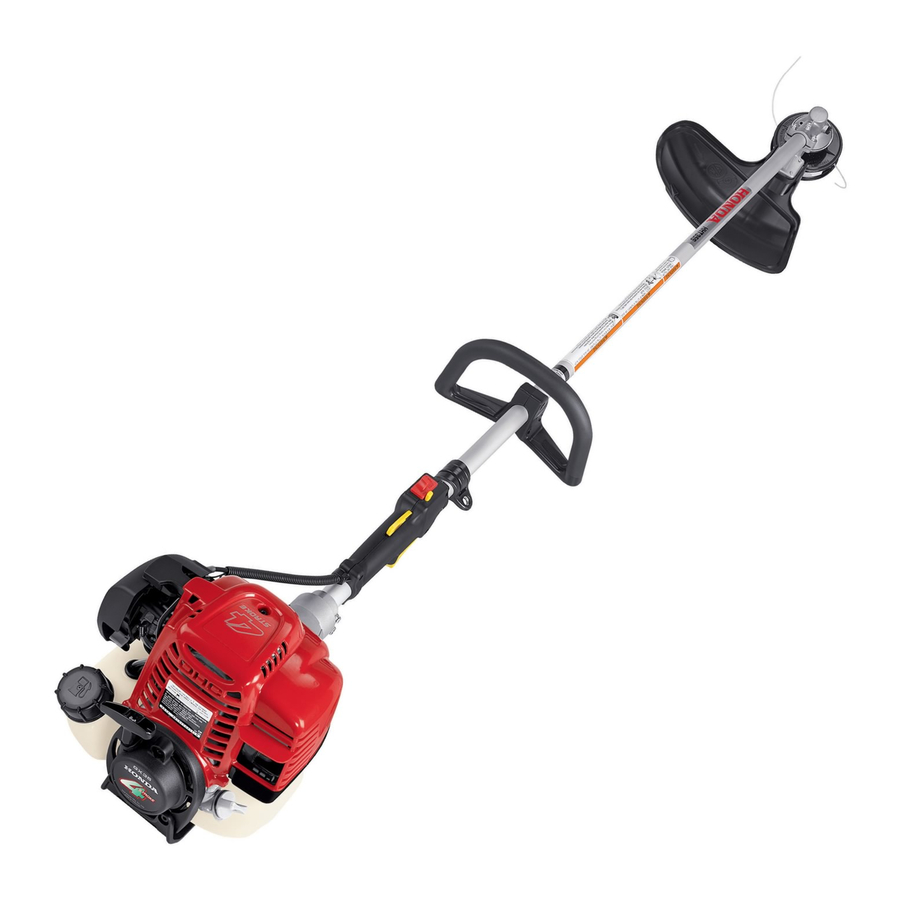
Honda HHT25S Owner's Manual
Hide thumbs
Also See for HHT25S:
- Manual (131 pages) ,
- Owner's manual (36 pages) ,
- Owner's manual (66 pages)
Table of Contents
Advertisement
Quick Links
See also:
Owner's Manual
INTRODUCTION
Congratulations on your selection of a Honda trimmer/brush cutter!
We are certain you will be pleased with your purchase of one of the
finest trimmer/brush cutters on the market.
We want to help you get the best results from your new trimmer/brush
cutter and to operate it safely. This manual contains the information
on how to do that; please read it carefully.
We suggest you read the DISTRIBUTOR'S LIMITED WARRANTY
(page 29) and the EMISSION CONTROL SYSTEM WARRANTY
(page 30) to fully understand its coverage and your responsibilities of
ownership.
When your trimmer/brush cutter needs scheduled maintenance, keep
in mind that your Honda servicing dealer is specially trained in
servicing Honda trimmers/brush cutters. Your Honda servicing dealer
is dedicated to your satisfaction, and will be pleased to answer your
questions and concerns.
Keep this owner's manual handy, so you can refer to it at any time.
This owner's manual is considered a permanent part of the trimmer
and should remain with the trimmer if resold.
The information and specifications included in this publication were in
effect at the time of approval for printing. Honda Power Equipment
Mfg. Inc. reserves the right, however, to discontinue or change
specifications or design at any time without notice and without
incurring any obligation whatever. No part of this publication may be
reproduced without written permission.
SAFETY MESSAGES
Your safety and the safety of others are very important. We have
provided important safety messages in this manual and on the
trimmer/brush cutter. This information alerts you to potential hazards
that could hurt you or others. Please read these messages carefully.
Of course, it is not practical or possible to warn you about all the
hazards associated with operating or maintaining a trimmer/brush
cutter. You must use your own good judgment.
You will find important safety information in a variety of forms:
• Safety Labels - on the trimmer/brush cutter.
• Instructions - how to use this trimmer/brush cutter correctly and
safely.
• Safety Messages - preceded by a safety alert A symbol and one
of three signal words: DANGER, WARNING, or CAUTION. These
signal words mean:
B DANGER
B WARNING
B CAUTION
Each message tells you what the hazard is, what can happen, and
what you can do to avoid or reduce injury.
• Damage Prevention Messages - You will also see other
important messages that are preceded by the word NOTICE. This
word means:
Your trimmer or other property can be
NOTICE
damaged if you don't follow instructions.
© 2004-2008 American Honda Motor Co., Inc.-All Rights Reserved
31VL3D12
00X31-VL3-D120
You WILL be KILLED or SERIOUSLY
HURT if you don't follow instructions.
You CAN be KILLED or SERIOUSLY
HURT if you don't follow instructions.
You CAN be HURT if you don't follow
instructions.
POM31VL3D12
EM5
IPC.xxxx.2008.11
PRINTED IN U.S.A.
OWNER'S MANUAL
HHT25S • HHT35S
B
WARNING:
The engine exhaust from this product contains
chemicals known to the State of California to cause
cancer, birth defects, or other reproductive harm.
CONTENTS
INTRODUCTION ...............................1
SAFETY MESSAGES........................1
TRIMMER SAFETY ...........................2
INFORMATION.............................2
MODIFICATIONS .........................2
EMPLOYERS ...............................2
SAFETY LABEL LOCATIONS ......3
ASSEMBLY .......................................3
PRECAUTIONS............................3
CONTROLS AND EQUIPMENT........7
LOCATIONS .................................7
CONTROLS ..................................7
EQUIPMENT ................................8
BEFORE OPERATION......................9
THE TRIMMER? ...........................9
READY? .......................................9
GO? ..............................................9
ADJUSTED? ...............................10
OPERATION....................................10
PRECAUTIONS..........................10
STARTING THE ENGINE...........10
STOPPING THE ENGINE ..........11
DISCONNECTION......................11
B
TRIMMER OPERATION............. 11
OPERATING TIPS ..................... 13
SERVICING YOUR TRIMMER........ 14
MAINTENANCE SAFETY........... 14
MAINTENANCE SCHEDULE ..... 14
ENGINE ...................................... 15
FUEL SYSTEM........................... 17
COOLING FIN INSPECTION ..... 18
ATTACHMENTS.............................. 18
APPLICATIONS ......................... 18
BLADES ..................................... 19
DEBRIS SHIELDS ...................... 20
CUTTING-LINE HEADS ............. 21
STORAGE ....................................... 24
TRANSPORTING ............................ 25
PROBLEMS..................................... 25
TECHNICAL INFORMATION .......... 26
SPECIFICATIONS...................... 27
CONSUMER INFORMATION ......... 28
WARRANTY ............................... 29
WARRANTY ............................... 30
WARRANTY ............................... 30
INFORMATION........................... 31
1
Advertisement
Table of Contents

Related Manuals for Honda HHT25S


Summary of Contents for Honda HHT25S
-
Page 1: Table Of Contents
When your trimmer/brush cutter needs scheduled maintenance, keep in mind that your Honda servicing dealer is specially trained in servicing Honda trimmers/brush cutters. Your Honda servicing dealer is dedicated to your satisfaction, and will be pleased to answer your questions and concerns. -
Page 2: Trimmer Safety
Tighten or replace as needed IMPORTANT SAFETY INFORMATION before operating the trimmer. The Honda HHT25S and HHT35S trimmer/brush cutters are designed • Do not operate the trimmer without a debris shield properly to cut grass, weeds, brush, and/or wood if equipped with an installed. -
Page 3: Safety Label Locations
If a label comes off or becomes hard to PRECAUTIONS on page 10. read, contact an authorized Honda servicing dealer for a replacement. IMPORTANCE OF PROPER ASSEMBLY Proper assembly is essential to operator safety and the reliability of the machine. -
Page 4: Loose Parts
Check all loose parts against the following list. Contact your Installation authorized Honda servicing dealer if any of the loose parts shown are 1. Remove the four 5 x 28 mm bolt/washers and handlebar holder A. not included with your trimmer. - Page 5 Cutting-line Head and Shield Installation Brush/Wood (50-tooth) Blade and Shield Installation Prior to installation, move the ignition switch to the STOP (O) position Prior to installation, move the ignition switch to the STOP (O) position and disconnect the spark plug cap from the spark plug. and disconnect the spark plug cap from the spark plug.
-
Page 6: Engine Oil
Blade Cover Removal ENGINE OIL 1. Turn the blade cover slowly until the cover latch is clear of the The trimmer is shipped WITHOUT OIL in the engine. debris shield. 1. Place the trimmer on a level surface, and then remove the oil filler Unfasten the latch by lifting the tab off the post. -
Page 7: Controls And Equipment
CONTROLS AND EQUIPMENT CONTROLS The location and operation of the controls are similar on both the COMPONENT CONTROLS AND LOCATIONS HHT25S and HHT35S models. Choke Lever Loop Type Handle The choke lever opens and closes the choke valve. CUTTING-LINE HEAD... -
Page 8: Equipment
Shoulder Harness Releasing the throttle trigger reduces engine speed. At idle, the A full shoulder harness must be worn by the operator of these Honda cutting attachment should coast to a stop. trimmers/brush cutters when equipped with a blade and debris shield. -
Page 9: Before Operation
BEFORE OPERATION IS YOUR TRIMMER READY TO GO? For your safety, and to maximize the service life of your equipment, it ARE YOU READY TO OPERATE THE TRIMMER? is very important to take a few moments before you operate the trimmer to check its condition. -
Page 10: Are Your Shoulder Harness And Trimmer Correctly Adjusted
OPERATION ARE YOUR SHOULDER HARNESS AND TRIMMER CORRECTLY ADJUSTED? SAFE OPERATING PRECAUTIONS Adjusting the Harness Before operating the trimmer for the first time, please review the Adjust the harness so the quick-release latch is at your right hip, as IMPORTANT SAFETY INFORMATION section on page 2 and shown. -
Page 11: Stopping The Engine
The cutting-line head or blade should not rotate with the engine idling. If there is rotation at idle, adjust the idle speed correctly before using the trimmer. For idle adjustment, consult your authorized Honda servicing dealer. -
Page 12: Safe Operating Practices
Refer to the chart on page 18 for appropriate blade applications. start the cutting attachment rotation. If using a blade on a Honda trimmer equipped with a loop handle, also The trimmer has the greatest cutting force at maximum engine speed. -
Page 13: Operating Tips
Accelerate the engine to maximum speed before starting the cut, and trimmer away from you. saw through with uniform pressure. Blades on Honda HHT25S and HHT35S trimmers rotate If shrubs or saplings bind the blade, stop the engine and, while counterclockwise, as viewed from the operator’s position. Therefore, supporting the weight of the trimmer, push the shrub or sapling away the left side of the blade is moving toward you. -
Page 14: Servicing Your Trimmer
Lubricate the gear case To ensure the best quality and reliability, use only new, Honda Check the clutch shoes and drum Genuine parts or their equivalents for repair and replacement. -
Page 15: Engine
23° ~ 104°F (-5° ~ 40°C). The SAE oil viscosity and service classification are on the API label on the oil container. Honda recommends that you use API service category SJ or later. OIL FILLER... - Page 16 Verify the throttle trigger operates smoothly and the throttle cable is Recommended spark plug: CMR5HSB (NGK) undamaged. If there is visible damage, or if the throttle trigger does not operate smoothly, have your authorized Honda servicing dealer NOTICE replace the throttle cable.
-
Page 17: Fuel System
Spark Arrester Service FUEL SYSTEM The spark arrester must be serviced every 100 hours to keep it Refueling functioning as designed. This engine is certified to operate on unleaded gasoline with a pump If the engine has been running, the muffler will be very hot. Allow the octane rating of 86 or higher. -
Page 18: Cooling Fin Inspection
ENGINE COOLING FINS Your Honda trimmer servicing dealer has cutting attachments that have been designed and approved for your trimmer and are covered by warranty. Non-Honda attachments are usually designed for 2. -
Page 19: Blades
Blade Inspection Always wear gloves when working around the blade. Before each If installing a metal blade on a Honda trimmer equipped with a loop use, check the blade for wear and damage, and check the tightness of handle, also install the optional barrier kit that includes a full shoulder the blade lock nut. -
Page 20: Debris Shields
TORQUE: 14 ft-lb (20 N·m) DEBRIS SHIELDS A variety of blades are available from your Honda trimmer servicing dealer. Always use a debris shield designed for use with a blade when attaching a blade to your trimmer. The blade type debris shield does not have a cutoff knife. -
Page 21: Cutting-Line Heads
CUTTING-LINE HEADS Refer to the applicable illustration for removing and installing the All Honda trimmers come with either a manual or semi-matic cutting debris shields. Tighten the spacer bolts/washers to the specified head. Read this section to learn how to inspect, install new line, and torque. - Page 22 Manual-Feed Cutting-Line Head 5. When you have about 6 inches (150 mm) of line Line is released from the cutting head by manually pulling and turning remaining, press the lines the spool with the trimmer engine stopped. into the two notches on the bottom of the spool.
- Page 23 2. Locate the half-round locking hole on the spool. It is important to prevent the two lines from getting twisting over each other. Position a finger SPOOL between the lines as you turn the spool to prevent the lines from twisting.
-
Page 24: Storage
STORAGE Removal and Installation This section shows you how to remove and install either style trimmer head from your trimmer. STORAGE PREPARATION 1. Insert the tip of a 4 mm hex wrench, or equivalent, fully into the Proper storage preparation is essential to keep your trimmer trouble gear case hole. -
Page 25: Transporting
TRANSPORTING Adding Fuel Stabilizer to Extend Fuel Storage Life When adding a fuel stabilizer, fill the fuel tank with fresh gasoline. If only partially filled, air in the tank will promote fuel deterioration during BEFORE LOADING storage. If you keep a container of gasoline for refueling, be sure that it contains only fresh gasoline. -
Page 26: Technical Information
TECHNICAL INFORMATION Low Power or Engine Speed Won’t Increase Possible Cause Correction This section contains important information about serial number Air filter is dirty or clogged. Clean or replace the air filter. locations, high altitude operation, and emission control systems. Fuel filter is dirty or clogged. -
Page 27: Emission Control System
125 hours (0 ~ 80 cc) Intermediate 250 hours (greater than 80 cc) The following instructions and procedures must be followed in order to keep the emissions from your Honda engine within the emission 300 hours (0 ~ 80 cc) standards. Extended... -
Page 28: Consumer Information
(5.9 kg) (6.7 kg) CONSUMER INFORMATION U-type 15.4 lb. (7.0 kg) Dealer Locator Information To find an Authorized Honda Servicing Dealer anywhere in the United TUNEUP States: ITEM SPECIFICATION MAINTENANCE Call (800) 426-7701 0.024 ~ 0.028 in Spark plug gap Refer to page 16. -
Page 29: Distributor's Limited Warranty
What American Honda Will Repair or Replace Under Warranty: Service Items American Honda will repair or replace, at its option, any part that is proven to be defective in material or workmanship under normal use during the Contact an authorized Honda servicing dealer to purchase any of applicable warranty time period. -
Page 30: Accessories, Replacement Parts, And Apparel Warranty
Honda Power Honda recommends that you retain all receipts covering maintenance on your Equipment dealer in the United States, Puerto Rico, or the U.S. -
Page 31: Quick Reference Information
Schedule on page 14. Honda dealer determines it is defective or causes a failure of a warranted part, Note: This list applies to parts supplied by Honda and does not cover parts your claim for repair of your engine may be denied. - Page 32 Printed on Recycled Paper...