Table of Contents
Advertisement
Quick Links
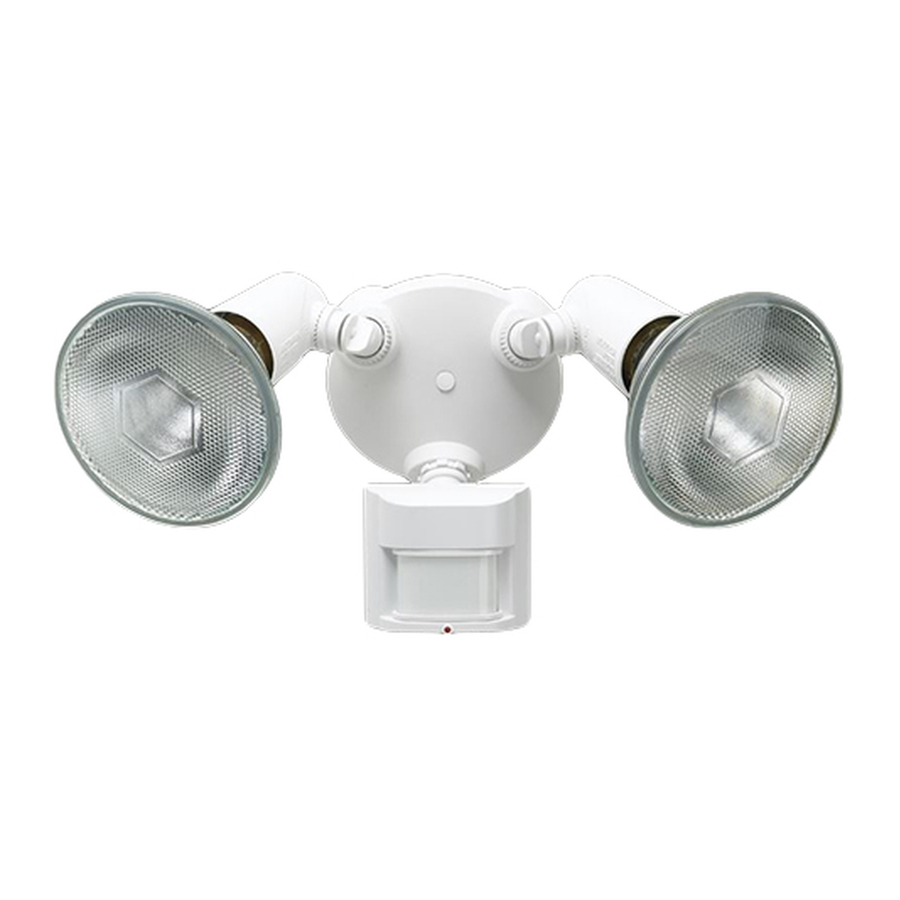
GUARDIAN
Models MLGC240B
MLGC240W
Features
• Turns on lighting when motion is detected.
• Automatically turns lighting off.
• Dual Light Level.
• Photocell keeps the lighting off during daylight hours.
• LED indicates motion was sensed (day or night).
This package includes:
Bulb
Holders
Cover
Plate
Light Control
Mounting Bolt
Mounting Strap
2 Shells
© 2008 Atlas Lighting Products, Inc.
PRO
™
240 S
eRieS
Rubber Plug
Plastic Hanger
Sensor
2 Wire
Connectors
Gasket
6 Screws
(3 sizes included)
Requirements
• The light control requires 120-volts AC.
• If you want to use Manual Mode, the control must be
wired through a switch.
• Some codes require installation by a
qualified electrician.
• This product is intended for use with the enclosed
gasket and with a junction box marked for use in wet
locations.
OPERATION
Mode:
On-Time
Test
5 Seconds
Auto
1, 5, or 20 Min
Manual
To Dawn*
Dual Light
3, 6 Hr, to Dawn
Level
* resets to Auto Mode at dawn.
Note: When first turned on wait about 1
the circuitry to calibrate.
Put ON-TIME switch on the sensor bottom to TEST
and the Dual Light Level switch OFF.
ON-TIME
TEST 1 5 20
Put the ON-TIME switch in the
1, 5, or 20 minute position.
MANUAL MODE
Manual mode only works at night
because daylight returns the sen-
sor to AUTO.
Flip the light switch off for one sec-
ond then back on to toggle between
AUTO and MANUAL MODE.
Manual mode works only with the
ON-TIME switch in the 1, 5, or 20
position.
Works: Day Night
x
/
minutes for
1
2
TEST
DUAL LIGHT LEVEL
Off 3 6 Dusk to
Dawn
AUTO
ON-TIME
TEST 1 5 20
1 Second OFF
then...
... back on.
240-028-A
598-1094-04
x
x
x
x
Advertisement
Table of Contents

Summary of Contents for Atlas Lighting Products Guardian Pro 240 Series
- Page 1 Mounting Strap 6 Screws (3 sizes included) 2 Shells © 2008 Atlas Lighting Products, Inc. • The light control requires 120-volts AC. • If you want to use Manual Mode, the control must be wired through a switch. • Some codes require installation by a qualified electrician.
- Page 2 Mode Switching Summary TEST Move ON-TIME Switch to 1, 5, or 20 minutes AUTO Flip light switch off for one second then MANUAL MODE * If you get confused while switching modes, turn the power off for one minute, then back on. After the cali- bration time the control will be in the AUTO mode.
- Page 3 Wire the Light Control WARNING: Turn power off at circuit breaker or fuse. ❒ Remove the existing light fixture. ❒ Install the mounting strap as shown using two screws that fit your junction box. ❒ The plastic hanger can be used to hold the fixture while wiring.
- Page 4 TEST AND ADJUSTMENT ❒ Turn on the circuit breaker and light switch. NOTE: Sensor has a 1 minute warm up period before it will detect motion. When first turned on, wait 1 minutes. ❒ Turn the RANGE control to the medium position (halfway between MIN and MAX), Dual Light Level to OFF, and the ON-TIME control to the TEST position.
-
Page 5: Specifications
CFL) Bulbs. TROUBLESHOOTING GUIDE If you experience a problem with your Light Control, first follow this guide. For additional assistance write to: Atlas Lighting Products, Inc. • Customer Service Department • P.O. Box 2348 • Burlington, NC 27216 SYMPTOM POSSIBLE CAUSE Lights will not come 1. - Page 6 FIVE YEAR LIMITED WARRANTY Atlas Lighting Products, Inc. warrants against defects in materials or workmanship for a period of five years from the date of purchase for use, and agrees to repair or, at our option, replace a defective unit without charge for either parts or labor. IMPORTANT: This warranty does not cover damage resulting from accident,...
- Page 7 Notes / Notas _________________ _____________________________ _____________________________ _____________________________ _____________________________ _____________________________ _____________________________ _____________________________ _____________________________ _____________________________ _____________________________ _____________________________ _____________________________ _____________________________ _____________________________ _____________________________ _____________________________ _____________________________ _____________________________ 598-1094-04...
- Page 8 Notes / Notas _________________ _____________________________ _____________________________ _____________________________ _____________________________ _____________________________ _____________________________ _____________________________ _____________________________ _____________________________ _____________________________ _____________________________ _____________________________ _____________________________ _____________________________ _____________________________ _____________________________ _____________________________ _____________________________ 598-1094-04...


Need help?
Do you have a question about the Guardian Pro 240 Series and is the answer not in the manual?
Questions and answers