
Related Manuals for Parasound ZoneMaster 1250


Summary of Contents for Parasound ZoneMaster 1250
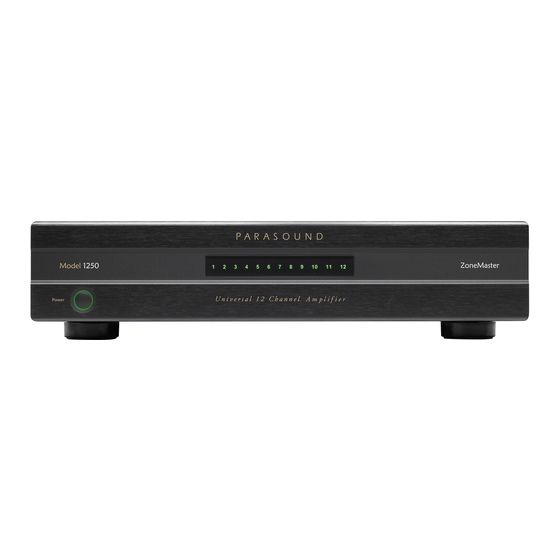
- Page 1 ® ® aste el 1 Univ versal Twel ve Ch hanne el Amp plifier NER’S S Manu...
-
Page 2: Important Safety Instructions
19. Wall or Ceiling Mounting — Mount the product to a wall or ceiling only as recommended. 20. Heat — The product should be situated away from heat sources such as radiators, heat registers, stoves, and other products (including amplifiers) that produce heat. ® Parasound ZoneMaster 1250 Owner’s Manual Page 2... - Page 3 Keep the carton in the event it is needed in the future Record the 5 digit serial number located on the bottom side of your ZoneMaster 1250 in the space below. Also note your Parasound dealer’s name and telephone number. Your purchase receipt-dealer invoice is required to determine if your ZoneMaster 1250 is eligible for Parasound warranty service.
- Page 4 ........® Parasound ZoneMaster 1250 Owner’s Manual...
- Page 5 1250, , inspect it tho oroughly for e evidence of po ossible shipp damage a and tell your P Parasound de ealer immedia ately if you fin d any. If poss sible, save an nd store both inner and outer cartons s and–most e...
- Page 6 AC M Mains V Voltag BEFORE E plugging i in the Zone eMaster 125 0’s AC pow wer cord: C Check if the rear panel i marked for 115V or r 230V. Thes se markings s are locate ed below the e AC line (m mains) inlet The Zone...
- Page 7 Rear r Panel l Audio o Conn nection Channel pairs (left an nd right) are grouped into o 6 zones. T Typically eac h room or ar rea is consid dered a zone but this will be d determined b by the system m integrator Always d...
-
Page 8: Audio Output Connections
Speaker A and B Outputs The ZoneMaster 1250 is equipped with connections for two speakers on each channel (labelled A and B). This unique feature gives system designers greater flexibility and can usually avoid the added expense, complexity, heat and power consumption of additional amplifiers. - Page 9 Rear r Panel l Contr rols fo or Each h Zone Input Select S Switch The Input Select switch h selects whic ch audio sour rce will play in n that zone. There are e three optio Line Input: The z zone will play y the audio so urce that is c...
-
Page 10: Channel Level Controls
3. Turn the in-wall volume control knob fully clockwise to its maximum setting., 4. Slowly turn up the ZoneMaster 1250’s Level controls until the volume level in the room or zone is as high as you or the home owner might ever want it to be. This is the most appropriate setting for the Level controls because it will improve sound quality and prevent the home owner from over-driving the speakers. - Page 11 Turn n On Op ptions The settin ng of the rear panel Turn O On Options Sw witch determin nes whether a all six zones t turn on and o together o or if each zon e turns on an nd off individu ally.
- Page 12 Sele cting A Audio Trigge er or 12 2V Trig gger by y Zone When the e Turn On Opt tions switch is s set to “Audio o/12V By Zon ne” you can s set the six sm all 12V/Audio switches t to select Aud io or 12V turn...
- Page 13 12 V Volt Trig gger J Jacks b by Zon In Jacks The Z ZoneMaster 1 250 “12V All” ” jack and six individual zon ne jacks are 3 3.5mm mini ja acks (mono). To use a 12V V trigger, inse rt the trigger w wire plug into o the jack and...
-
Page 14: Power Button
Checking for Short Circuits on the Speaker Outputs If your ZoneMaster 1250’s front panel indicators are illuminated red or alternate illumination between green and red this indicates a problem. Your first step is to immediately turn off the amp with its master AC power switch (above the AC cord inlet). -
Page 15: Frequently Asked Questions
You might be able to stop the hum by attaching a wire from the chassis of the offending component to the chassis or ground screw of your preamplifier. ® Parasound ZoneMaster 1250 Owner’s Manual Page 15 ™... -
Page 16: Warranty Repair
1. Unit was not purchased from a Parasound Authorized Dealer. 2. You do not have the original bill of sale or sales receipt from a Parasound Authorized Dealer. 3. You are not the original owner. The Parasound warranty is not transferable. -
Page 17: Specifications And Details
Height, with feet: 4.15” (105 mm) Height, without feet: 3.5” (89 mm) Weight: Net: 17 lbs (7.7kg) Shipping: 23 lbs (10.4kg) Specifications and features subject to change or improvement without notice. Rev 1.0, Copyright 2014 ® Parasound ZoneMaster 1250 Owner’s Manual Page 17 ™... - Page 18 Paras sound Produc c ts, Inc. 2250 0 McKinnon A Ave, San Fran ncisco, CA 94 4 124 Customer S Service: 415- -397-7100 .parasound.c ® Paras s ound ZoneMa aster 1250 Own ner’s Manual Page 18 ™...
Need help?
Do you have a question about the ZoneMaster 1250 and is the answer not in the manual?
Questions and answers