Table of Contents
Advertisement
Advertisement
Table of Contents

Related Manuals for Teac iTB400 i-TALLBOY


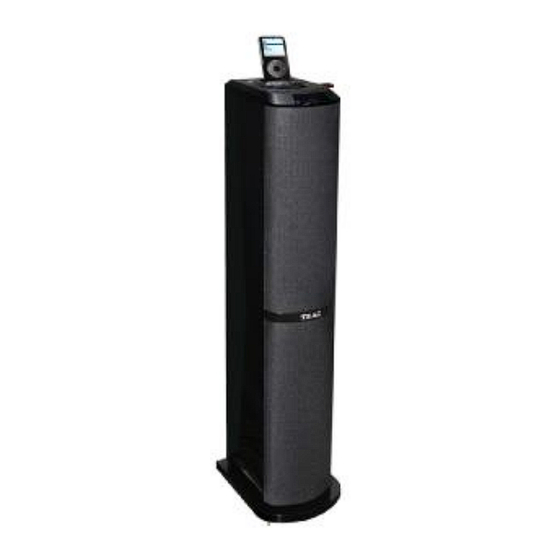
Summary of Contents for Teac iTB400 i-TALLBOY
- Page 1 iTB400 i-TALLBOY...
- Page 3 SPECIFICATIONS Power supply: ~220-240V / 50Hz Max power: L/R speaker power and impedance: × 2 15 W / 4 Ohm Subwoofer power and impedance: 30 W / 6 Ohm Frequency response: 20Hz-20KHz+/-3dB Tuner frequency range: FM 88.00-108.00MHz S/N radio: >80dB Weight A Output terminals: ×...
- Page 4 COMPATIBILITY INFORMATION * ``Made for iPod`` means that an electronic accessory has been designed to connect specifically to iPod and has been certified by the developer to meet Apple performance standards. * Apple is not responsible for the operation of this device or its compliance with safety and regulatory standards.
-
Page 5: Table Of Contents
TROUBLESHOOTING FOREWORD Power supply can not be turned on THANKS * Make sure that the power cord is fully inserted in the power outlet. Dear Customer, We would like to take this opportunity to thank you for purchasing this unit. We strongly recommend that you carefully study the User Manual before attempting The remote control does not work to operate the unit and that you note the listed precautions. -
Page 6: Warning
RADIO OPERATION WARNING 1. Enter FM Function While in operating mode, press the button on the remote control to enter FM Please read and understand all the following warnings and those marked on the unit. mode. This unit has been designed and manufactured to assure personal safety. 2. -
Page 7: Accessories
BASIC OPERATION ACCESSORIES USB/DIGITAL CARD It is possible to listen to audio files using the USB or CARD interface of this unit. 1. Connect the USB device or CARD with this unit. 60GB 30GB 2. Press the USB/SD button on the remote control to play the USB or CARD. Press USB/SD button again to switch between USB and CARD modes. -
Page 8: Base Plate Installation
BASIC OPERATION BASE PLATE INSTALLATION MENU BUTTON (IN STA LLATIO N SKETCH MAP ) (DESIGN SKETCH) While playing the iPod, press the MENU button to return to the main menu. DIRECTION BUTTONS While playing the iPod, press the Direction buttons to move the cursor to select the item you want. -
Page 9: Panels
BASIC OPERATION PANELS PREPARATION 1) Before the unit is turned on, please check if all the connections are right and safe. Then connect the main power. 2) Press the POWER ON/OFF button on the back panel to turn on the main power. 3) Press the STANDBY button on the remote control (or front panel) to switch to... -
Page 10: Remote Control
REMOTE CONTROL SYSTEM CONNECTION NOTE: Before connecting any external equipment, pay attention to the picture below. 1. Align the remote control directly at the remote control sensor of the device. Each connection must be safe and firm. Disconnect power cable until you have 2.
Need help?
Do you have a question about the iTB400 i-TALLBOY and is the answer not in the manual?
Questions and answers