Table of Contents
Advertisement
Quick Links
Advertisement
Table of Contents

Summary of Contents for Nextar N7W-1BE
-
Page 1: Digital Photo Frame
N7W-1BE User’s Manual Digital Photo Frame... -
Page 2: Main Features
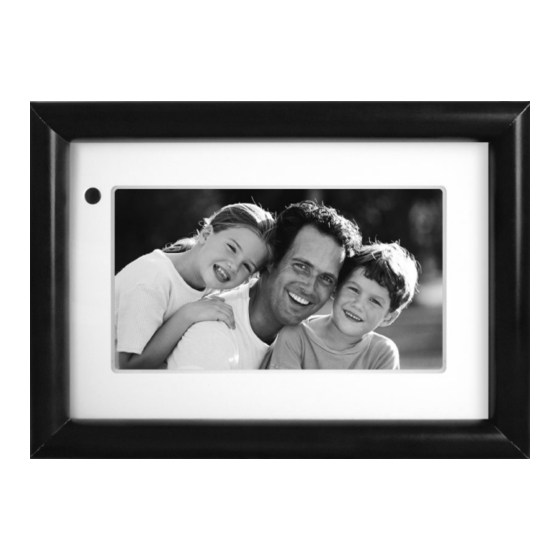
Digital Photo Frame, which allows you to enjoy unbelievably amazing visual & audio experience. With our Digital Photo Frame, you can easily and quickly view photos directly from your digital camera’s memory card. You can even create a slideshow with multiple transition effects. -
Page 3: Safety Precautions And Maintenance
★ To prevent overheating, never block any vents on the back of the digital photo frame. ★ Keep your Digital Photo Frame out of direct sunlight. Direct sunlight may cause damage. ★ Always use the buttons built in to the memory card slots to remove memory cards from the device. - Page 4 To Remove and Replace the Picture Frame Color Panel: Photo 1 With both hands on the picture frame panel, place thumbs on the upper portion of the frame and index fingers at the corners. Lift the corners with the index finger. Photo 3 To change panel, simply place the panel over the frame and...
- Page 5 Digital Photo Frame. How to Insert Memory Cards Your Digital Photo Frame is compatible with the following memory cards: ★ Secure Digital Card (SD) ★ Multimedia Card (MMC) ★...
- Page 6 Key Features and Remote Control Key Functions: 1. POWER: Turn the device on/off. 2. ENTER: Press this button once to play the selected file. Press the button again and the display will return to the Root Menu. 3. PHOTO: Press this button to select the「PHOTO」 Mode available on the main menu.
-
Page 7: Remote Control
Remote Control (Note: before you use the remote control, please remove all plastic strips.) POWER: Press this button to turn the device on/off. MUTE: Press this button to turn the sound on/off. PHOTO: Press this button to enter Slide Show Mode available on the main menu. - Page 8 ENTER: Press “ENTER” for the settings menu. EXIT: Press ”EXIT” to return to the previous menu. VOLUME +/-: Press ”VOLUME +/-” to adjust the player’s volume. : Press this button once to freeze the playback picture. : Press this button once to halt playback (pre-stop). Press the button again to terminate playback function and return to the main menu.
-
Page 9: Viewing Your Pictures
Viewing your Pictures 1. Press the buttons either on the remote control or on the screen to operate the Digital Photo Frame. 2. Press the arrow keys on the remote control to navigate through the menu items displayed on the screen and select PHOTO. Press the Enter button to confirm the selection or simply press the PHOTO button to select the function. - Page 10 How to Play Video Files The Digital Photo Frame is compatible with MPEG-1 and are stored in your memory card (please read the Q&A section for more information). 1. Press the Right and Left arrow keys to select "VIDEO", then press the ENTER button, or simply press the MOVIE button on the remote control to confirm the selection.
-
Page 11: System Setup
You may insert the included TV cable into the TV’s AV interfaces (usually yellow, red and white) to connect the Digital Photo Frame to your TV. Turn off both the frame and the TV before connecting them to each other. Once connected, make sure that your TV settings are correct (usually labeled AV, Video or AUX). -
Page 12: Operation
Operation: OSD LANGUAGE: OSD language settings. DEFAULT: Restores your Digital Photo Frame back to the factory default settings. S/W VERSION: Shows the current version of the software. PHOTO SETUP: EFFECT: Allows you to activate or deactivate the photo display effects. Press the Right or Left arrow keys and the ENTER button to turn OFF or ON (16 effects in total). -
Page 13: Video Setup
JPEG INFO: Allows you to adjust the JPEG photo ON/OFF settings. Press the Right or Left arrow keys and the ENTER button to turn ON or OFF. PLAY MODE:Allows you to adjust the order the photos will be displayed in. Press the Right or Left arrow keys and the ENTER button to switch the mode between NORMAL or RANDOM mode. -
Page 14: Clock Setup
CLOCK SETUP Function: DATE SETUP: Press arrow keys and ENTER button to setup the date. TIME SETUP:Press arrow keys and ENTER button to setup the time of clock. ALARM SETUP: Press arrow keys and ENTER button to setup the time of alarm. POWER ON:... - Page 15 What kinds of memory cards are compatible with the Digital Frame? How can I get MP3 music files? Is the Digital Photo Frame equipped with built-in memory? Can I insert several memory cards into the Digital Photo Frame?
-
Page 16: Specifications
Specifications Display: 7” TFT LCD 480 X 234 (RGB) I/O: A/V Out Interface Speakers (stereo) Power: AC Adapter; Input 100-240V; Output 12V 1-1.5A Environmental Requirements Operation: 0~35℃, Humidity 0~85% Storage: -20~60℃, Humidity 10~90% Accessories: AC Adapter Remote Control Warranty Card Registration Card Return Card USB Cable...


Need help?
Do you have a question about the N7W-1BE and is the answer not in the manual?
Questions and answers