Table of Contents
Advertisement
Quick Links
Advertisement
Table of Contents

Summary of Contents for Nextar N7-110
-
Page 1: Digital Photo Frame
N7-110 User’s Manual Digital Photo Frame... -
Page 2: Main Features
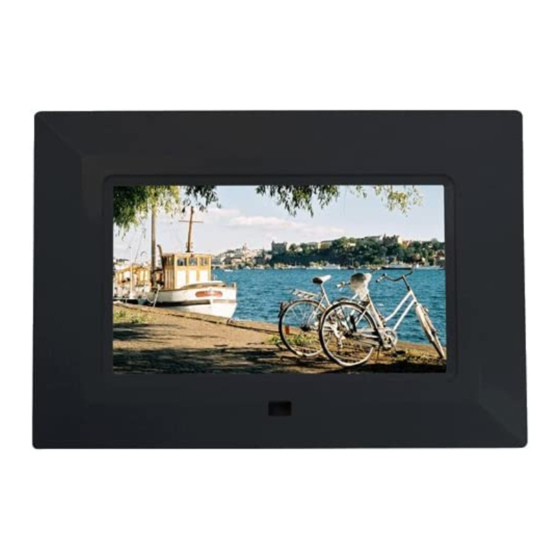
This manual will present you with the exciting features provided by our Digital Photo Frame. With our Digital Photo Frame, you can easily and quickly view photos directly from your digital camera’s memory card. You can even create a slideshow with multiple transition effects. -
Page 3: Screen Saver
How to Clean LCD Screen ★ Wipe the screen gently. The screen is made of glass and may be easily scratched or broken. ★ To clean fingerprints and dust from the LCD screen, a soft, non-abrasive cloth such as a camera lens cleaning cloth is recommended. ★... - Page 4 Digital Photo Frame. How to Insert Memory Cards Your Digital Photo Frame is compatible with the following memory cards: ★ Secure Digital Card (SD) ★ Multimedia Card (MMC) ★...
-
Page 5: Remote Control
Key Features and Remote Control Key Functions: 1.MENU 2.ENTER 3.LEFT 4.RIGHT 5.UP 6.DOWN 7.DC IN 8.SD/MMC/MS CARD Remote Control Note: before you use the remote control, please remove all plastic strips. POWER: Press this button to turn the device on/off. PHOTO: Press this button to enter Slide Show Mode available on the main menu. -
Page 6: Main Menu
SLIDE SHOW: Press this button to view the pictures one by one automatically. ROTATE: Press this button to adjust the viewing angle of the pictures. : Press “ ” buttons to select the menu you want. ENTER: Press “ENTER” for the settings menu. -
Page 7: System Setup
SYSTEM SETUP Press the Right and Left arrow keys to navigate through the Setup Categories. Press the Up and Down arrow keys to navigate through setup function items. Press the Right and Left arrow keys to modify settings, and then press ENTER to confirm the settings. -
Page 8: How To Set The Clock
CLOCK SETUP Function: DATE SETUP: Press arrow keys and ENTER button to set the date. TIME SETUP:Press arrow keys and ENTER button to set the time. POWER ON: Press arrow keys and ENTER to set the time to power on the device. POWER OFF:...


Need help?
Do you have a question about the N7-110 and is the answer not in the manual?
Questions and answers