Table of Contents
Advertisement
Quick Links
Advertisement
Table of Contents

Summary of Contents for SilverStone ts231u
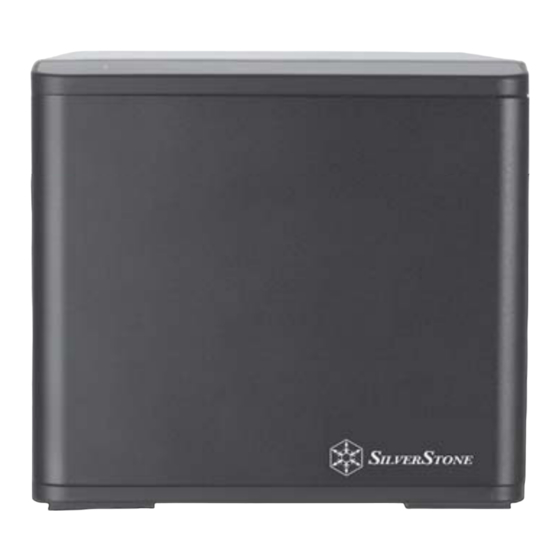
- Page 3 TS231U PRODUCT INTRODUCTION The TS231U SuperSpeed USB 3.0 Enclosure provides easy access to two standard 3.5” SATA HDD. It has a USB 3.0 and eSATA interface for connection with PC or notebook. The device usage through the USB 3.0 5Gbps throughput to reach best data-storage performance.
-
Page 4: Raid Switch
TS231U RAID SWITCH SWITCH RAID MODE NORMAL RAID 0 RAID 1 JBOD(COMBINE) Please push MODE button to confirm RAID mode CAUTION!! Backup your data in disk before setting any RAID mode, because all disks will be formatted first when setting RAID mode Bitte drücken Sie die MODE-Taste zur Bestätigung des RAID-Modus... -
Page 5: Operation
GPT lors de l'initialisation des disques. 1.Conecte el cable de potencia y el TS231U a su sistema con el cable USB 3.0 ó el cable eSATA. 2.Abra la puerta frontal e inserte el disco duro (se recomienda encarecidamente usar dos discos duros de la misma capacidad) 3.Conecte la potencia... - Page 6 TS231U OPERATION 1.Подключите кабель питания и устройство TS231U к вашей системе с помощью кабеля USB 3.0 или кабеля eSATA. 2.Откройте переднюю дверцу и установите жесткий диск (настоятельно рекомендуется использовать 2 жестких диска с одинаковым объемом памяти) 3.Включите питание 4.Установите режим RAID и нажмите кнопку MODE (Режим) 5.Для...
- Page 7 Achten Sie darauf, zuvor alle darauf befindlichen Daten zu sichern! • Berühren Sie das Netzkabel nebst Netzstecker niemals mit feuchten oder gar nassen Händen. • Versuchen Sie nicht, das TS231U selbst zu zerlegen. • Nicht bei hohen Umgebungstemperaturen nutzen. • Le changement du mode RAID nécessite le formatage des disques. Assurez-vous en premier que les données ont toutes été sauvegardées ! •...
-
Page 8: Raid Mode
TS231U RAID MODE RAID 0 Diagram 1. RAID 0 (Striping) for high performance The drives are shown as one large single volume but the total size will depend on the drive with the smallest capacity. This setting is used where speed is the primary objective but RAID Level 0 (also called striping) is not redundant. This form of array splits each piece of data across the drives in segments;... - Page 9 TS231U RAID MODE RAID 0 Diagram 1. RAID 0 Жесткие диски отображаются как один большой том, но общий размер зависит от жесткого диска с меньшей емкостью. Эта конфигурация используется, если высокая скорость является главной целью. Но уровень RAID 0 (также называемый чередованием) не...
- Page 10 TS231U RAID MODE RAID 1 Diagram 2. RAID 1 (Mirroring) for high security Two drives show up as one volume but only 50% of the total capacity, depending on the drive with the smallest capacity, can be used. RAID 1 creates an exact copy (or mirror) of a set of data on the second drive.
- Page 11 TS231U RAID MODE RAID 1 Diagram 2. RAID 1 Два жестких диска отображаются как один том, но можно использовать только 50% суммарной емкости дисков, в зависимости от жесткого диска с меньшей емкостью. Массив RAID 1 создает точную (зеркальную) копию набора данных на втором жестком диске.
- Page 12 TS231U RAID MODE JBOD(COMBINE) Diagram 3. JBOD(COMBINE) In this mode all hard drives will be concatenated into a single hard drive with large capacity. Total size = the combination of all hard drives 3. JBOD In diesem Modus werden sämtliche Festplatten zu einem einzelnen Laufwerk mit hoher Kapazität zusammengefasst.
- Page 13 *La capacité du nouveau DD doit être supérieure ou égale à celle du disque remplacé. Il est fortemment recommandé d'utiliser des DD de la même capacité et du même modèle. 6. Le TS231U commence à reconstruire la matrice RAID1, le voyant LED de DD clignotera en rouge sans s'arrêter. 7. Le voyant de DD s'allumera en bleu lorsque cela est terminé.
-
Page 14: Raid1 Rebuild
*La capacidad del nuevo disco duro debe ser mayor ó igual que la del viejo. Se recomienda encarecidamente discos duros de capacidad y modelo idénticos. 6. Cuando el TS231U empiece a reconstruir la matriz RAID 1, el indicador LED del disco duro parpadeará en rojo continuamente. 7. El indicador de disco duro cambiará a azul cuando acabe. -
Page 15: Warranty Information
Replacement product will be warranted for remainder of the warranty period or thirty days, whichever is longer. All products should be sent back to the place of purchase if it is within 30 days of purchase, after 30 days, customers need to initiate RMA procedure with SilverStone Technology in USA by first downloading the “USA RMA form for end-users”...


Need help?
Do you have a question about the ts231u and is the answer not in the manual?
Questions and answers