Baby Lock BLE3ATW Service Manual
Hide thumbs
Also See for BLE3ATW:
- Instruction and reference manual (56 pages) ,
- Quick reference threading manual (2 pages) ,
- Service manual (69 pages)
Table of Contents
Advertisement
Advertisement
Table of Contents

Related Manuals for Baby Lock BLE3ATW


Summary of Contents for Baby Lock BLE3ATW
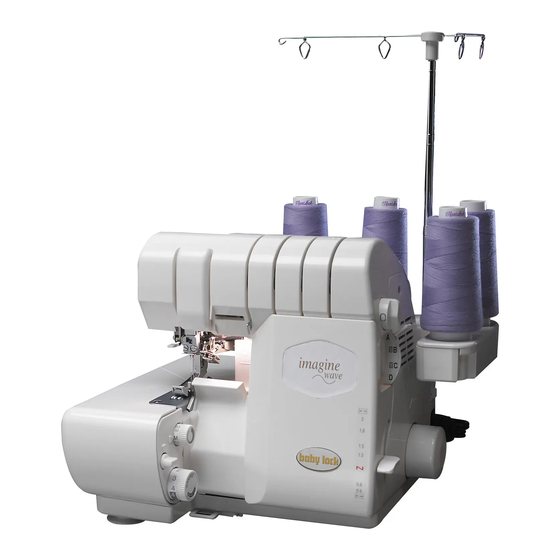
- Page 1 SERVICE MANUAL MODEL BLE3ATW Vol. 1.0...
- Page 2 1.Construction of Covers Adjusting gauge Distance of lower looper tip from center of lower looper shaft 55.4 Distance of lower looper tip from right side of right needle (AT) Distance of lower looper tip Distance of upper looper tip from right side of right needle from right side of right needle (SX,DX &...
- Page 4 Before adjustment of Thread delivery System(ATD) In case you can not get the proper stitches, please check the following items before you adjust the Thread Delivery System. a) Is thread positioned between discs? Double check the thread position. b) Does spring in the head thread guide catch thread properly? BLE1AT’s head thread guide is exclusive for BLE1AT.
- Page 5 0.9mm 0.4mm Rear clearance adjustment Front clearance adjustment Shut Open position position Shut position Open position...
- Page 6 3-3 HOW TO REPLACE THE TIMING BELT OF THREAD DELIVER Y UNIT (see P6) a) Loosen the presser foot joint link fixing screw A( 24 upper screw). b) Loosen the thread delivery unit fixing screw c) Remove 2 pcs of the thread delivery unit fixing screw d) Push the thread delivery unit downward and remove the timing belt of thread delivery unit Then, remove the motor belt and you can replace the timing belt of thread delivery unit.
- Page 8 3-6 REPLACEMENT OF SENSOR CABLE (see P.8) Needle thread and looper thread sensor cable consists of 1 13 pcs of fine stainless wire and its pulling strength is 13kg (3 lb.). Therefore, it is almost unnecessary to replace the sensor cable. In case you replace the cable, refer the followings; There are 3 types of sensor cable and each cable is different length.
- Page 10 4. ADJUSTMENT OF STITCHES fabric : cotton 1-layer thread : 100% polyester spun thread (maxi-lock or metrosene thread) needle : SCHMETZ HAX1SP #11/CR machine: 1-needle (right), 3-thread sewing width : 5.0mm (max) length : 3.0mm D.F. : N stitch selector : B 4-1 ADJUSTMENT OF NEEDLE THREAD SENSOR CABLE The needle thread sensor cable effects the timing of both needle thread and looper threads.
- Page 11 Turn Clockwise Become Loose Turn Counter-clockwise Become Tight Needle thread sensor cable Looper thread sensor cable Needle thread sensor cable adjusting screw Looper thread sensor cable adjusting screw Fine Tuning screw Standard Position...
- Page 12 5. ADJUSTMENT OF NEEDLE THREADER (see P12) Before you adjust the needle threader, you are required to exchange the new needles of SCHMETZ HAX1SP #14CR as the bent needles or different needles cause the incorrect timing of needle threader. Also, you are required to make sure that needles are positioned in the needle clamp holder correctly.
- Page 14 6. Checking threading steel pipe joint (see p .14) a) Set the machine for looper threading. b) Move the lock button release lever slightly to the right. c) Check the connecting point whether the looper threading pipe joint and threading steel pipe is fitted each other properly .
- Page 16 8. CUTTING WIDTH ADJUSTMENT 0.1mm a) Cut 1 layar cotton fabric and make a cutting width 3.7 0.1mm between the eye of needle and the edge of fabric. Machine Settings Needle : Right Needle(O2) Thread : No Use Stitch Width : M Stitch Length: 2.5 Differencial feed : N Fabric : Cotton broad 1 layer...
- Page 17 9. How to replace adjusting chaining tongue a) Move the pin to leftward. b) Remove chaining tongue holder set with adjusting chaining tongue. c)Loosen screw of adjusting chaining tongue and remove holder pin. Replace the adjusting chaining tongue with new one. d)Make pararell between "A"...
-
Page 18: Trouble Shooting
10. TROUBLE SHOOTING 10-1 NEEDLE THREADS ARE UNBALANCED ; * Is the serger threaded correctly? See Quick Reference Guide * Are the threads snapped in the head guide? See Instruction Book P.12 * Is the stitch selector positioned correctly? See Quick Reference Guide * Is the looper thread fine-tuning screw positioned correctly? See Instruction Book P.13 * Are the threads recommended high quality?
Need help?
Do you have a question about the BLE3ATW and is the answer not in the manual?
Questions and answers