Table of Contents
Advertisement
Advertisement
Table of Contents

Related Manuals for HP 27SV


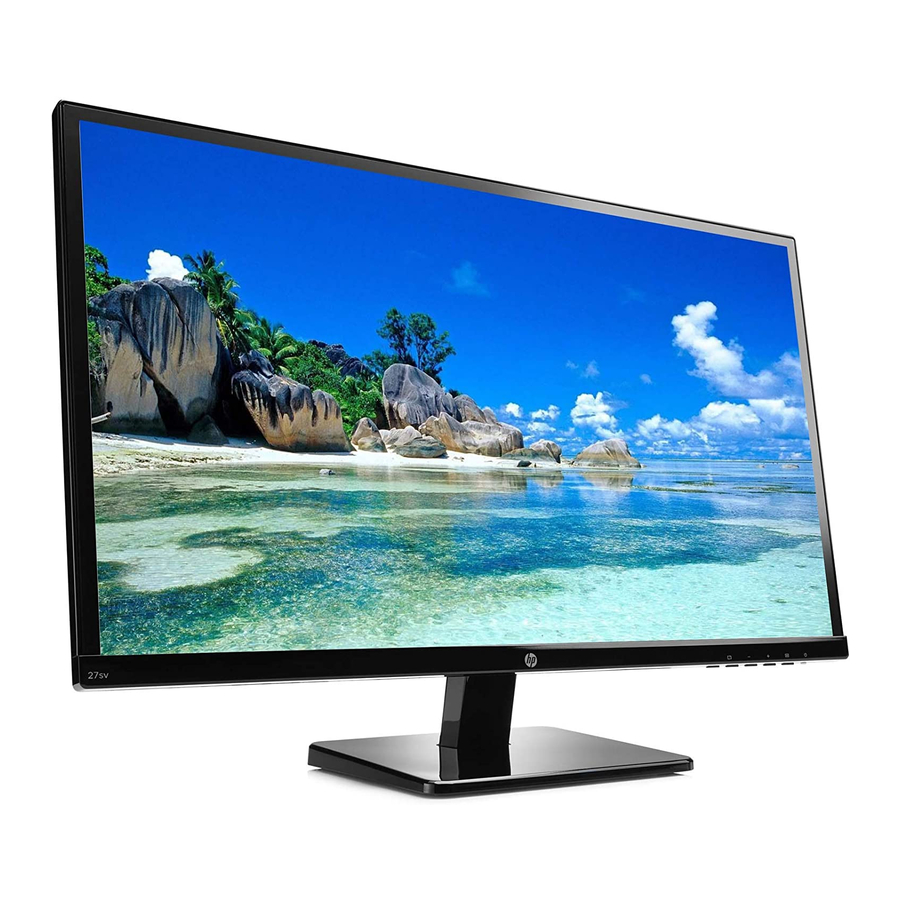
Summary of Contents for HP 27SV
- Page 1 User Guide...
- Page 3 Microsoft, Windows, and Windows Vista are either trademarks or registered trademarks of Microsoft Corporation in the United States and/or other countries. The only warranties for HP products and services are set forth in the express warranty statements accompanying such products and services. Nothing herein should be construed as constituting an additional warranty.
-
Page 4: About This Guide
About This Guide This guide provides information on setting up the monitor, installing drivers, using the on-screen display menu, troubleshooting and technical specifications. WARNING! Text set off in this manner indicates that failure to follow directions could result in bodily harm or loss of life. CAUTION: Text set off in this manner indicates that failure to follow directions could result in damage to equipment or loss of information. -
Page 5: Table Of Contents
Getting Support from hp.com ........ -
Page 6: Product Features
1. Product Features HP LCD Monitors The HP LCD (liquid crystal display) monitors have an active matrix, thin-film transistor (TFT) screen with the following features: • Large diagonal display Maximum graphics resolution: • 1920 x 1080 @ 60Hz Plus full-screen support for lower resolutions •... -
Page 7: Safety And Maintenance Guidelines
Use the appropriate and correctly sized furniture designed to properly support your HP LCD monitor. WARNING: LCD monitors that are inappropriately situated on dressers, book cases, shelves, desks, speakers, chests, or carts may fall over and cause personal injury. -
Page 8: Maintenance Guidelines
If the monitor is not operating properly or has been dropped or damaged, contact an authorized HP dealer, reseller, or service provider. • Use only a power source and connection appropriate for this monitor, as indicated on the label/back plate of the monitor. -
Page 9: Setting Up The Monitor
3. Setting Up the Monitor Unpacking the Monitor 1. Unpack the monitor. Make sure all contents are included. Store the packing box. 2. Turn off the computer and other attached devices. 3. Prepare a flat area to assemble the monitor. You may need a flat, soft, protected area for placing the monitor screen-down while preparing it for installation. - Page 10 3. Lift the monitor to an upright position and place on a flat, stable surface. Figure 3-2 Monitor in upright position ENWW Installing the Monitor...
- Page 11 Preparing the monitor for wall-mounting 1. Check the stability of the wall-mounting fixture. WARNING! To reduce the risk of personal injury or of damage to the equipment, check that the wall-mounting fixture is adequately installed and secured before attaching the monitor. Refer to the instructions supplied with the wall-mounting fixture and check that it is capable of supporting the monitor.
-
Page 12: Connecting Monitor Cables
Connecting Monitor Cables Connecting the VGA (Analog) Cable or DVI-D (Digital) Cable or HDMI (Digital) Cable Use a VGA video cable or a DVI-D cable or a HDMI cable to connect your monitor to your computer. To use DVI, you must have a DVI-compliant graphic card. Connectors are located on the back of the monitor. -
Page 13: Connecting The Audio Cable (Select Models)
Connecting the Audio Cable (Select Models) Connect the built-in monitor speakers to the computer by using the audio cable as shown in the following illustration Figure 3-5 connecting the Audio Cables - connector locations may vary High-Bandwidth Digital Content Protection (HDCP) (Available on Select Models) Your monitor supports HDCP and can receive high-definition content. -
Page 14: Connecting The Power Cable
Connecting the Power Cable 1. Follow all Electrical and Power Warnings WARNING! To reduce the risk of electric shock or damage to your equipment: Do not disable the power cord grounding plug. The grounding plug is an important safety feature. Plug the power cord into a grounded (earthed) electrical outlet. -
Page 15: Adjusting The Tilt
Adjusting the Tilt For optimal viewing, adjust the screen tilt to your own preference, as follows: 1. Face the front of the monitor and hold the base so that you do not topple the monitor while changing the tilt. 2. Adjust the tilt by moving the top edge of the monitor either toward or away from you, without touching the screen. -
Page 16: Operating The Monitor
NOTE: You might need to install the digitally signed monitor drivers (INF or ICM files) manually from the CD, in case of an installation error. Refer to the "HP Monitor Software Information" file on the CD for instructions (in English only). -
Page 17: Front-Panel Controls
The monitor buttons are located on the bottom of the front panel Figure 4-1 Front-panel control buttons Auto 3 2 1 Icon Power button MENU/ENTER 27sv: + / Volume & audio source V272: + / Volume - / ECO Auto Config. button / Exit Chapter 4. Operating the Monitor ENWW... - Page 18 Activate the volume control when the OSD is OFF, Press + or - to adjust the setting when OSD is ON. • + / Volume & audio source(27sv): When the OSD is closed, press the button will be Audio Hot-Key Function, and press MENU key to move the orange cursor to Audio Source, then it can be adjust.
-
Page 19: How To Adjust A Setting
How To Adjust A Setting 1. Press the MENU-button to display the OSD menu. 2. Press + or - to navigate through the menu items. Once the desired item is highlighted, press the MENU-button to enter. Press + or - again to navigate through the sub-menu.Once the desired item is highlighted, press MENU-button to activate it. -
Page 20: Adjusting The Picture
Adjusting The Picture The descriptions for function control: Main Menu Main Menu Sub Menu Item Icon Item Sub Menu Description Luminance Contrast* Contrast adjustment Brightness* Brightness adjustment Standard Standard Mode Text Text Mode Internet Internet Mode Game Game Mode Movie Movie Mode Sports Sports Mode... - Page 21 Main Menu Main Menu Sub Menu Item Icon Item Sub Menu Description OSD Setup H.Position Adjust the horizontal position of V.Position Adjust the vertical position of Timeout Adjust the OSD Timeout Language Select the OSD language Extra Input Select D-SUB/DVI/HDMI DDC/CI Turn ON/OFF DDC/CI Support Reset...
-
Page 22: Selecting Video Input Connectors
Selecting Video Input Connectors The input connectors are: • VGA connector (analog) • DVI-D connector (digital) • HDMI connector (digital) The monitor automatically determines which inputs have valid video signals, and displays the image. You can connect the VGA cable, the DVI-D cable and the HDMI cable, or all. If both or all cables are installed, the default input selection is VGA.The source of input can be switched using the Input Select option in the OSD menu. -
Page 23: Identifying Monitor Conditions
Identifying Monitor Conditions Special messages will appear on the monitor screen when identifying the following monitor conditions: • Input Signal Out of Range.Indicates the monitor does not support the input signal because the resolution and/or refresh rate are set higher than the monitor supports. -
Page 24: Power-Saver Feature
Power-Saver Feature When the monitor is in normal operating mode, the Power light is blue and the monitor uses the normal watts of power. For power usage, refer to "Technical Specification" (Appendix B). The monitor also supports a power-saver mode that is controlled by the computer. -
Page 25: Troubleshooting
Check with your computer manufacturer. Also check the monitor's video cable and make sure none of the pins are bent. • Make sure the HP Monitor Drivers are installed (HP Monitor Drivers are available at : http://www.hp.com/support) Picture Is Fuzzy & Has •... -
Page 26: Getting Support From Hp.com
Getting Support from hp.com Before you contact customer service, refer to HP Technical Support at: http://www.hp.com/support Select your country/region, and then follow the links to the support page for your monitor. Preparing to Call Technical Support If you cannot solve a problem by using the troubleshooting tips in this section, you might have to call technical support. -
Page 27: Technical Specifications
B. Technical Specifications All specifications represent the typical specifications provided by HP's component manufacturers; actual performance may vary either higher or lower. HP LCD Monitors Face treatment: Glare polarizer with hard coating Input terminal: VGA connector DVI-D 24-pin D-type connector HDMI connector... -
Page 28: Preset Video Modes
Preset Video Modes The monitor automatically recognizes many preset video input modes that will appear properly sized and centered on the screen. Table B-2 Factory Preset Video Input Modes Item Preset Resolution Horizontal Frequency (kHz) Vertical Frequency (Hz) 640 x 480 31.469 59.940 800 x 600... -
Page 29: Lcd Monitor Quality And Pixel Policy
For more information about your LCD Monitor, refer to the HP Web site at: http://www.hp.com/support. Appendix B. Technical Specifications...
Need help?
Do you have a question about the 27SV and is the answer not in the manual?
Questions and answers