Table of Contents
Advertisement
Quick Links
KING CANADA
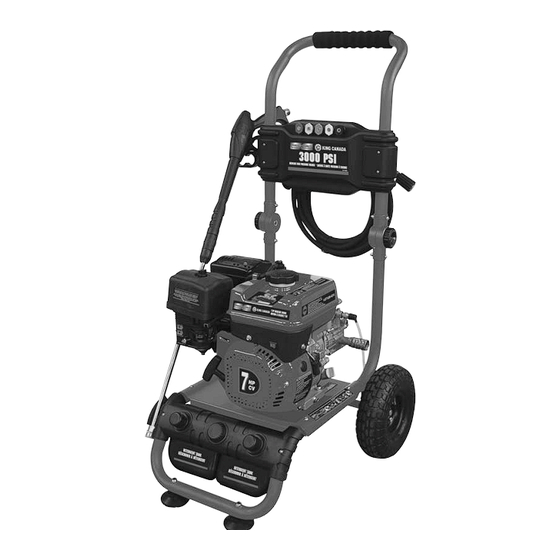
3000 PSI GASOLINE
HIGH PRESSURE WASHER
09/2013
Read this manual. Do not attempt to operate this pressure washer until you have
read and understood the safety, operation, and maintenance instructions
MODEL: KPW-3001FM
INSTRUCTION MANUAL
COPYRIGHT © 2013 ALL RIGHTS RESERVED BY KING CANADA TOOLS INC.
Advertisement
Table of Contents

Related Manuals for King Canada KPW-3001FM


Summary of Contents for King Canada KPW-3001FM
-
Page 1: High Pressure Washer
HIGH PRESSURE WASHER 09/2013 Read this manual. Do not attempt to operate this pressure washer until you have read and understood the safety, operation, and maintenance instructions MODEL: KPW-3001FM INSTRUCTION MANUAL COPYRIGHT © 2013 ALL RIGHTS RESERVED BY KING CANADA TOOLS INC. -
Page 2: Warranty And Service Information
KING CANADA shall in no event be liable for death, injuries to persons or property or for incidental, special or consequential damages arising from the use of our products. Shipping and handling charges may apply. If a defect is found, KING CANADA will either repair or replace the product. - Page 3 Care must be taken not to spray without pressing the wand trigger or damage to the pump may result. too close to the surface or damage could occur. King Canada is not Never let the machine run unless connected to the water supply and it responsible for damage caused during use.
-
Page 4: Getting To Know Your Pressure Washer
22. Outlet 11. Engine On/Off switch 23. Detergent tube 12. Detergent tank fill cap 24. Thermal relief cap and drain pipe 13. Detergent tanks MODEL KPW-3001FM Maximum water pressure 3000 PSI Maximum water volume 2.3 GPM Maximum inlet pressure 90 PSI... - Page 5 ASSEMBLY WARNING! Before turning on your pressure washer engine, you MUST check oil level, fuel level and air cleaner filter. ASSEMBLY Remove all the contents from the carton and proceed to the following assembly instructions; Top handle Install the top handle (A) Fig.1 to the lower frame (B). Position the top handle flat onto the lower frame, insert carriage bolts (C) through both the handle and frame.
-
Page 6: Pre-Start Check
PRE-START CHECK & START-UP PROCEDURES PRE-START CHECK OIL LEVEL WARNING! This pressure washer has been shipped from the factory without oil or very little oil in the crankcase. Operating the unit without the correct amount of oil can damage the engine. Oil crankcase capacity: 0.6 litres. Always check the oil level before starting the engine, make sure the pressure washer is on a level surface. -
Page 7: Operation
START-UP PROCEDURES & OPERATION START-UP PROCEDURES continued..Follow these instructions to safely start your high pressure washer. 5) Turn engine switch to the “On” position. Fig.9A. 6) Open fuel valve (“On” position-towards the right), (A) Fig.9B. 7) Close the choke lever (B) Fig.9B by moving the lever towards the left. Also move the throttle lever (C) Fig.9B to its maximum setting (towards the left). -
Page 8: Operation And Maintenance
OPERATION & MAINTENANCE DETERGENT INJECTOR (LOW PRESSURE) & DETERGENT TANKS This high pressure washer is intended for use only with car wash or pressure washer detergents with mild soaps. Only use detergents that are compatible with the aluminum and brass parts of the pressure washer pump. Do not use powdered soaps, they may clog the injection system. -
Page 9: Maintenance And Storage
MAINTENANCE & STORAGE MAINTENANCE ENGINE MAINTENANCE Engine Oil Replacement Engine oil should be replaced after the first 20 hours of operation or after the first month of use, it should be replaced every 100 hours or 6 months after. To replace engine oil; Loosen the oil gauge dipstick (A) Fig.14. -
Page 10: Troubleshooting
High crankcase temperatures 2. Improper amount of oil in 2. Adjust oil level to proper amount crankcase PARTS DIAGRAM & PARTS LISTS Refer to the Parts section of the King Canada web site for the most updated parts diagram and parts list.
Need help?
Do you have a question about the KPW-3001FM and is the answer not in the manual?
Questions and answers