
Related Manuals for DigiTech AR1753


Summary of Contents for DigiTech AR1753
- Page 1 Time Sleep Language Backlight DIMMER Factory Reset SW version Presets (1-12) D A B + / D A B F M D i g i t a l R a d i o I N S T R U C T I O N M A N U A L...
-
Page 2: Safety Precautions
Safety Precautions To achieve the utmost in enjoyment and performance, and in order to become familiar with its features, please read this manual carefully before attempting to operate the unit, this will assure you years of faithful, trouble CAUTION: TO REDUCE THE RISK OF ELECTRIC SHOCK DO NOT free performance and listening pleasure. -
Page 3: Safety Information
Safety Information Batteries - Dispose of used batteries in an environmentally friendly Please note: Because it is a developing technology, station availability can manner. change without notice. As new multiplexes and transmitters are turned on, new stations will begin transmitting and new postcodes will be able to Temperature - Avoid extremes of temperature, either hot or cold, place receive DAB digital radio. -
Page 4: Table Of Contents
Table of Contents Safety Precautions..............2 Set Time ..................12 Safety Information ..............3 Set Language ................12 Package Content ..............5 Set Backlight................. 12 Factory Reset................13 Front Overview................6 Get SW Version ................13 Back Overview.................7 Set Sleep..................13 Remote Control Overview ............8 Set Dimmer.................. -
Page 5: Package Content
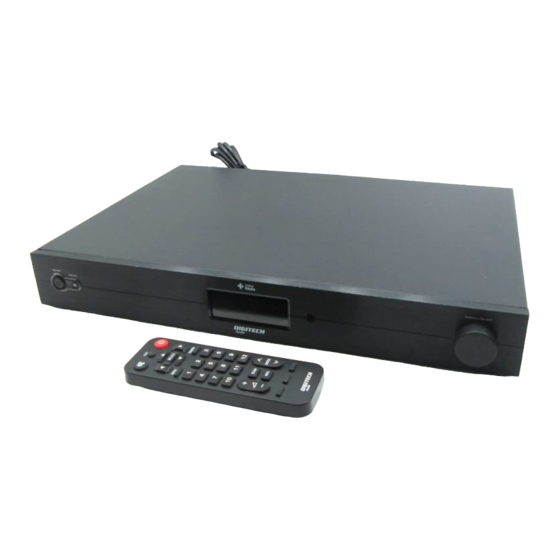
Package Content coaxial digital cable Antenna Instruction manual Main unit Remote control and its batteries(size: IECR03. UM-4 AAA 1.5V) -
Page 6: Front Overview
Front Overview Control All mode It calls ON/OFF button, press to turn on/off Radio Standby mode While press radio goes into standby mode, the indicator will indicate red, indicator again, Press radio goes into play mode, the indicator will be off. All mode: turn this knob to browse options, press SELECT to confirm FM mode: while FM frequency shows up, this knob allows you seek available stations. -
Page 7: Back Overview
Back Overview It is designed for enhance both DAB and FM receive scope. DAB/FM Antenna: Optical out socket: Connecting to a fiber-optic/ coaxial digital cable will allow your radio transmitting digital signal to audio equipments. Coaxial out socket: Red/Black RCA Line out sockets located on the rear of your radio is provided for connecting the audio signal to an external amplifier. Inserting a line out audio cable will not mute the internal loudspeaker. -
Page 8: Remote Control Overview
Remote Control Overview No. Control All mode MUTE Press to have your radio mute, press again to have sound All mode: Press to backward view options FM mode: while frequency is showing up, press to manually downward browse frequency 0.05MHz per step or press and hold to autoscan. -
Page 9: General Information
General Information Carefully remove your radio and its accessories from the box. You may wish to store the packaging for future use. Positioning Your Radio Place it on a flat / stable surface where no subject to vibration. Avoid the following locations: Where it is exposed to direct sunlight. -
Page 10: Dab+/Dab Mode
Update Station List DAB+/DAB MODE Note: Station availability can be changed without notice, for keeping your station list up to date, you need carry out this order. Remember place your radio at a stronger signal position! Power On Make sure your radio doesn’t engage in system setting at the moment, press 1. -
Page 11: Fm Mode
FM MODE Audio Setting Switching to FM Mode 1. Press MENU, it will say ‘Audio setting’. 1. While enjoying a DAB program, press MODE to FM Mode. 2. Press SELECT to confirm, you will find two options (the default option is Note: For initial use, it will start at the beginning of the FM frequency range ‘Stereo allowed’). -
Page 12: General Operation
General Operation E. Set date format Set Time a. Continue above step2 (or redo above step1-2), press to ‘Set date format’, 1. In DAB mode, press MENU, it will say ‘Time’, press SELECT to confirm. Note: In FM mode, press MENU, it will say ‘Audio setting’, we need press b. -
Page 13: Factory Reset
Factory Reset Set Dimmer Make sure your radio is powering on, press DIMMER repeatedly to set it, it Note: you might want your radio come back to its original setting condition, doing this order, it can be easily achieved. has three levels. It is designed for your eyes comfortable.
Need help?
Do you have a question about the AR1753 and is the answer not in the manual?
Questions and answers