AMC XCDi Instructions For Installation And Operation Manual
24bit / 192khz sampling advanced segment dac,
with amc proprietary designed switching mode power supply to cover 100 ~ 240vac
Hide thumbs
Also See for XCDi:
- Manual (17 pages) ,
- Instructions for installation and operation manual (16 pages) ,
- Instructions for installation and operation manual (12 pages)
Advertisement
XCDi
XCDi_vt
COMPACT DISC
CD & MP3
PLAYER
24bit / 192KHz Sampling Advanced Segment DAC,
With AMC Proprietary Designed Switching Mode Power Supply to Cover 100 ~ 240VAC
For Using the Unit in All Countries in The World and
Give Superb Quality by High Regulated Power System Designs.
IA
In the product and manual, AMC calls non-compressed PCM wave files Compact Disc as
"CD", MP3 compressed music flies as "MP3"
Advertisement
Table of Contents

Related Manuals for AMC XCDi

Summary of Contents for AMC XCDi
- Page 1 For Using the Unit in All Countries in The World and Give Superb Quality by High Regulated Power System Designs. In the product and manual, AMC calls non-compressed PCM wave files Compact Disc as "CD", MP3 compressed music flies as "MP3"...
- Page 4 SERVICE SAFETY PRECAUTIONS (UL) 1. Use exact replacement parts for critical locations, marked " ". WARNING! INVISIBLE LASER RADIATION WHEN OPEN AND INTERLOCKS DEFEATED. 2. Return lead dress to original position, and re install protective AVOID EXPOSURE TO BEAM. covers. VORSICHT! UNSICHTBARE LASERSTRAHLEN TRITT AUS, WENN DECKEL GE FFNET 3.
- Page 5 Hi-Fi fans, golden ears and vacuum tube gears. XCDi-vt incorporates an independent high voltage power supplies for the valve circuitries. The valves in XCDi-vt are working in a so-called "class A" amplification that claims the best sound reproduction.
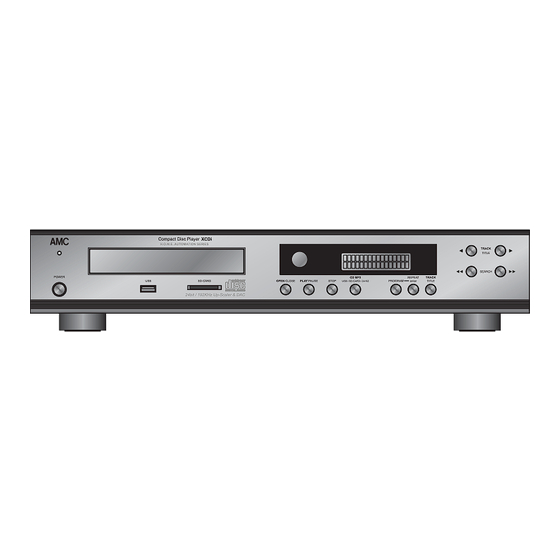
- Page 6 REAR PANEL CONNECTIONS/FRONT PANEL CONTROLS REAR PANEL 1. AUDIO OUTPUT 5. S/PDIF DIGITAL INPUT (OPTION) 2. DIGITAL OUTPUT 6. USB (OPTION) 3. OPTICAL (OPTION) 7. RECEPTACLE & FUSE (T1AL 250V) 4. SWITCH - OPTICAL, S/PDIF (OPTION) FRONT PANEL 1. POWER SWITCH AND POWER 7.
-
Page 7: Audio Output
4. SWITCH - OPTICAL, S/PDIF (OPTION) Once MD5501 or MD5502 module is installed in XCDi, there will be a switch to switch digital inputs between "OPTICAL INPUT" and "S/PDIF DIGITAL INPUT" 5. S/PDIF DIGITAL INPUT (OPTION) -
Page 8: Power Switch
Under "CD MP3" position, you can play CD or MP3 discs from the disc drawer of For MP3, when you press OPEN/ CLOSE the XCDi unit. By pressing the button the button to close disc drawer, the window input will be switched to USB or SD will display "CLOSE"... - Page 9 6. PROGRAM 8. TRACK / TITLE The XCDi can be programmed to play up This is button to select TRACK or TITLE to 20 tracks in any desired order. of MP3 disc or USB or SD Card. For CD disc, this button has no function.
- Page 10 TRACK Number XCDi has been tested with USB sticker/ These track numbers are identified on the SD card devices up to 16GB with FAT16, CD/MP3/USB/SD Card package and are FAT32 format.
-
Page 11: Remote Control
CD MP3 USB/SD CARD/ 24192 REMOTE CONTROL An infrared (IR) remote control is provided for convenience operation of the XCDi. The handset provides the same control functions as the front panel PLUS three additional control functions. 14. NUMERIC KEYPAD (0-9,ENTER) 16. -
Page 12: Specifications
SPECIFICATIONS AUDIO OUTPUT (Ref. 1KHz/0dB, unless otherwise stated): Disc capacity............Single disc, 120 or 80mm Digital to analogue conversion Burr-Brown Advanced segment DAC architecture Digital filter....8X over-sampling at up to 24-Bit/192KHz sampling rate (Stop band attenuation:-98dB, pass-band ripple: +/-0.002dB) Analogue filter................5-Pole active Frequency response 5Hz-20KHz............<+/-0.2 dB De-Emphasis error................<+/-0.2 dB Linearity..............+/-0.5 dB;... - Page 13 Sampling rate (KHz): 48, 44.1, 32, 24, 22.05, 16 Bit rate (Kbps): 320, 256, 224, 192, 160, 144, 128, 112, 96, 80, 64, 56, 48, 40, 32 / Variable bit-rate APPENDIX 2: AMC CD Player Remote Code List Customer Code: 07FC RC103 = RC-0039*B Random Repeat...
- Page 14 APPENDIX 3: Installing MD5404 into XCDit 1. MD5404 package 1.1 Vacuum Tube Module MD5404 1.2 Parts 1.2.1 PCB Spacer x 6 1.2.2 Screw Tapping T3x6SL (Black) x 2 1.2.3 Label vt, Black x 1 & Silver x 1 1.2.4 Cable Tie x 6...
- Page 15 2. Install MD5404 inot position 2.1 Insert PCB spacer x 5 pcs to bottom chassis 2.2 Screw 2 black screws to transformer bracket 3. Connect MAINS (P4 & P5 Power Supply Board)
- Page 16 4. Insert the ground lug between PCB copper tracks and stud then screw tightly. 5. Insert connectors to DAC board 5.1 4P BLUE wire – CN803 to DAC CN810 5.2 Soldered SK801 BLUE wire to DAC CN808 5.3 Soldered SK802 BROWN wire to DAC CN809 5.4 CN801 GRAY wire to DAC CN806 5.5 CN802 BROWN wire to DAC CN807 6, Remove J801/J802 jumper off...
- Page 17 7. Dress parallel wire connecting DAC CN805 to CONTROL board as shown in photo. (If this wire is not dressed properly as indicated then unexpected noise may be generated.) 8. Tie cables properly...
-
Page 18: Safety Instruction
15. SERVICING stores, or National Fire Protection Association (Batterymarch Park, Quincy. MA 02269). The user should not attempt to service the appliance beyond that described in the operating instructions. All other servicing AMC 21-3004 should be referred to qualified service personnel. - Page 20 2 1 R- 4 2 4 4 - 2 * A PN: 21R-4244-2*A...
Need help?
Do you have a question about the XCDi and is the answer not in the manual?
Questions and answers