
Related Manuals for Hello Kitty KT2052P


Summary of Contents for Hello Kitty KT2052P
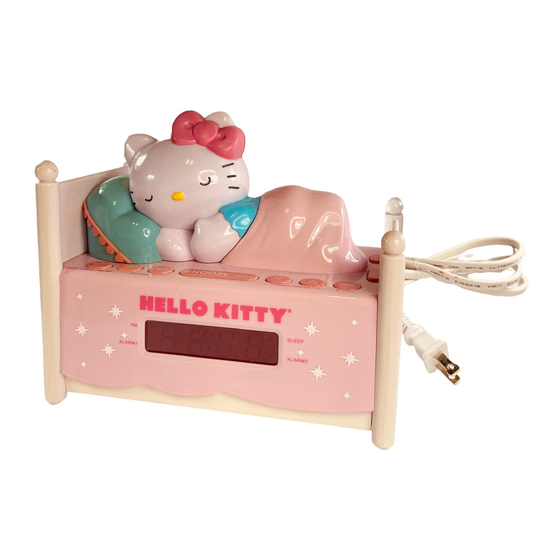
- Page 1 Sleeping Kitty Alarm Clock with Digital Tuning Radio USER MANUAL KT2052P THIS PRODUCT IS NOT A TOY! Caution: Electrically Operated Product – Please use care when plugging into AC outlet...
-
Page 2: Important Safety Instructions
WARNING TO PREVENT FIRE OR SHOCK HAZARD, DO NOT USE THIS PLUG WITH AN EXTENSION CORD, RECEPTACLE OR OTHER OUTLET UNLESS THE BLADES CAN BE FULLY INSERTED TO PREVENT BLADE EXPOSURE. TO PREVENT FIRE OR SHOCK HAZARD, DO NOT EXPOSE THIS APPLIANCE TO RAIN OR MOISTURE. Caution marking is located at the bottom of apparatus. -
Page 3: Compliance With Fcc Regulations
13. Refer all servicing to qualified service personnel. Servicing is required when the apparatus has been damaged in any way, such as power supply cord or plug is damaged, liquid has been spilled or objects have fallen into the apparatus, the apparatus has been exposed to rain or moisture, does not operate normally, or has been dropped. -
Page 4: Important Notes
For future reference, record the serial number in the space provided. Model Number: KT2052P Serial Number: ______________________________ IMPORTANT NOTES Avoid installing the unit in locations described below: •... -
Page 5: Preparation For Use
This unit has a polarized AC plug with one wide blade and one narrow blade. This plug will only fit into a matching polarized AC outlet. This is a safety feature to reduce the possibility of electric shock. If this plug will not fit in your AC outlet, you probably have an outdated non-polarized outlet. -
Page 6: Location Of Controls And Indicators
LOCATION OF CONTROLS AND INDICATORS OFF Button 2. ALARM1 Indicator ALARM1 SET, VOLUME - Button 3. Sleep indicator ALARM2 SET, VOLUME + Button 4. ALARM2 Indicator SNOOZE/ DIMMER Button 5. Battery Compartment DOWN/ TUNING - Button (At Bottom of Cabinet) 6. -
Page 7: Power Connection
POWER CONNECTION Plug the AC cord of the radio into a 120V~ 60Hz AC power outlet socket. SETTING THE CLOCK When you connect the clock radio to your AC outlet for the first time and switch ON the power, the time digits will flash on the display. The flashing will stop after you set the time. -
Page 8: Set/Retrieve Radio Presets
SET/RETRIEVE RADIO PRESETS Use the [- TUNING +] button to select the desired radio station. Press and hold the [MEMORY] button; the preset memory number will flash in the LED display. Press the UP or DOWN button to change to the desired preset number. Press the [MEMORY] button again to save the current radio station to the desired preset station. -
Page 9: Snooze/Sleep Function
The display returns to the current time mode if ALARM1 button is not pressed for several seconds in the alarm setting mode. The alarm setting is not completed. The display shows as below if Radio alarm sound is selected. The volume of Radio alarm will increase from MIN to MAX gradually. -
Page 10: Care And Maintenance
NOTE: If there is no battery in the back-up battery compartment, the Time and Alarm settings will be lost when the power is switched off. Reset the clock and alarm settings after reconnecting the AC power cord. CARE AND MAINTENANCE 1. - Page 11 90 DAY LIMITED WARRANTY AND SERVICE VALID IN THE U.S.A. ONLY SPECTRA MERCHANDISING INTERNATIONAL, INC. warrants this unit to be free from defective materials or factory workmanship for a period of 90 days from the date of original customer purchase and provided the product is utilized within the U.S.A. This warranty is not assignable or transferable.
- Page 12 To register your product, visit the link below to enter your information. http://www.spectraintl.com/wform.htm Licensed by: Marino Andriani, LLC Distributed by: Spectra Merchandising International, Inc. Chicago, IL 60634, USA www.spectraintl.com 0813 Printed in China...
Need help?
Do you have a question about the KT2052P and is the answer not in the manual?
Questions and answers