Advertisement
lifetime limited
warranty
Your Drive brand product is warranted to be free
of defects in materials and workmanship for the
lifetime of the original consumer purchaser.
This device was built to exacting standards
and carefully inspected prior to shipment. This
Lifetime Limited Warranty is an expression of our
confidence in the materials and workmanship of
our products and our assurance to the consumer
of years of dependable service.
This warranty does not cover device failure
due to owner misuse or negligence, or normal
wear and tear. The warranty does not extend to
non-durable
components,
accessories, casters, and grips, which are subject
to normal wear and need periodic replacement.
If you have a question about your Drive device or
this warranty, please contact an authorized Drive
dealer.
© 2006 Medical Depot, Inc. All rights reserved.
Drive is a trademark of Medical Depot, Inc.
Port Washington N.Y. 11050 USA Made in China
such
as
rubber
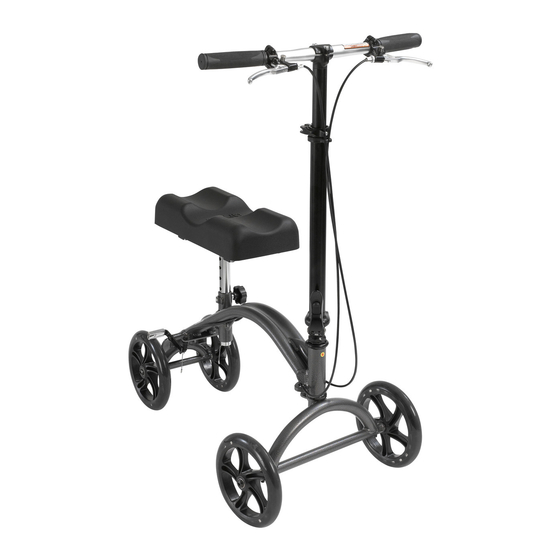
steerable
knee walker
EU Authorized Representative
Drive International, LLC
Globe Lane - Stockport
DUKINFIELD SK16 4RE, GB
www.drivemedical.com
Advertisement
Table of Contents

Subscribe to Our Youtube Channel
Related Manuals for Drive 790


Summary of Contents for Drive 790
- Page 1 If you have a question about your Drive device or this warranty, please contact an authorized Drive dealer. EU Authorized Representative Drive International, LLC...
- Page 2 CAUTION operating the knee walker TO REDUCE THE RISK OF ACCIDENT: The Drive Knee Walker is a mobility device that provides Before using the Knee Walker, you should be strength and comfort to anyone who may have an injury trained by a healthcare professional or dealer.
- Page 3 4. Straighten tiller to the upright position. Slide second assembly instructions screw into receptacle (figure 3) 1. Remove contents from carton. 2. Insert front tiller into front of frame (figure 1). figure 3 5. Secure scew and tiller in place by pushing locking handle against the side of the tiller (figure 4).
- Page 4 using the hand brake adjusting handle height Do not use the Knee Walker if the brake system is not To adjust the handle height, release the lock tab on the working properly. collar and adjust the handle to the desired height. Push the lock tab back to tighten.
Need help?
Do you have a question about the 790 and is the answer not in the manual?
Questions and answers
Im in need of tires for my knee scoote.r 790 i believe thats the model Im seeing lots of different tires online. Are they compatible with my scooter. Also i need to know tire dimensions.