Table of Contents
Advertisement
Quick Links
Download this manual
See also:
User Manual
Advertisement
Table of Contents

Related Manuals for Casio EX-Z57


Summary of Contents for Casio EX-Z57
- Page 1 (without price) EX-Z57 MAR. 2005 INDEX...
-
Page 2: Table Of Contents
CONTENTS SPECIFICATIONS ............................1 BLOCK DIAGRAM ............................5 TEST MODE ..............................6 PROGRAM VERSION UPGRADING ......................7 1. To update the firmware version ..................... 7 2. How to restore the firmware ......................8 3. To install the firmware ........................9 ADJ TOOL .............................. -
Page 3: Specifications
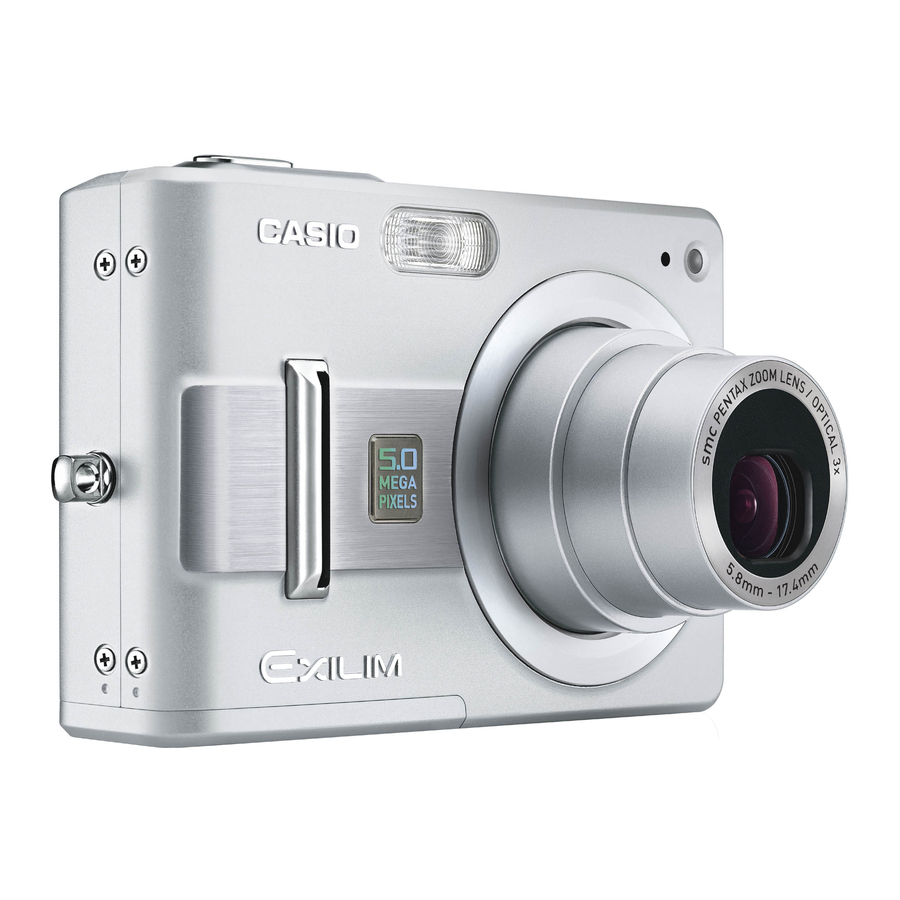
SPECIFICATIONS Image Files Format Snapshots: JPEG (Exif Ver.2.2); DCF (Design rule for Camera File system) 1.0 standard; DPOF compliant Movies: AVI (Motion JPEG) Audio: Recording Media 9.3MB built-in flash memory SD Memory Card MultimediaCard Image Size Snapshots: 2560 x 1920 pixels 2560 x 1712(3:2) pixels 2048 x 1536 pixels 1600 x 1200 pixels... - Page 4 Delete Single-file, all files (with protection) Effective Pixels 5.0 million Imaging Element 1/2.5-inch square pixel color CCD (Total pixels: 5.25 million) Lens/Focal Distance Lenses: F2.6 (W) to 4.8 (T); f=5.8 (W) to 17.4mm (T) (equivalent to approximately 35 (W) to 105mm (T) for 35mm film) Six lenses in five groups, including an aspherical lens Zoom 3X optical zoom;...
-
Page 5: Power Requirements
Power Requirements Power Requirements Rechargeable lithium ion battery (NP-40) x 1 Approximate Battery Life: The values below indicate the amount of time under the conditions defined below, until power automatically turns off due to battery failure. They do not guarantee that you will be able to achieve this level of operation. Low temperatures shorten battery life. - Page 6 Rechargeable Lithium Ion Battery (NP-40) Rated Voltage 3.7 V Rated Capacitance 1230 mAh Operating Temperature Range 0°C to 40°C (32°F to 104°F) Dimensions 38.5(W) x 38.0(H) x 9.3(D) mm (1.53˝(W) x 1.50˝(H) x 0.37˝(D)) Weight Approximately 34 g (1.2 oz) USB Cradle (CA-27) Input/Output Terminals Camera connector;...
-
Page 7: Block Diagram
BLOCK DIAGRAM — 5 —... -
Page 8: Test Mode
TEST MODE Note: Never perform the menu items unless otherwise instructed. Doing so may cause destruction of the data inside, which will make the camera unusable. To boot the test mode 1. While firmly pressing down both [MENU] and [UPPER], turn the power on. [UPPER] button 2. -
Page 9: Program Version Upgrading
PROGRAM VERSION UPGRADING 1. To update the firmware version 1. Prepare the memory card which contains the firmware for EX-Z57 in the root directory. EX-Z57.bin 2. Insert the above memory card into the camera, and set a fully charged battery in the camera. -
Page 10: How To Restore The Firmware
2. How to restore the firmware 1. Prepare the firmware restoration program and change its name as follows; rom840-1000100.lbn jupiter.bin NOTE: This software and procedure automatically restores the firmware even if the firmware belongs to a wrong model code. Make sure to use the correct software for the correct model. 2. -
Page 11: To Install The Firmware
<Writing the restoration program 1> 1. Copy the following software to the root directly of the SD card. Restoration software: rom840-1000100.lbn Firmware: EX-Z57.bin 2. Change the name as follows; “rom840-1000100.lbn” to “jupiter.bin” 3. Insert the SD card into the camera. -
Page 12: Adj Tool
*.adt (ADJ setting file. Sorted by models) * Place all files in the same folder. 2) Place the common test driver for CASIO/PENTAX in an appropriate place. 3) Place all of ADJ tool, USB DLL and ADJ setting file in the same folder. - Page 13 If “Universal USB Driver (VMEM manufacturer’s name)”,“USB device for UUSBD” can be found, the computer has successfully recognized the driver. 12) The test driver can be used for both CASIO/PENTAX. Installing the test driver into either one enables the other one to recognize it.
-
Page 14: How To Use Adj Tool When Replacing Lens Unit
3 Boot "adj03ssaw" . 4 Select the model name and click "Load FW " Key. • EX-Z57 5 Click "ADJ ALL READ", and display the data on the "adj03ssaw". 6 Find the No.1163, "V-COM DC". 7 Write down this value(data). -
Page 15: How To Use Adj Tool When Replacing Main Pcb
2 Connect the camera to the PC by the USB cable. 3 Boot "adj03ssaw". 4 Select the model name and click "Load FW " Key. • EX-Z57 5 Click "ADJ ALL READ", and display the data on the "adj03ssaw". 6 Save the data. 7 Replace the MAIN PCB. -
Page 16: Vcom Dc Adjustment
VCOM DC ADJUSTMENT Purpose Readjust the VCOM value to minimize the flicker of the LCD after replacing the LCD or the main PCB. Necessary tools 1. Camera (Charge its battery fully) 2. Photo diode (S2281-01) : See Fig 1. 3. Photo sensor amp (C2719) : See Fig 2. 4. - Page 17 Procedure 1. Camera setting Figure (a) a) Turn the power on while pressing “MENU” and “UPPER”. : V E R S I O N I N F O After pressing “DOWN” key twice, press “DISP” and “MENU”. : V I D E O O U T Figure (a) appears.
- Page 18 3. Measurement a) Connect S2281-01 to the camera’s LCD monitor (see below). AC Waveforms appear on the monitor screen of the oscilloscope. * Change the Rf range of C2719 in case the range does not match. Photo diode Oscilloscope INPUT OUTPUT S2281-01 Photo sensor amp...
-
Page 19: Current Consumption
CURRENT CONSUMPTION (1) Current consumption (DC in = 3.70 ~ 4.05 [V]) • Make sure that current consumption is less than 200 mA in PLAY mode. • Make sure that current consumption is less than 340 mA in REC mode. •... -
Page 20: Disassembly
DISASSEMBLY * Make sure to use correct screws when assembling since there are several kinds of them. It is a good idea to sort them as shown in the right when disassembling. 1. Remove the battery. Removing the case 2. Remove six screws. Screw (S3) Screw (S4) Screws... - Page 21 Assembly Precautions: Rear case assy Be careful not to lose the strap. Make sure to fix it when assembling. Strap Assembly Precautions: When assembling the rear case, do not damage the lead wire and the FPC. 4. Remove six screws. Screw (S4) Screw (S3) Screws...
- Page 22 Removing the clamp board/key frame 6. Remove the clamp board. 7. Remove the key frame. Key frame Clamp board Removing the LCD assy/PW assy 8. Remove the hook, and then remove the LCD assy. Tip: The hooks are located at three positions. Note that the connector is also connected.
- Page 23 9. Remove the connector, and then the LCD ASSY. Connector 10. Remove one screw on the microphone plate (24). Screw (S4) 11. Remove the PW ASSY Tip: PW ASSY is fixed by double-sided tape. Note that the connector is also connected. 12.
- Page 24 Removing the main PCB/ lenz unit 14. Remove two screws, and then remove the lens plate. Lens plate Screw (S1) Screw (S8) 15. Remove one screw. Connector Blue 16. Unsolder three lead wires. Black 17. Disconnect the connector. White Screw (S1) 18.
- Page 25 19. Remove two screws and then remove the lens case. Lens case Screw (S5) Removing the strobe unit 20. Remove the strobe unit and then the battery frame. 21. Remove one screw and the tape, and then remove the strobe unit. Screw (S1) 22.
- Page 26 Removing the connector PCB 24. Remove one screw and then the clamp board and the connector PCB. Connector PCB Screw (S8) Clamp board Disassembling the battery panel 25. Remove the pin and then the battery panel. Battery panel — 24 —...
- Page 27 Assembling the battery panel 1. Extend the sliding part of the battery panel as shown below. 2. Insert the spring. 3. Insert the head of the spring into the battery panel, and then fix it with a pin. — 25 —...
-
Page 28: Exploded View
EXPLODED VIEW 8 Black 9 Blue White S1 ( S1B ) ( S2B ) ( S3B ) ( S4B ) ( S1B ) ( S2B ) ( S3B ) ( S4B ) — 26 —... -
Page 29: Parts List
PARTS PRICE LIST N Item Parts Code Parts Name Specification Overs Price R Remark Siver Black Gold Code 1019 0903 PW ASSY 1 BQ TK-RJK507466*001 1017 0392 STROBE UNIT XEST-K872 1 CL 1015 3222 TAPE RJK505786-002V01 1 AA 1015 3197 SPRING/BATTERY RJK506102-001V01 1 AA 1015 3191 PLATE/BATTERY... - Page 30 N Item Parts Code Parts Name Specification Overs Price R Remark Siver Black Gold Code 1019 0906 PANEL ASSY/BATTREY TK-RJK507462*001 0 AX 1019 4018 PANEL ASSY/BATTREY TK-RJK507462*002 0 AX 1019 4019 PANEL ASSY/BATTREY TK-RJK507462*003 1 AX 1017 0364 BOARD/STRAP RJK506405-001V01 1 AB 1017 0373 BOARD/CLAMP RJK506561-001V01...
-
Page 31: Printed Circuit Boards
PRINTED CIRCUIT BOARDS MAIN PCB (TOP VIEW) — 29 —... - Page 32 MAIN PCB (BOTTOM VIEW) — 30 —...
-
Page 33: Schematic Diagrams
SCHEMATIC DIAGRAMS MAIN PCB (1/2) — 31 —... - Page 34 MAIN PCB (2/2) — 32 —...
- Page 35 CASIO TECHNO CO.,LTD. Overseas Service Division 6-2, Hon-machi 1-Chome Shibuya-ku, Tokyo 151-8543, Japan...
Need help?
Do you have a question about the EX-Z57 and is the answer not in the manual?
Questions and answers