Sign In
Upload
Download
Table of Contents
Contents
Add to my manuals
Delete from my manuals
Share
URL of this page:
HTML Link:
Bookmark this page
Add
Manual will be automatically added to "My Manuals"
Print this page
×
Bookmark added
×
Added to my manuals
Manuals
Brands
Yamaha Manuals
Musical Instrument
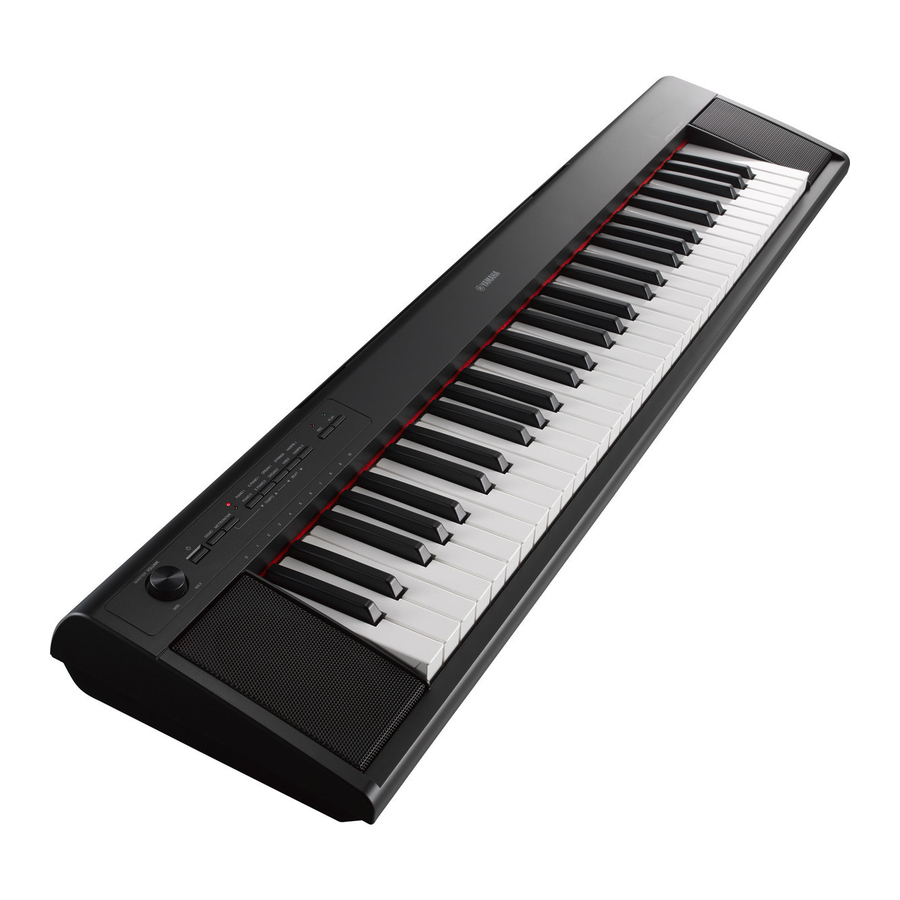
Piaggero NP-32
Owner's manual
Yamaha Piaggero NP-32 Owner's Manual
Hide thumbs
1
2
3
4
5
6
7
Table Of Contents
8
9
10
11
12
13
14
15
16
17
18
19
20
21
22
23
24
25
26
27
28
page
of
28
Go
/
28
Contents
Table of Contents
Troubleshooting
Bookmarks
Table of Contents
About Copyrights
About this Manual
Saving Data
Table of Contents
Introduction
About the Manuals
Accessories
Panel Controls and Connectors
Top Panel
Rear Panel
Setting up
Using an AC Adaptor
Using Batteries
Enjoying the Sounds of the Instrument
Selecting Voices
Listening to the Voice Demo Songs
Combining Voices (Dual)
Listening to the Piano Demo Songs
Using the Metronome
Playing Back the Metronome
Adjusting the Tempo
Setting the Beat
Setting the Metronome Using the Keyboard
Recording Your Performance
Deleting Recorded Song
Backing up Data and Initializing the Settings
Backing up Data
Initializing the Settings
Customizing the Settings
Octave Shift
Reverb Depth
Transpose
Reverb Type
Tuning
Touch Sensitivity
Operation Confirmation Sounds
Auto Power off
Troubleshooting
Specifications
Index
Advertisement
Quick Links
1
Transpose
2
Octave Shift
Download this manual
NP-32 NP-12
Owner's Manual
Before using the instrument, be sure to read "PRECAUTIONS" on pages 5 - 7.
EN
Table of
Contents
Previous
Page
Next
Page
1
2
3
4
5
Advertisement
Table of Contents
Need help?
Do you have a question about the Piaggero NP-32 and is the answer not in the manual?
Ask a question
Questions and answers
Related Manuals for Yamaha Piaggero NP-32
Musical Instrument Yamaha N-100 Owner's Manual
Yamaha digital piano owner's manual (42 pages)
Musical Instrument Yamaha N-100 Service Manual
(69 pages)
Musical Instrument Yamaha NU1 Reference
Hybrid piano midi reference (6 pages)
Musical Instrument Yamaha NU1 Owner's Manual
Hybrid piano (40 pages)
Musical Instrument Yamaha AvantGard N3 Maintenance Handbook
Hybrid piano (45 pages)
Musical Instrument Yamaha AVANTGRAND N2 Owner's Manual
(49 pages)
Musical Instrument Yamaha AVANT GRAND N1 Owner's Manual
(50 pages)
Musical Instrument Yamaha Piaggero NP-12 Owner's Manual
(28 pages)
Musical Instrument Yamaha AVANTGRAND NU1X Owner's Manual
(52 pages)
Musical Instrument Yamaha AvantGrand N3X Owner's Manual
Hybrid (60 pages)
Musical Instrument Yamaha AvantGrand NU1X VAP9780 Manual
(2 pages)
Musical Instrument Yamaha AvantGrand N1X Owner's Manual
(56 pages)
Musical Instrument Yamaha cvp-701 clavinova Reference Manual
(110 pages)
Musical Instrument Yamaha YDP-131 Owner's Manual
Yamaha digital piano owner's manual ydp-131, ydp-213 (48 pages)
Musical Instrument Yamaha Clavinova CVP-59S Owner's Manual
Yamaha musical instrument owner's manual (163 pages)
Musical Instrument Yamaha Disklavier MX-100A Service Manual
(80 pages)
This manual is also suitable for:
Piaggero np-12
Table of Contents
Save PDF
Print
Rename the bookmark
Delete bookmark?
Delete from my manuals?
Login
Sign In
OR
Sign in with Facebook
Sign in with Google
Upload manual
Upload from disk
Upload from URL


Need help?
Do you have a question about the Piaggero NP-32 and is the answer not in the manual?
Questions and answers