
Related Manuals for YT CAPRA


Summary of Contents for YT CAPRA
- Page 1 rtfm. read first - then unpack Zuerst Lesen - dAnn AusPAcKen d’ABord Lire - ensuite deBALLer BiKe mAnuAL...
- Page 2 Welcome to good times. yt-industries.com...
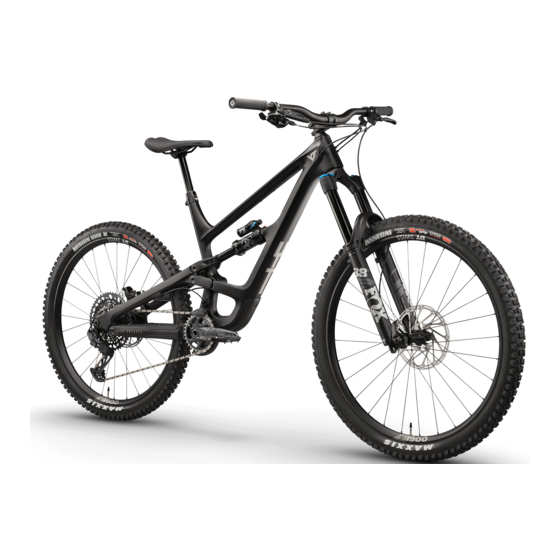
- Page 3 RAHMEN / FRAME / CADRE FEDERGABEL / SUSPENSION FORK / FOURCHE Oberrohr / Toptube / Tube Supérieur Unterrohr / Downtube / Tube Oblique Gabelkopf / Crown / Té Sitzrohr / Seattube / Tube de selle Standrohr / Stanchions / Plongeur Kettenstrebe / Chainstay / Base Tauchrohr / Casting / Fourreaux Sitzstrebe / Seatstay / Hauban...
- Page 4 MONTAGE WERKZEUG ASSEMBLY TOOLS OUTILS DE MONTAGE Drehmomentschlüssel Inbusaufsatz Gr. 5 und 6 Torque wrench with Allen key adapter size 5 and 6 Clé dynamométrique avec insert Clé Allen, taille 5 et taille 6 Inbus Größe 5 und Größe 6 Allen key size 5 and 6 Clé...
- Page 5 TIP: have been implemented correctly and to the full extent. Please save the YT Industries BikeBox including the packaging material. This way, you can repack your You may reach us by email at: service@yt-industries.com...
- Page 6 ASSEMBLY INSTRUCTIONS STEP STEP STEP STEP STEP STEP OPENING THE BOX UNPACKING THE WHEELS UNPACKING THE FRAME Cut the straps using wire cutters or a box cutter. Lift the wheels upwards out of the box. Now you can pull your bike upwards out of the BikeBox. Just make sure that you do not damage the BikeBox.
- Page 7 Installing carbon handlebars requires great care and precision. Do not exceed the RaceFace Direct Mount RaceFace Direct Mount YT Industries Direct Mount YT Industries Direct Mount d d d Tighten the screws gradually with only one turn per screw in an X pattern.
- Page 8 ASSEMBLY INSTRUCTIONS REMOVE WHEELS STEP STEP STEP STEP INSTALLING THE REAR DERAILLEUR FROM PACKAGING a a b b Cut the cable ties using wire cutters and Open the rear derailleur cage by holding the derailleur body with one hand, Mount the derailleur using the Torx T25 (for 1x11) or 5 mm Allen wrench remove the cardboard packaging.
- Page 9 STEP STEP INSERTING THE REAR WHEEL & ASSEMBLY STAND INSTRUCTIONS Lift the frame out of the rear stand. Remove the rear axle by unscrewing it with the lever on the left side. The chain must be on the smallest cog Place the rear stand upright...
- Page 10 ASSEMBLY INSTRUCTIONS STEP STEP STEP STEP INTERMEDIATE STATE If your bike looks like the image, then you have done everything correctly so far. Now, remove the front axle stand. Well done! Keep your bike upright. If your bike is placed upside down, the seatpost remote may become damaged.
- Page 11 INSERTING THE FRONT WHEEL - ROCKSHOX PIKE Remove the pad spacer from the front brake caliper. Now insert the front wheel in the fork dropouts. Slide the lightly greased axle through the hub until the thread Store the spacer in a secure location as it can be used to prevent the brakes engaging Ensure that the hub is sitting correctly in the dropouts.
- Page 12 ASSEMBLY INSTRUCTIONS STEP STEP INSERTING THE FRONT WHEEL - BOS DEVILLE 09 B Open the quick release lever. Remove the pad spacer from the front brake caliper. Store the spacer in a Now the front axle can be inserted. b b b Open the folding lever.
- Page 13 STEP STEP INSTALLING PEDALS Close the folding lever until it snaps in place. Place the pedal washer on the pedal axle. Install the pedals using an Allen wrench (the size will vary by pedal manufacturer). The h h h Close the quick release and ensure that the lever can be b b b Apply suffi...
- Page 14 ASSEMBLY INSTRUCTIONS STEP STEP STEP STEP COCKPIT ADJUSTMENTS FULLY ASSEMBLED BIKE In the standard setting, the brake levers form a straight line with backs of your hands You’re fi nished! Congratulations! and your forearms when you lay your fi ngers across them. You’re bike is now fully assembled.
- Page 15 - Checking bearing play in the bottom bracket, headset, hubs, and pedals performance. In addition, the braking performance increases after a short break-in period. you want to ride your YT Bike in “normal” traffi c. and tightening if necessary Try to get used to the braking response and how it differs when riding over various surfaces.
- Page 16 Other major mechanical stresses If you would like to shorten the handlebar, note the specifi cations of the manufacturer YT Industries carbon frames are equipped with protective foils or protectors made of Unusual noises from the frame (e.g. snapping sounds) or contact us directly.
- Page 17 TORQUE CHART 33 - 41 Nm Bottom bracket 9,5 Nm Brake caliper screw to frame and fork 2,5 - 4 Nm Shifter 6 Nm Disc brake bolts to hub 8 - 10 Nm Rear derailleur (fi xing bolt) 4 - 5 Nm Rear derailleur (clamp bolt) 2,8 - 3,4 Nm Brake lever...
- Page 18 GmbH ZWEIBRÜCKENSTRASSE 2 ZWEIBRÜCKENSTRASSE 2 91301 FORCHHEIM 91301 FORCHHEIM GERMANY GERMANY PHONE +49 (0) 9191 . 73 63 05 0 +49 (0) 9191 . 73 63 05 0 +49 (0) 9191 . 73 63 05 55 +49 (0) 9191 . 73 63 05 55 MAIL service@yt-industries.com...
Need help?
Do you have a question about the CAPRA and is the answer not in the manual?
Questions and answers