Candy TRIO 9501 Instructions For Use And Installation
Hide thumbs
Also See for TRIO 9501:
- Instructions for use and installation (100 pages) ,
- Instructions for use and installation (100 pages)
Table of Contents
Advertisement
INSTRUCTIONS FOR USE AND INSTALLATION
ISTRUZIONI D'USO E DI INSTALLAZIONE
NOTICE D'EMPLOI ET D'INSTALLATION
MANUAL DE INSTRUCCIONES
GEBRAUCHS- UND INSTALLATIONSANWEISUNGEN
INSTRUCTIES VOOR GEBRUIK EN INSTALLATIE
CANDY ELETTRODOMESTICI - Via Privata Eden Fumagalli - 20047 Brugherio Milano Italy
GB
IT
FR
ES
DE
NL
Advertisement
Table of Contents
Troubleshooting

Related Manuals for Candy TRIO 9501


Summary of Contents for Candy TRIO 9501
- Page 1 INSTRUCTIONS FOR USE AND INSTALLATION ISTRUZIONI D'USO E DI INSTALLAZIONE NOTICE D'EMPLOI ET D'INSTALLATION MANUAL DE INSTRUCCIONES GEBRAUCHS- UND INSTALLATIONSANWEISUNGEN INSTRUCTIES VOOR GEBRUIK EN INSTALLATIE CANDY ELETTRODOMESTICI - Via Privata Eden Fumagalli - 20047 Brugherio Milano Italy...
-
Page 2: Specifications
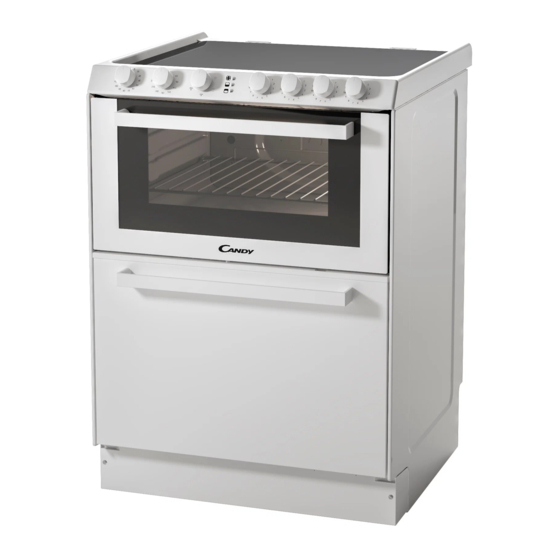
In order to improve the quality of the products, CANDY The Trio consists of three elements, a hob, an oven and a may carry out modifications linked to technical diswasher. -
Page 3: Gas Connection
INSTALLATION Installing a domestic appliance can be a complicated operation which if not carried out correctly, can seriously affect consumer safety. It is for this reason that a professionally qualified person should undertake the task who will carry it out in accordance with the technical regulations in force. -
Page 4: Changing The Gas Type
INSTALLATION CHANGING THE GAS TYPE : the calorific capacity and pressure of the gas vary according to the type of gas. When changing the gas, the technician should successively : change the jets, make the gas connection to the installation and set the minimum flow of all the gas burner tap. -
Page 5: Electrical Connection
When the connection operation to the appliance terminals is • TRIO 9501 finished, tighten the cable clamp and close the cover. A power cord is supplied with the Trio which allows it to be connected only to a power supply of 220-230 V between phases, or between phase and neutral. -
Page 6: Gas Burners
INSTALLATION WATER CONNECTION - WATER DRAINAGE GAS BURNERS Each burner is contolled by a tap with progressive settings allowing: * a wider choice of settings from the maximum position to the WATER CONNECTION : lowest and most precise one, The inlet and drain hoses can be directed to left or right. * easier flame regulation according to the pan diameter, The dishwasher can be connected to either cold or hot water, as * no risk of cutting off the flame or switching off when the... -
Page 7: The Vitroceramic Zone
THE VITROCERAMIC ZONE Positions Some Tips Very Low To keep a dish hot, melt butter and chocolate... ADVICES Slow cooking, sauces, stews, rice pudding The use of high quality utensils is important to obtain good cooking poached eggs... results : •... -
Page 8: Cooking Methods/Advices
THE OVEN USE COOKING ADVICES MEAT : VERY IMPORTANT : the oven and the dishwaher cannot be It is better not to salt meats until after cooking as salt encourages used at the same time. the meat to splatter fat. To use the oven, you have to close the dishwasher. -
Page 9: Use The Dishwasher
THE DISHWASHER DISHWASHER CONTROLS A Programme selection indicator lights B Programme selection button C Programme description D On/off button SELECTING THE PROGRAMMES AND SPECIAL FUNCTIONS The dishwasher and the oven cannot be used simultaneously. Setting a programme Open the door and press the On/off button ; the 4 Program selection LEDs start flashing. - Set the required programme by pressing Programme selection button, LED of the chosen programme will turn on (2 LEDs for COLD RINSE programme). - Page 10 LOADING DISHES FILLING THE RINSE AID DISPENSER The basket has been carefully designed to make loading easy. The rinse aid dispenser "B" is to the right of the detergent dispenser For good wash performance, remove any debris from the dishes and has a capacity of about 130 ml.
-
Page 11: Washing Programme
Regulating the water softener with electronic programmer The water softener can treat water with a hardness level of up to 60 Fh (French grading) or 33 Dh (German grading) through 5 settings. The settings are listed in the panel below: Water hardness Water hardness Use of regenerating... -
Page 12: Get Good Wash Results
SOME PRACTICAL HINTS ..- To carry out a wash programme with a full load of dishes load the machine correctly after each meal and do a cold pre-wash between each load to get rid of stains and remove the larger residues of food. HOW TO GET GOOD WASH RESULTS 1) Place the dishes face downwards. - Page 13 CLEANING • OVEN LIGHTING The bulb and its cover are made of material resistant to high temperatures: 230 V~ - E 14 base - 15 W - Temperature 300 C mini. Replacing the bulb : disconnect the power supply from the oven before attempting to replace the lamp. Wait for the oven to cool down before doing any operation.
-
Page 14: Troubleshooting
TROUBLESHOOTING REMEMBER! the oven and the dishwasher cannot be used in the same time. Should the dishwasher fail to operate, before contacting the Service Centre, make the following checks: FAULT CAUSE REMEDY Plug is not connected correctly Connect electric plug O/I button has not been pressed Press button 1 - Machine completely dead... - Page 15 The manufacturer will not be responsible for any inaccuracy resulting from printing or transcript errors contained in this brochure. We reserve the right to carry out modifications to products as required, including the interests of consumption, without prejudice to the characteristics relating to safety or function.
Need help?
Do you have a question about the TRIO 9501 and is the answer not in the manual?
Questions and answers