Advertisement
Quick Links
Advertisement

Related Manuals for zoomion Philae 114


Summary of Contents for zoomion Philae 114
- Page 1 Instructions Manual Zoomion® Philae 114 English version 6.2015 Rev A...
-
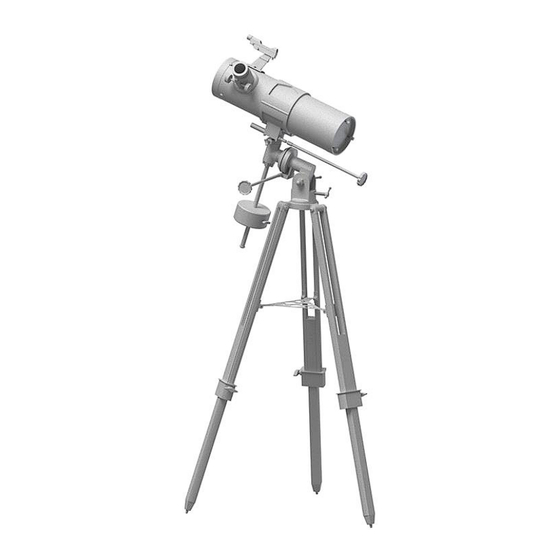
Page 2: Included Parts
The Zoomion® Philae 114 Congratulations on the purchase of the new Zoomion®Philae 114. This telescope will give you hours of fun, with its all optical mirror lens and light gathering capability, it is the ideal companion to start in the world of amateur astronomy. - Page 3 Figure 3. Tray placement. Figure 2. Tripod assembly. Figure 5. Thread the counter-weight shaft. Insert counterweight. Figure 4. Place equatorial head on top of tripod. Figure 7. Fix the tube’s ring. Figure 6. Fix Dec. and R.A. handles.
- Page 4 Figure 8. Adjust Dec. axis. Figure 9. Tighten the side hand-knob. Figure 11. Balance the Dec. axis. Figure 10. Balance the R.A. axis with counterweight. 4. How to use the equatorial mount. The equatorial mount is a powerful tool for astronomical observation.
- Page 5 Figure 15. Locking the R.A. axis. Figure 14. R.A. Axis. There are two axis in the eq. mount. One is the R.A. (Right Ascension) axis as shown in fig. 14. This means the telescope can rotate around this axis. The R.A. should point north to Polaris. Tracking (see what this is below) is made using the R.A.
- Page 6 corrections to be made in each axis. However this is not the recommend procedure to track an object. The mount should be placed in station i.e. aligned in such a way that only the R.A. is required 4.2. How to set the mount in station. to turn to track a start.
- Page 7 5. Aligning the Finderscope Figure A. A distant object is centered at the telescope’s field of view. In this example we have a house with a chimney. The chimney is the reference point to place at the center of the field of view. We first look through the telescope with the lowest magnification possible, so we have the widest field of view.
- Page 8 6. Alignment of the optics and collimation. Telescopes require periodical checking for the alignment of the optics. The optics should be aligned (or collimated) so that the telescope can achieve a good performance and deliver a sharp image. This is especially important for reflector telescopes (that use mirrors). First let’s start by checking collimation.
- Page 9 The secondary mirror can be adjusted by using the 3 screws (figure 25). Releasing it can make the secondary mirror support to rotate. So make sure you only adjust a screw at a time to avoid it. The secondary mirror should always show up as a circle and not an ellipse.
- Page 10 7. What can been seen with this telescope? Below you will find some examples of what you can expect to see when using this telescope. 7.1. The Moon is one of the most spectular objects to be seen through a telescope. Even a small telescope will reveal high detail of the Moon’s surface.
- Page 11 Telescope’s focal length is 500mm. 8. Using the accessories, a bit of math H20 eyepiece’s focal length is 20mm. to understand how all it works. Using the accessories is easy and fun. To 500���� change magnification simply swap = 25 ���������� 20����...
Need help?
Do you have a question about the Philae 114 and is the answer not in the manual?
Questions and answers