Danfoss living connect Installation And User Manual
Hide thumbs
Also See for living connect:
- Quick start manual ,
- Installation and user manual (56 pages) ,
- Datasheet (8 pages)

Related Manuals for Danfoss living connect


Summary of Contents for Danfoss living connect
- Page 1 MAKING MODERN LIVING POSSIBLE living connect® Installation and User Guide Danfoss Heating Solutions...
- Page 2 connect®...
- Page 3 Thank you for buying a Danfoss product Danfoss Heating Solutions...
-
Page 4: Table Of Contents
5. Safety precautions.........15 6. Removing living connect® ........15 7. -
Page 5: Uk 1. System Overview
1. System overview 1. System overview living connect® is an electronic radiator thermostat for homes. It is controlled by a central device called a Danfoss Link™ CC. Danfoss Link™ CC can also control floor heating and on/off switches in the building. -
Page 6: Installation - Step By Step
3. Installation - step by step 3.1 Preparation living connect® is supplied with adapters for Danfoss RA valves and valves with M30 x 1.5 (K) connections (014G0002), two alkaline AA batteries and a 2 mm Allen key. Inserting the batteries Remove the battery cover and insert the two batteries. -
Page 7: Configuring Danfoss Link™ Cc
3. Installation - step by step 3.3 Configuring Danfoss Link™ CC For practical reasons, it is recommended that the Danfoss Link™ CC is connected to a battery pack (014G0262). This makes the device mobile, and it can then easily be positioned at a distance of up to 1.5 m from each radiator thermostat that is to be added to... - Page 8 1. Configure the rooms in which the radiator thermostats have been installed. 2. Add a new room. 3. Edit or enter the room name. Press to confirm. Note: A list of common room names can be found using this button living connect®...
-
Page 9: Connecting To Danfoss Link™ Cc
3. Installation - step by step 3.4 Connecting to Danfoss Link™ CC Each thermostat must be connected to the Danfoss Link™ CC. This is best done by standing beside each thermostat with the Danfoss Link™ CC (connected to the recommended 014G0262 battery pack). - Page 10 4. Repeat for each device. 5. Once all devices have been registered and the Danfoss Link™ CC is placed in its final position, perform a network test (see separate Danfoss Link™ CC manual). living connect®...
-
Page 11: Technical Settings
3 seconds until M is displayed. Press until LI is displayed. Press to make the connection. LI disappears when the connection is made. If no connection can be made, the alarm and antenna symbols flash together. Refer to FAQ at www.danfoss.com/living Danfoss Heating Solutions... -
Page 12: Adjustments For Over/Undersized Radiators
5 seconds, while reinserting the battery. Danfoss Link™ CC will then display “device removed”. Press OK. Note: If the thermostat is moved to another room, it is recommend- ed it be reset to the factory default settings. The thermostat will be reset and disconnected from Danfoss Link™... -
Page 13: Technical Data
Measures temp. every minute Speed of adjustment 1 mm/s Power supply 2 x 1.5V AA alkaline, class III (SELV) Power consumption 3 μW in standby, 1.2 W when active Ambient temperature 0° to 40°C Transportation -20 to 65°C temperature range Danfoss Heating Solutions... - Page 14 L: 91 Ø: 51 (RA) Ball pressure test 75°C Weight 177 g Transmission frequency 868.42 MHz IP class* * This thermostat should not be used in hazardous installations or in places where it will be exposed to water. living connect®...
-
Page 15: Safety Precautions
Do not attempt to dismantle the thermostat as it contains no user-serviceable parts. Please return any defective thermostat to the distributor. 6. Removing living connect® To remove the thermostat, insert an appropri- ate tool in the hole in the thermostat’s battery chamber and in the hole in the black ring behind the chamber (see illustration). -
Page 16: User Guide
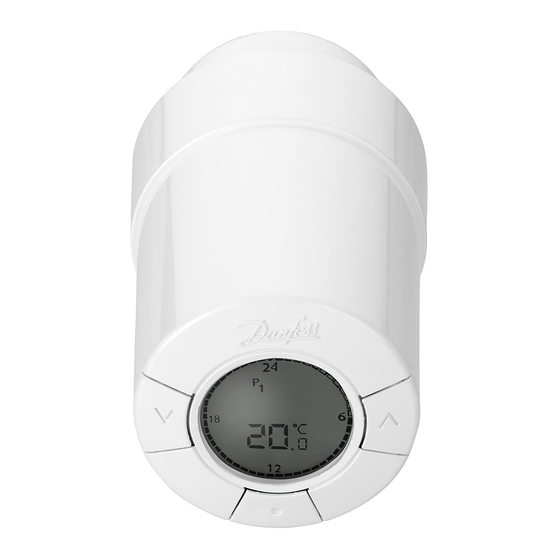
2. Overview of display and control buttons Battery symbol Temperature set point Network connection Alarm Lock Frost protection Use these buttons to navigate within the menu and to adjust the temperature. Use this button to select the menu and confirm choices. living connect®... -
Page 17: Changing The Batteries
4. Temperature control and adjustment The temperature is usually controlled via Danfoss Link™ CC, but may be changed at any time using the thermostat’s buttons. If this is done, the thermostat sends a message to Danfoss Link™ CC, instructing it to synchronise the other thermostats in the room. -
Page 18: Troubleshooting
Malfunction in thermostat’s front temperature sensor. Contact your local service technician. Malfunction in thermostat’s rear temperature sensor. Contact your local service technician. Antenna and No connection to Danfoss Link™ CC, follow alarm bell the instructions at www.danfoss.com/living symbol flash together living connect®... - Page 19 Danfoss Heating Solutions...
- Page 20 Danfoss can accept no responsibility for possible errors in catalogues, brochures and other printed material. Danfoss reserves the right to alter its products without notice. This also applies to products already on order provided that such alterations can be made without subsequential changes being necessary in specifications already agreed.