Table of Contents
Advertisement
Quick Links
Advertisement
Table of Contents

Related Manuals for Audio Research GS150


Summary of Contents for Audio Research GS150
-
Page 1: User Guide
H I G H D E F I N I T I O N ® GS150 Stereo Power Amplifier User Guide... - Page 3 Thank you for choosing the GS150 to be a part of your high performance music listening system. Since 1970, Audio Research has been creating some of the world’s finest audio equipment. Each piece is handcrafted in Minnesota, and has been designed to provide many years of listening enjoyment.
-
Page 4: Table Of Contents
Contents Warnings Installation Before Operating the GS150 In Your System Connections Input Connectors Output Connectors Matching A.C. Power Connection Operation Remote Turn-on Front Panel Controls and Displays RS-232 Control Back Panel Controls and Connections Start-Up Shut-Down Cooling Fan Speed Adjustment... -
Page 5: Warnings
Research dealer or other qualified personnel. This unit is RoHS compliant. A note about packaging... The detachable power cord on your GS150 is equipped with a heavy gauge, 3-conductor cable and a standard Save all packaging in a dry place away from fire three-prong grounding plug. -
Page 6: Installation
GS150 in their proper locations in the chassis. Note that the numbers written on each tube correspond to a ‘V’ number etched on the chassis next to each tube socket. -
Page 7: In Your System
Installation In your system warranty, as well as the service life of the unit. To insure normal component life and safe operation It is normal for a vacuum tube power amplifier to run this unit must be operated only in an upright position. quite warm, and if used for prolonged periods, hot Adequate airflow and proper cooling can occur only if to the touch. -
Page 8: Connections
‘0’ terminal Research preamplifiers. Connect your preamplifier’s on the GS150. Connect the red or ‘+’ speaker output to the GS150 before turning on the amplifier. terminal to the wire that connects to the ‘4’ or ‘8’... -
Page 9: A.c. Power Connection
If electronic crossovers or other AC powered equipment is circuit branch, protected by a 15 amp breaker. The used with the GS150 it may be necessary to use ‘ground preamplifier and other audio equipment should be lifter’ adapters on the power plugs of that equipment connected to a different power circuit and breaker. -
Page 10: Remote Turn-On
Use a 3.5mm (.140”) diameter mono mini plug to connect to the +12V IN jack on the rear of the GS150. The +12V IN jack should be connected to the +12VDC output of the master control system, using a continuous +12VDC signal at 12mA per GS150 for the duration of amplifier on-time. -
Page 11: Front Panel Controls And Displays
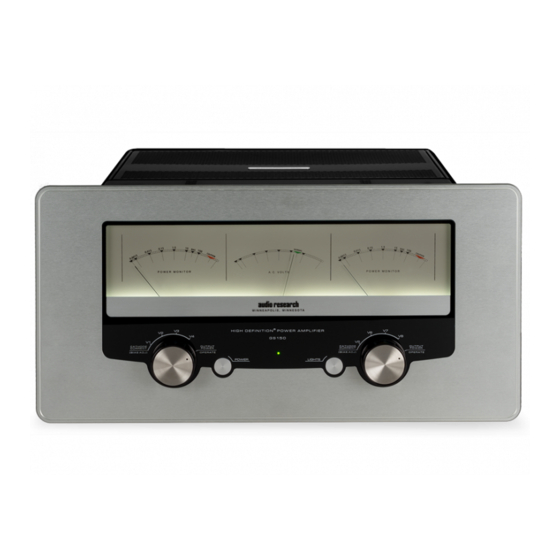
Operation Front Panel Controls and Displays Voltage Meter Left Channel Right Channel Output Meter Output Meter Power On/Off Display Brightness Bias/Operate Bias/Operate V1-V4 V5-V8 Power Indicator... -
Page 12: Back Panel Controls And Connections
Operation Back Panel Controls and Connections Ventilation Fans side panel side panel Bias Adjust Bias Adjust V5-V8 V1-V4 Auto Fan Speed Hour Counter Shut Off 12 Volt RS-232 Remote Turn On... -
Page 13: Start-Up
Important! replacing and screwing on the vacuum tube cover. After the GS150 is turned off, wait at least five minutes Note before turning it on again. This allows the large bank of storage capacitors to drain energy. Not... -
Page 14: Display Brightness Adjustment
The auto shut off feature control switch is located on the center above the IEC power connector. This displays back panel of the GS150 at the far left side. Toggling accumulated hours of vacuum tube service life. If the the switch allows you to turn the feature on or off. -
Page 15: Output Tube Bias Adjust
Class AB1, and will satisfy the most critical listener. next adjustment tube, and repeat the operation. For best results, operate and adjust the GS150 at the Please note there may be slight variances between voltage specified for your unit. Adjustment must be paired tubes;... - Page 16 It is recommended that you replace the vacuum (www.audioresearch.com) and selecting ‘Service tubes of your GS150 in sets. All of the tubes in your Repair’ at the top right of the home page. amplifier have been matched to have similar operating...
- Page 17 Warranty Audio Research Corporation products are covered by a The specific terms and remedies for fulfillment of 3-Year Limited Warranty or a 90-Day Limited Warranty the Limited Warranty may vary from country to (vacuum tubes). This Limited Warranty initiates from country.
-
Page 18: Specifications
Specifications Power Output 155 watts per channel continuous from20Hz to Power Supply Enery Storage Approximately 1040 joules. Power Requirements 105-125VAC 60Hz (210-250VAC 50Hz) 730 20kHz. 1kHz total harmonic distortion typically 0.6% at 155 watts, below 0.03% at 1 watt. Approximate actual power available at watts at rated output, 900 watts maximum, 420 watts idle. - Page 20 D E F I N I T I O N ® 3900 Annapolis Lane North Plymouth, MN 55447 www.audioresearch.com Specifications subject to change without notice. ©2014 Audio Research Corporation. Reproduction of this document in part or whole is expressly forbidden without written consent from Audio Research Corporation.
Need help?
Do you have a question about the GS150 and is the answer not in the manual?
Questions and answers