Table of Contents
Advertisement
User Guide
Model: 31211 Neo Single White - Remote
Model: 31212 Neo Single Silver - Remote
Model: 31111 Neo Single White - Hardwired
Model: 31112 Neo Single Silver - Hardwired
Electrical Rating: 230~240 V. 50 Hz.
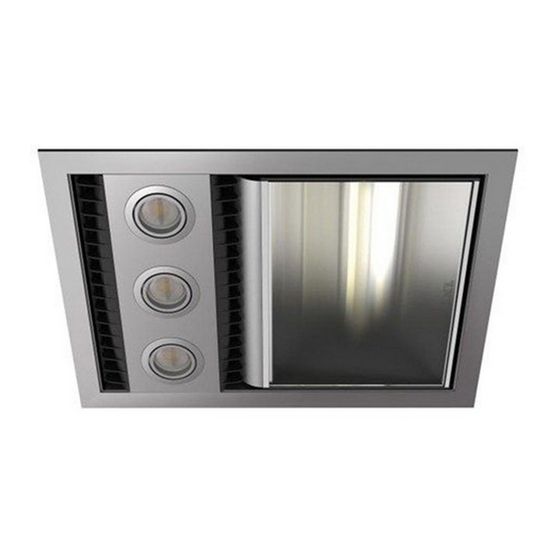
Model: 32111 Neo Dual White - Hardwired
Model: 32112 Neo Dual Silver - Hardwired
Model: 31211, 31212, 31111
and 31112 Neo Single
Model: 32111 and 32112 Neo Dual
Advertisement
Table of Contents


Need help?
Do you have a question about the Tastic 31211 Neo Single and is the answer not in the manual?
Questions and answers