Table of Contents
Advertisement
Advertisement
Table of Contents

Related Manuals for HiFiMAN HM-901


Summary of Contents for HiFiMAN HM-901
- Page 1 HM-901 HM-901 Owner's Guide...
-
Page 2: Table Of Contents
System version Replacing the battery Repeat Replacing the amp module Connections Backlight Connecting HM-901 to PC Brightness Disconnecting HM-901 from PC 9 Language S/P DIF-IN Updating media database Reset settings 3 Other information HM-901 customer service Recycling information HM-901 Owner's Guide... -
Page 3: Hm-901 Basics
Battery life: 9 hours D/A Chip: ES9018×2 Frequency response: 20HZ-20KHz Distortion: 0.008%(Line out) S/N: 106±4db SD Card Memory: 128G Acceptable music formats: 16Bit&24Bit: WAV, FLAC, ALAC (M4A) 16Bit: AIFF, AAC, APE(16bit/44.1KHz&48KHz) Supports playing DSD(DFF) files 24-pin Dock HM-901 Owner's Guide... -
Page 4: Function Buttons
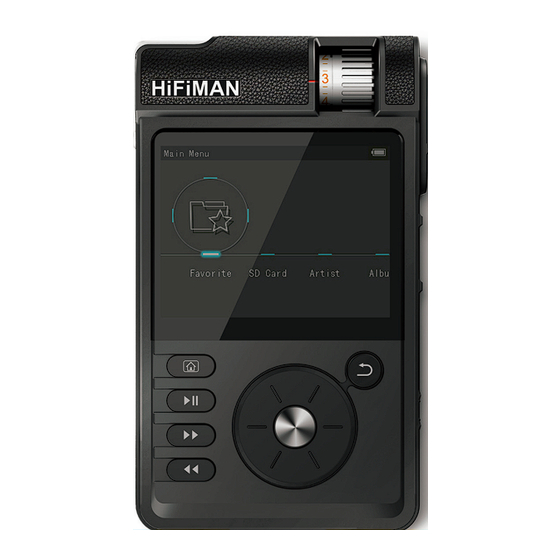
Basics Operation Other information Function Buttons Phone out Balance/Normal Volume Screen Hold Home Low/High Gain Play/Pause Classic/HD Next Back Power Reset Previous Click wheel Base port Lock HM-901 Owner's Guide... -
Page 5: Power On/Off Key
Operation Other information Power ON/OFF Hold the power key up for 2-3 sec to turn on the player when HM-901 is powered off. Hold the power key up for 2-3 sec to turn off the player when HM-901 is powered on. A dialog box will appear for you to select the mode. -
Page 6: Accessories
Accessories 1. USB cable, S/P DIF input/RCA Line out cable. 2. Charger, for charging HM-901. 3. Battery: Li-ion +7.4V 1600 mAh, -7.4V 520 mAh 4. Owner’s Guide/Manual. 5. Amp module. -
Page 7: Using Hm-901
It is recommended that you install or remove the SD card when the player is Power ON/OFF Hold the power key on the right side of HM-901 up for 2 sec. After releasing the power key, the player will power on and the HiFiMAN logo will appear. -
Page 8: Charging
Charging The average battery time of HM-901 is eight to nine hours. Please charge the player when you see a reminder of low power. We recommend that you use the original HiFiMAN charger. -
Page 9: Replacing The Amp Module
Basics Operation Other information Replacing amp module your HM-901 to Amp module bay Clamp Take out the amp module Press the clamp down Please install the amp module in the opposite way of removing it. HM-901 Owner's Guide... -
Page 10: Connections
Basics Operation Other information Connecting Connecting HM-901 to PC 1. Use the USB cable to connect HM-901 to the computer. 2. Wait for the system to show “USB connecting”. HM-901 Owner's Guide... -
Page 11: Disconnecting Hm-901 From Pc
1. It is important not to remove the USB cable while music is being 2. The speed for data transfer can vary depending on the size of the Disconnecting HM-901 from PC Click the USB device icon on the computer and disconnect the player. The USB cable can then be removed. -
Page 12: Operation
SD card menu update database. After the update, the wheel highlights a single track, the HM-901 will go to main menu. press the central button to play the will not be visible. HM-901 Owner's Guide... -
Page 13: Artist, Album And Genre
All Songs being solid. By entering Favorite from the main menu, you will see all After the player is started, you can the added songs. go to “browse all songs” from the main menu and play music. HM-901 Owner's Guide... -
Page 14: Setting
Press Yes to delete Setting When HM-901 is playing music, or you go to the play menu from the main menu, the play menu will be visible. Click the central button to select the playing mode and press it for 3 sec to add/remove one song to Favorite. -
Page 15: System Version
Basics Operation Other information System Version On Main Menu, select “Setting” then go to “Repeat” to make your Click to see the information on your selection. HM-901’s current software version. HM-901 Owner's Guide... -
Page 16: Backlight
Basics Operation Other information Backlight On Main Menu, select “Setting” You have the option to set the time for the player on as “always on, selection. 10s, 30s, 1min and 2 mins”. HM-901 Owner's Guide... -
Page 17: Brightness
Operation Other information Language Brightness On Main Menu, select “Setting” then Set the display brightness from 1 to go to “Language” to make your 5.Note: The brighter your display the selection. more battery life will be affected. HM-901 Owner's Guide... -
Page 18: S/P Dif-In
Basics Operation Other information S/P DIF Switch between DAP and S/P DIF. Press the go back button to exit S/P DIF. Note: To use the S/P DIF, a base is needed. For more information, HM-901 Owner's Guide... -
Page 19: Updating Media Database
Other information Updating media Reset Settings database Perform Factory Data Reset. update the index information for all Warning: Performing a Factory Data Reset will clear the player's memory and put it back to the original factory default state. HM-901 Owner's Guide... -
Page 20: Other Information
3 Other information Product Safety Note: Make sure not to place heavy items on HM-901 to avoid possible damage to the player. Be careful not to drop or hit your player. Keep the player away from rain, water, drinks, chemicals and cosmetics, etc. -
Page 21: Hm-901 Customer Service
It is recommended not to use headphones while riding, driving or operating motor vehicles. If you experience ringing in your ears, please reduce the volume or turn off your player. HM-901 Service and Support for warranty service and support. HM-901 Owner's Guide... -
Page 22: Recycling Information
The disposal of your HM-901 should be separated from household waste because the player contains electronic parts and battery. When your HM-901 reaches its end of life, please contact your local environmental department for disposal and recycling information or you could simply send it back to us. - Page 24 Customer Service Tel: 1-201-4434626 Email: customerservice@head-direct.com Address: 143 Rickey Blvd ATTN 485, Bear, DE 19701 United States Website: www.hifiman.com HM-901 Owner's Guide...
Need help?
Do you have a question about the HM-901 and is the answer not in the manual?
Questions and answers