Advertisement
Advertisement

Related Manuals for Sunbeam CAFE BARISTA EM5000


Summary of Contents for Sunbeam CAFE BARISTA EM5000
- Page 1 CAFE BARISTA EM5000 User Guide...
- Page 2 Heading Sub Heading Body copy with not indent applied. • Bullet copy Bullet copy Bullet copy Bullet copy Bullet copy Bullet copy Bullet copy Bullet copy...
-
Page 3: Table Of Contents
Contents Sunbeam’s Safety Precautions Selecting the right coffee Features of your Cafe Barista Control Panel Before using your appliance for the first time 7 Operating Instructions Care and Cleaning Troubleshooting Guide Important instructions – retain for future use. -
Page 4: Sunbeam's Safety Precautions
If you have any concerns regarding the performance and use of your appliance, please visit www.sunbeam.com.au or contact the Sunbeam Consumer Service Line. Ensure the above safety precautions are understood. -
Page 5: Selecting The Right Coffee
Selecting the right coffee The Coffee The Grind The coffee should be freshly ground and dark This is a vital step in the espresso making roasted. You may want to try a French or process if you are grinding your own coffee Italian roast ground for espresso. -
Page 6: Features Of Your Cafe Barista
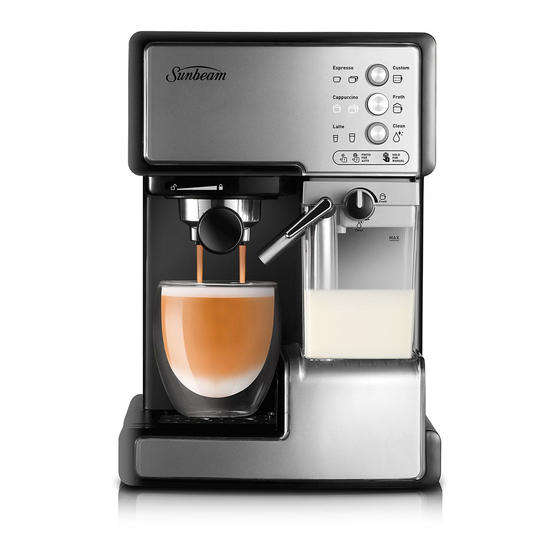
Features of your Sunbeam Cafe Barista Brewing head Porta-Filter Frothed Milk Dispensing Tube Cup Height Adjusting Tray Removable Drip Tray and Lid Water Reservoir Lid Removable Water Reservoir... - Page 7 Control Panel Milk Reservoir Lid Froth Control Knob Froth Tuber Lever Removable Milk Reservoir On/Off Switch "I/O" (See right hand side of appliance) Porta Filter 1 cup and 2 cup filter Measuring Scoop/Tamper...
-
Page 8: Control Panel
Control Panel Espresso (Button A): - Automatic: Select espresso size. - Manual: Customize the amount of espresso in your beverage. Cappuccino (Button B): - Automatic: Select cappuccino size. - Manual: Customize the amount of frothed milk in your beverage. Latte (Button C): - Automatic: Select latte size. -
Page 9: Before Using Your Appliance For The First Time
Before using your appliance for the first time Step 1 - Clean the appliance Step 2 - Prime the unit (must be completed prior to first use) 1. Make sure unit is unplugged and the On/Off switch is in the Off position “O”. 1. -
Page 10: Operating Instructions
Operating Instructions IMPORTANT: Unit must be primed prior to first Filling the Milk Reservoir use. See page 7. If you plan to prepare cappuccino or latte, remove the milk reservoir from the unit. Filling the Water Reservoir Lift the lid and pour the quantity of cold milk A. - Page 11 Operating Instructions - continued Choosing the Filter Inserting the Filter Select the filter to be used as follows: A. To insert the selected filter in the porta-filter. A. FOR A SINGLE SHOT – use the filter for a single shot of espresso if using ground coffee.
- Page 12 Operating Instructions - continued Filling with Coffee Placing the Porta-Filter a. Fill the filter with fresh, fine ground espresso a. Position porta-filter underneath the brew coffee (do not overfill). head. Figure 5a Figure 6a b. Position handle so that the handle lines up b.
- Page 13 Operating Instructions - continued Placing the Cup(s) Caution: When brewing cappuccino or latte, make sure to adjust the frothing tube lever to a. Pull out the height adjustment tray if you aim the frothed milk dispensing tube inside are using a small “demitasse” cup to brew your cup espresso.
- Page 14 Operating Instructions - continued SELECT THE FUNCTION The unit will start brewing the espresso according to your selection. The unit will turn Preparing Espresso off automatically and the lights will become a. Press the Espresso Button “ ” once to solid indicating that the cycle has been brew one single shot.
- Page 15 Operating Instructions - continued To add additional Frothed Milk/ Froth Milk Preparing Cappuccino separately Prior to preparing your cappuccino, adjust The Café Barista also allows you to manually the amount of froth milk according to your add more frothed milk to your beverage or froth preference by turning the Froth Control Knob milk separately.
- Page 16 Operating Instructions - continued Preparing Latte a. Press the Cappuccino Button “ ” once to brew a small cup of cappuccino. Prior to preparing your latte, adjust the amount of froth according to your preference by turning the Froth Control Knob to the right for more froth and to the left for less froth.
-
Page 17: Care And Cleaning
Care and Cleaning Cleaning the Milk Reservoir and Frothed Milk If completely cleaning milk reservoir, follow these Dispensing Tube cleaning instructions: Once you are done preparing your beverage 1. Place a large empty cup under the frothing with milk, you can either store the unit’s milk tube and make sure there is water in the reservoir with milk directly in the refrigerator water reservoir. - Page 18 Care and Cleaning - continued Cleaning the Porta-Filter, Filter and Brew Head Cleaning the Water Reservoir WARNING: Some of the metal parts might still Discard the remaining water by removing be hot. Do not touch them with your hands the reservoir and turning it upside down over until they have cooled.
- Page 19 To Descale Water Reservoir 6. Place a pitcher or large cup (with at least Use Sunbeam Liquid Descaler, a simple to 325 mL/11-ounce capacity) under the tube. use, non toxic cleaner available from Sunbeam Fill the milk reservoir with water and place appointed Service Agents.
-
Page 20: Troubleshooting Guide
Troubleshooting Guide Problem Possible Cause Solution Coffee does not • No water in reservoir. • Add water. come out. • Coffee grind is too fine. • Grind medium ground coffee. • Too much coffee in the filter. • Fill filter with less coffee. •... - Page 21 Notes...
- Page 22 Notes...
- Page 23 Australia www.sunbeam.com.au 1300 881 861 Units 5 & 6, 13 Lord Street, Botany NSW 2019 Australia New Zealand www.sunbeam.co.nz 0800 786 232 Level 6, Building 5, Central Park, 660-670 Great South Road, Greenlane, Auckland New Zealand...
- Page 24 Level 6, Building 5, Central Park, 660–670 Great South Road, Greenlane, Auckland. Sunbeam Corporation Limited | ABN 45 000 006 771 Sunbeam Corporation is a division of GUD Holdings Limited. Sunbeam is a registered trademark. Made in China to Sunbeam’s specification.
Need help?
Do you have a question about the CAFE BARISTA EM5000 and is the answer not in the manual?
Questions and answers