Advertisement
Quick Links
Apple HomeKit technology provides an easy, secure way to control your home's lights, doors, thermostats, and more from
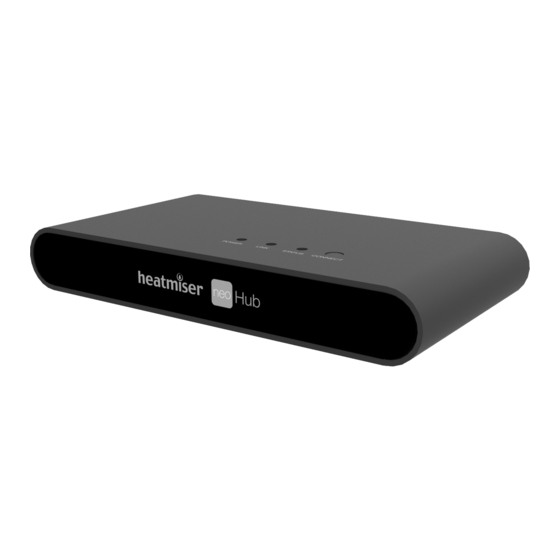
your iPhone, iPad, or iPod touch. The Heatmiser neoHub responds to Siri, letting you request the current temperature, set a
new temperature or temperature hold and turn on/turn off standby directly from your iPhone, iPad, or iPod touch.
Compatibility
The neoHub enables the neoStat, neoStat-e, neoStat-hw, neoStat 12v , neoAir, neoPlug & neoUltra to work with HomeKit technology. See neo.heatmiser.com for more details.
To control this HomeKit-enabled accessory, iOS 9.3.2 or later is recommended.
Controlling this HomeKit-enabled accessory automatically and away from home requires an Apple TV with tvOS 10.0 or later or an iPad with iOS 10.0 or later set up as a home hub.
Communication between the Heatmiser neoHub and neoStat, neoStat-e, neoStat-hw, neoStat 12v, neoAir, neoPlug & neoUltra is secured by utilising frame-protection
mechanism based on Advanced Encryption Standard (AES) with 128-bit randomly generated keys.
Communication between iPhone, iPad, or iPod touch and the HomeKit-enabled Heatmiser neoHub is secured by HomeKit technology.
Use of the Works with Apple HomeKit logo means that an electronic accessory has been designed to connect specifically to iPod touch, iPhone, or iPad, respectively, and has been
certified by the developer to meet Apple performance standards. Apple is not responsible for the operation of this device or its compliance with safety and regulatory standards.
Apple, iPad, iPad Air, iPhone, and iPod touch are trademarks of Apple Inc., registered in the U.S. and other countries. HomeKit is a trademark of Apple Inc. Apple and the Apple
logo are trademarks of Apple Inc., registered in the U.S. and other countries. App Store is a service mark of Apple Inc., registered in the U.S. and other countries.
Want More Information?
Call our support team on: +44 (0)1254 669090
Or view technical specifications directly on our website: www.heatmiser.com
PDF
FAQ
VIDEO
Setting Up neoHub
neoHub is designed to be quick and simple
to setup.
Just follow the quick start set up sequence and
you will soon have total control over your home
heating system.
System Requirements
• An active broadband connection.
• 230v mains supply (Adaptor supplied).
• A broadband router with DHCP function.
• A mobile device running iOS, Android or
Windows Operating System.
Twitter: @heatmiseruk
Facebook:
facebook.com/thermostats
1
Connect Power
Connect the neoHub to your router with the
Ethernet cable provided.
Connect the power supply to the neoHub.
The router will automatically assign an IP address
to the neoHub, the Link LED will light up RED once
the neoHub has connected to your network.
Once connected to the Heatmiser cloud server, the
Link LED will turn GREEN.
neoHub
Power
Ethernet Port
Example Router
Ethernet Port
Rev 1.2
2
Download Application
Connect your mobile device to the same wifi network
as your neoHub. Download the FREE Heatmiser
neoApp and register your account.
3
Add Location
Once registered & signed in , select
ADD LOCATION
Advertisement

Subscribe to Our Youtube Channel
Summary of Contents for Heatmiser neoHub
-
Page 1: Download Application
Compatibility The neoHub enables the neoStat, neoStat-e, neoStat-hw, neoStat 12v , neoAir, neoPlug & neoUltra to work with HomeKit technology. See neo.heatmiser.com for more details. To control this HomeKit-enabled accessory, iOS 9.3.2 or later is recommended. - Page 2 Repeat this process for all of your devices. Click on Heatmiser neoHub, scan the HomeKit Once you have done this select FINISH SETUP setup code on the reverse of your neoHub with the camera on your iOS device. Your neoHub is now successfully paired to HomeKit! See neo.heatmiser.com for more details.


Need help?
Do you have a question about the neoHub and is the answer not in the manual?
Questions and answers