Sign In
Upload
Download
Table of Contents
Contents
Add to my manuals
Delete from my manuals
Share
URL of this page:
HTML Link:
Bookmark this page
Add
Manual will be automatically added to "My Manuals"
Print this page
×
Bookmark added
×
Added to my manuals
Manuals
Brands
Blue Star Manuals
Air Conditioner
3WAE181YB
User manual
Blue Star 3WAE181YB User Manual
Hide thumbs
1
2
Table Of Contents
3
4
5
6
7
8
9
10
11
12
13
14
15
16
17
18
19
20
21
22
23
24
25
26
page
of
26
Go
/
26
Contents
Table of Contents
Bookmarks
Table of Contents
Table of Contents
Know Your Airconditioner
Features
The Touch Control Panel
Installation
Drain Water
Electric Wiring
The Remote Control
Using the Remote Control
Operation
Energy Saver Operation
Adjusting Airflow Direction
Setting Timer
Light ON/OFF
Setting the Clock
Cancel TIMER
Sleep Mode
Tips for Comfort & Economy
Caution
Care and Maintenance
Warranty Certificate
Advertisement
Quick Links
1
Features
2
The Remote Control
3
Using the Remote Control
4
Operation
Download this manual
Star-rated
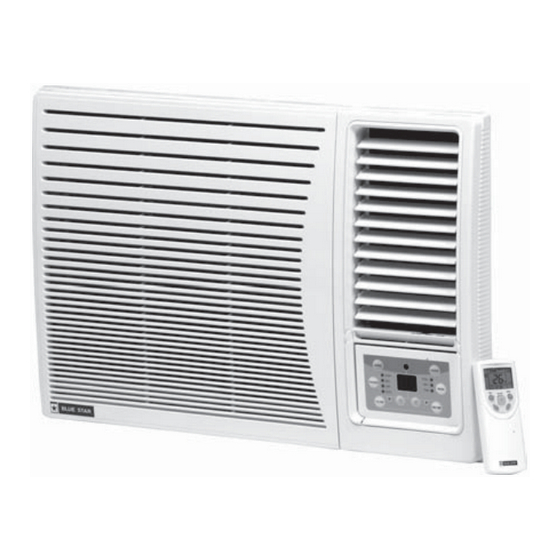
Window Airconditioner
MODELS: 3WAE181YB, 2WAE121YA,
2WAE181YA, 1WAE241YA
Table of
Contents
Previous
Page
Next
Page
1
2
3
4
5
Advertisement
Table of Contents
Need help?
Do you have a question about the 3WAE181YB and is the answer not in the manual?
Ask a question
Questions and answers
Related Manuals for Blue Star 3WAE181YB
Air Conditioner Blue Star HNHW18CA User Manual
(29 pages)
Air Conditioner Blue Star MHW301RC User Manual
Mega split airconditioners (with cordless remote control & 3 phase compressor) (39 pages)
Air Conditioner Blue Star J Series User Manual
Hi-wall split air conditioners (34 pages)
Air Conditioner Blue Star D Series User Manual
2 & 3 star rated hi-wall inverter split air conditioners (with r32 environment-friendly refrigerant) (17 pages)
Air Conditioner Blue Star IA324VNU User Manual
3 star rated inverter ні-wall split air conditioners (32 pages)
This manual is also suitable for:
2wae121ya
2wae181ya
1wae241ya
Table of Contents
Save PDF
Print
Rename the bookmark
Delete bookmark?
Delete from my manuals?
Login
Sign In
OR
Sign in with Facebook
Sign in with Google
Upload manual
Upload from disk
Upload from URL


Need help?
Do you have a question about the 3WAE181YB and is the answer not in the manual?
Questions and answers