
Related Manuals for Waring FS1000


Summary of Contents for Waring FS1000
- Page 1 Professional food slicer FS1000/FS1500 For your safety and continued enjoyment of this product, always read the instruction book carefully before using.
-
Page 2: Important Safeguards
7. Never put the unit near a hot burner, in an oven, 16. Use the slicer to cut ONLY designated food. Do or in a dishwasher. not attempt to slice frozen food or materials such 8. Do not operate the Waring Pro Food Slicer, or ® as bones, cardboard, plastic etc. -
Page 3: Save These Instructions
18. Do not leave the Waring Pro Food Slicer 26. This appliance is not intended for use by ® unattended while it is running. persons (including children) with reduced physical, sensory or mental capabilities, or lack 19. Touch the blade ONLY when the power is off to of experience and knowledge, unless they have remove and clean according to instructions. -
Page 4: Table Of Contents
IMPORTANT UNPAcKING REPAcKING INSTRUcTIONS INSTRUcTIONS 1. Put food slicer on a large, sturdy flat surface. 2. Put food slicer into plastic bag. cAUTION: THE SlIcING BlADE HAS A VERY 3. Position Styrofoam inserts on each end of the ® SHARP EDGE. food slicer. -
Page 5: Introduction
It makes life a little 1. Advance the food carriage slowly while using more fun and entertaining as easy as 1-2-3! steady pressure. TIPS for Using Your Waring Pro Food Slicer ® 2. When slicing meat, the meat should be boneless. -
Page 6: Parts
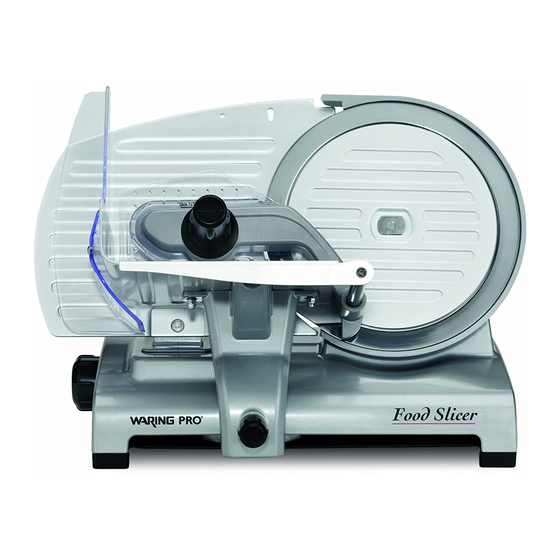
PARTS Carriage Removable Knob Blade Sharpener (detachable) Food Guide Blade Cover Thickness Control Knob Cutting Blade Main Body Food Arm ON/OFF Switch Food Carriage Knob to remove Blade Cover Carriage Holder Power Cord (not shown) Feet (non skid) -
Page 7: Use And Care
OPERATION 10. Continue to slide the food carriage back and forth in an even and steady motion. NOTE: Food 1. To use your Waring Pro Food Slicer, place it on ® carriage is removable for cleaning. See Page 7. a sturdy, flat surface. - Page 8 Food Guide Removal 4. Do not use abrasive substances or solvents. 1. Remove the food guide by sliding it off the 5. To reassemble, align the bottom of the carriage food arm. directly with the carriage holder. Push down and secure into position, insert the carriage removal 2.
-
Page 9: Blade Cover
Blade Removal and cleaning 1. Set the counterplate back to the "0" position. 2. After removing the removable carriage, remove the blade cover by turning the black knob This piece will located behind the blade counterclockwise. come off 3. Clean blade cover in the sink or with a spray Knob in back of unit turns counterclockwise cleaner. -
Page 10: Food Arm
SlIDING OF cARRIAGE AND FOOD ARM 3. Open the counterplate completely using the thickness control knob while holding the blade 1. The carriage and the food guide slide on rods sharpener; fit the pins into the holes. that are properly lubricated by the manufacturer. Over time the lubrication might dryout, and these 4. - Page 11 13. Using one hand, rotate the front part of the blade Sharpener sharpener upward, and with the other hand turn the thickness control knob clockwise until the blade sharpener is in front of the blade. 14. Plug the cord into the power outlet. 15.
- Page 12 Trademarks or service marks of third parties used herein are the trademarks or service marks of their respective owners. ©2011 Waring Consumer Products 150 Milford Road East Windsor, NJ 08520 www.waringpro.com Printed in China FS1000/FS1500 IB 11WR124686 IB-10977...
Need help?
Do you have a question about the FS1000 and is the answer not in the manual?
Questions and answers