Viessmann VITODENS 333 WS3A Installation Instructions Manual
Hide thumbs
Also See for VITODENS 333 WS3A:
- Service instructions manual (132 pages) ,
- Instruction manual (16 pages)
Table of Contents
Advertisement
Quick Links
- 1 Installation Instructions
- 2 Product Information
- 3 Preparations for Boiler Installation
- 4 Installing the Boiler and Making All Connections
- 5 Closing Control Unit Housing and Inserting User Interface
- 6 Commissioning and Adjustments
- 7 Front Panel Installation
- Download this manual
See also:
Instruction Manual
Advertisement
Table of Contents

Related Manuals for Viessmann VITODENS 333 WS3A


Summary of Contents for Viessmann VITODENS 333 WS3A
-
Page 1: Installation Instructions
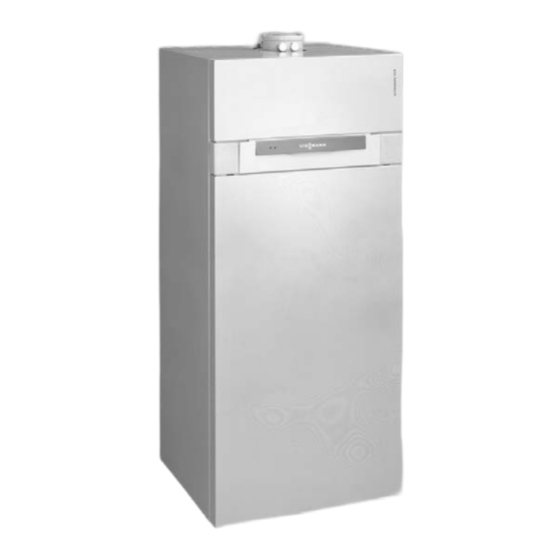
VIESMANN Installation instructions for heating engineers Vitodens 333 Type WS3A, 6.6 to 26.0 kW Compact gas fired condensing boiler natural gas and LPG version VITODENS 333 Dispose after installation 5862 566 GB 3/2004... -
Page 2: Safety Instructions
Safety instructions Please follow these safety instructions closely to prevent accidents and material losses. Safety instructions explained See also the "safety instructions" in the "Vitotec Technical Guide" folder. Important information Before working on the equipment/ This symbol warns against the heating system, isolate the mains risk of material losses and electrical supply (e.g. -
Page 3: Table Of Contents
Index Preparing for installation Product information ..................Preparations for boiler installation ............... Installation Installing the boiler and making all connections ........... Flue gas connection..................Gas connection ..................Checking anode connection ................ Opening the control unit housing ..............10 Electrical connections ................. 11 &... -
Page 4: Product Information
Product information Vitodens 333, Type WS3A Set up for operation with natural gas E. The natural gas E version can be converted to natural gas LL or LPG P using a conversion kit. -
Page 5: Preparations For Boiler Installation
Preparations for boiler installation On-site preparations when using a connection set (accessory), see the installation instructions of the connection set. A Cold water G¾" G Drain outlet kit (accessory) B Heating flow G¾" H Cable arrangement area C Gas connection G¾" K Wall clearance with connection D Heating return G¾"... - Page 6 Preparations for boiler installation (cont.) 1. Prepare the primary connections. 3. Equip the DHW circulation pipe Thoroughly flush the heating sys- with circulation pump, check valve tem. and time switch. Note 4. Connect the condensate drain with Should an on-site diaphragm a pipe vent to the public sewer.
-
Page 7: Installing The Boiler And Making All Connections
Installing the boiler and making all connections Note Connect the condensate drain and drain lines from the safety valves with a slope and a pipe vent to the public sewer. A Connection set (accessory) -
Page 8: Flue Gas Connection
Flue gas connection Connect the balanced flue pipe. Flue gas system installation instructions. Gas connection Information regarding operation with LPG We recommend the installation of an external safety solenoid valve when installing the boiler in rooms below ground level. 1. Carry out a leak test. Important information Excessive test pressure leads to damage to the boi-... -
Page 9: Checking Anode Connection
Checking anode connection A Magnesium anode B Earth cable 1. Remove the flange lid cover. 2. Check whether the earth cable is connected on the magnesium anode. -
Page 10: Opening The Control Unit Housing
Opening the control unit housing... -
Page 11: Electrical Connections
Electrical connections Notes regarding the connection of accessories For details of accessories, also observe the separate installation instruc- tions provided. A Radio clock connection B Vitotrol 100 UTD (only for control units operating with a constant temperature) C Vitotrol 100 UTA (only for control units operating with a constant temperature) - Page 12 Electrical connections (cont.) Plug 230 V~ Low voltage plug fÖ Power supply Outside temperature sensor & Never interchange cores "L1" (only for weather-compensated and "N". mode) & Install an isolator in the mains Installation & supply line which simulta- North or northwestern wall, 2 neously separates all non- to 2.5 m above ground level.
-
Page 13: Routing Connecting Cables
Electrical connections (cont.) Routing connecting cables Important information Connecting cables are damaged if they touch hot components. When routing and securing connecting cables on site, ensure that the maximum permissible cable temperatures are not exceeded. A Low voltage connections D Main PCB B 230 V connections E Communications module C Internal extension... -
Page 14: Closing Control Unit Housing And Inserting User Interface
Closing control unit housing and inserting user interface... -
Page 15: Front Panel Installation
Front panel installation Commissioning and adjustments For commissioning and adjustment, see service instructions. - Page 16 Viessmann Limited Hortonwood 30, Telford, TF1 7YP, GB Telephone: +44 1952 675000 Fax: +44 1952 675040 www.viessmann.co.uk...
Need help?
Do you have a question about the VITODENS 333 WS3A and is the answer not in the manual?
Questions and answers