
Related Manuals for Naxa NPB-428


Summary of Contents for Naxa NPB-428
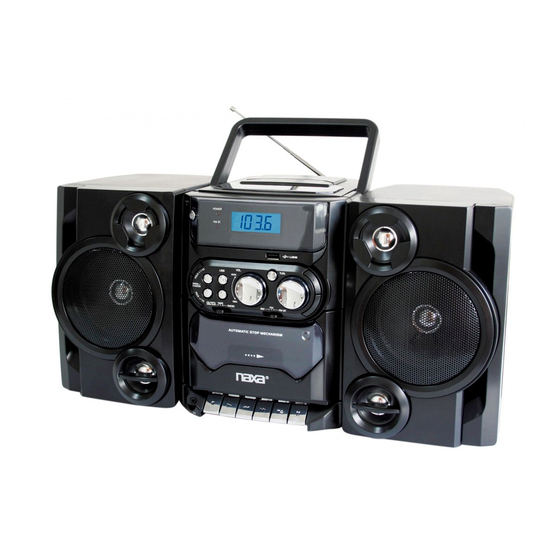
- Page 1 Portable MP3/CD/USB Player with Stereo Radio & Cassette Recorder NPB-428 Instruction Manual Please read carefully before use and keep for future reference.
-
Page 2: Table Of Contents
Warnings and Precautions ......... 23 AC Power..................13 Battery Power ................13 Specifications ..............27 Basic Functions ............14 Support ............... 28 Turning the Unit On and Off ............14 Adjusting the Volume ..............14 Bass Boost ..................14 Using the Radio ............14 Page 2 Naxa Electronics... -
Page 3: Thank You
You may also find the latest FAQ, documentation, and other product material at our website. Come visit • NPB-428 MP3/CD/USB player us on the web at www.naxa.com and see all that we • Remote control have to offer! •... -
Page 4: Before You Start
• Before turning on the power for the first time, make sure that the power cord is properly installed. • Store your tapes or CD in a cool area to avoid dam- age from heat. Page 4 Naxa Electronics... -
Page 5: At A Glance
Load compact discs here. The label side should face up. CD door latch Press here to open/close the door of the CD compartment [3]. Never open the compartment while a CD is playing or spinning! Speakers Full-range drivers deliver powerful stereo sound. www.naxa.com Page 5... - Page 6 AUX/ MP3-IN 14 Remote sensor Detects signals from the remote control. LCD screen Displays player status information. BBS key Press to enable/disable bass boost. RADIO TUNING Turn the dial to tune to a radio station. dial Page 6 Naxa Electronics...
- Page 7 (Next/ Forward: Press and hold to scan quickly Forward) forward through the current track. Previous: Press to skip to the previous track. (Previous/ Reverse: Press and hold to scan quickly in Reverse) reverse through the current track. www.naxa.com Page 7...
- Page 8 Stop: Press to stop tape playback. Eject: When playback is stopped, press to open the cassette compartment [25]. 31 TAPE key Pause: Press to pause tape playback or recording. Depress the key again to re- sume playback or recording. AUX/ MP3-IN Page 8 Naxa Electronics...
- Page 9 36 Speaker input Plug in the speaker cable from the right speaker here. 37 AC Voltage Available only on models that support switch dual-voltage. Make sure the switch is correctly set to match your household power supply. www.naxa.com Page 9...
-
Page 10: Remote Control
MP3-CDs, USB flash drives). PROG./P-MODE While playback is stopped, press to enter Program mode in order to create a custom CD/MP3/USB playlist. During playback, press to change the CD/ MP3/USB play mode (i.e., repeat, random, intro). Page 10 Naxa Electronics... -
Page 11: About The Speakers
1. Position the speaker next to the main unit so that: • The top of the speaker rises one inch above the top of the main unit, and • The four hooks on the main unit sit flush inside the rectangular indent on the speaker. www.naxa.com Page 11... -
Page 12: Detaching The Speakers
Plug the speaker cables running from the back of each speaker to the left and right speaker inputs [35, 36] 2. Slide the speaker up and then away from the main found on the back of the unit. unit. Page 12 Naxa Electronics... -
Page 13: Connect Power
2. Push gently on the switch with a flat head screw- driver to set it. 3. Replace the battery compartment lid. 4. Connect the AC power socket [32] to a household power socket with the included power cord. www.naxa.com Page 13... -
Page 14: Basic Functions
The AM antenna is built into the player. Adjust can be demanding for audio equipment. If you the orientation and position of the player itself experience audio clipping when Bass Boost is to optimize AM radio reception. turned on, lower the volume gradually. Page 14 Naxa Electronics... -
Page 15: Using The Cd/Mp3 Player
LCD screen [15] will read ing the label or the playable side with your “NOD” (i.e., No Disc). hands or any other object. ѥ To ensure good system performance, wait until the player recognizes and reads the disc before proceeding. www.naxa.com Page 15... -
Page 16: Playing A Disc
LCD screen [15] will display • Press the FOLD+/+10 key [18] to skip 10 tracks the current folder number. forward. The LCD screen [15] will change tracks • Press and hold the FOLD–/–10 key [20] to skip accordingly. Page 16 Naxa Electronics... -
Page 17: Repeat, Random & Intro Playback
LCD screen [15]. The player will • To return to normal playback, press the PROG/ replay all tracks on the CD until play is stopped. P-MODE key [19] until all indicators disappear from the LCD screen [15]. www.naxa.com Page 17... -
Page 18: Programming A Playlist
1. Open the Cassette compartment [25]. Press the 7. Press the key [21] to stop the programmed play- TAPE key [30] while playback is stopped. list. Open the CD compartment [3] to delete the program and return to normal playback. Page 18 Naxa Electronics... -
Page 19: Recording To Cassette Tapes
RADIO to record from the radio. 6. Adjust the volume. Turn the VOLUME dial [10] to 2. Get the source ready. For CD/MP3/USB/AUX, cue adjust the volume to a comfortable level. playback to the point that you want to record. For www.naxa.com Page 19... -
Page 20: Record Protection
Do not force the TAPE key down if you ѥ detect resistance! If you cannot press the Record Protect Tab for Side “A” TAPE key down, the cassette tape may be record-protected. Refer to the section “Record Protection” to learn more. Page 20 Naxa Electronics... -
Page 21: Caring For The Cassette Mechanism
PLAY mode while purchase from local and on-line retailers. The tape the power is off. Doing so can damage the head and pinch wheel/capstan assemblies need to be pinch wheel. cleaned after every 10 hours of use. www.naxa.com Page 21... -
Page 22: Using The Aux Input
4. Adjust the final volume. Turn the VOLUME dial [10] of the player to set the volume to a comfortable level. ѥ Use the audio source to control playback (e.g., stop, play, next). Use the player to control the volume. Page 22 Naxa Electronics... -
Page 23: Warnings And Precautions
Consider the environmental impact of your actions! • Invisible laser radiation when open and interlock has failed or been defeated. Avoid direct exposure to beam. • To prevent fire or shock hazard, do not expose this appliance to rain or moisture. www.naxa.com Page 23... -
Page 24: Important Safety Information
Article 810 of the NationalElectrical Code, ANS/NFPA70 provides in- from overheating. These openings should never be blocked by placing formation withregard to proper grounding ofthe mast and support- Page 24 Naxa Electronics... - Page 25 22. Safety Check: Upon completion of any service or repairs to this keep from touching suchpower lines or circuits, as contact with them product,ask the service technician to perform safety checks to ensure might be fatal. that the productis in proper operating condition. www.naxa.com Page 25...
- Page 26 Increase the separation between the equipment and receiver. • Connect the equipment into an outlet on a circuit different from that to which the receiver is connected. • Consult the dealer or an experienced radio/TV technician for help. Page 26 Naxa Electronics...
-
Page 27: Specifications
ESD Remark: In case of malfunction due to electrostatic discharge, just FM 87.5 – 108.0 MHz reset the product to resume normal operation (reconnecting the power source may be required). Compact Disc Optical pickup 3-beam laser Frequency response 100 – 16,000 Hz www.naxa.com Page 27... -
Page 28: Support
If you have problems with your device, please consult the instructions in this manual. Please also visit us on the web at www.naxa.com to get up to the minute news, alerts, and documentation for your device. For additional assistance, please contact Naxa Technical Support. - Page 29 Page 29...
Need help?
Do you have a question about the NPB-428 and is the answer not in the manual?
Questions and answers