Panasonic CS-C9BKP Operating Instructions Manual
Room air conditioner
Hide thumbs
Also See for CS-C9BKP:
- Operating instructions manual (24 pages) ,
- Service manual (83 pages) ,
- Operating instructions manual (24 pages)
Table of Contents
Advertisement
Quick Links
Before using your air-conditioner, please read
this operating instructions carefully and keep it
for future reference.
OPERATING INSTRUCTIONS
Before using your air-conditioner, please read this operating instructions
carefully and keep it for future reference.
C
OOLING
ENGLISH ....................... P. 1 – P. 11
ESPAÑOL ...................... P. 12 – P. 22
For assistance, please call; 1-800-211-PANA (7262)
or send e-mail to:
consumerproducts@panasonic.com or refer to
www.panasonic.com
Room Air Conditioner
M
:-
ODEL
Indoor
Outdoor
CS-C9BKP
CU-C9BKP6
CS-C12BKP
CU-C12BKP6
F563366
®
Advertisement
Table of Contents

Related Manuals for Panasonic CS-C9BKP


Summary of Contents for Panasonic CS-C9BKP
-
Page 1: Room Air Conditioner
OOLING ODEL Indoor Outdoor CS-C9BKP CU-C9BKP6 CS-C12BKP CU-C12BKP6 ENGLISH ....... P. 1 – P. 11 ESPAÑOL ...... P. 12 – P. 22 For assistance, please call; 1-800-211-PANA (7262) or send e-mail to: consumerproducts@panasonic.com or refer to www.panasonic.com F563366... -
Page 2: Table Of Contents
FEATURES Thank you for purchasing our Panasonic Room Air Warning Conditioner. G Self-illuminating Button 1) Operate your air conditioner from a stable 208/230 volts CONTENTS AC supply. For your convenience to operate in the dark. :Features ............. 1 2) Plug into a separate 15 amps grounded outlet only. -
Page 3: Safety Precautions
SAFETY PRECAUTIONS I Installation Precautions I Operation Precautions Before operating, please read the following “Safety Precautions” carefully. Warning Warning G To prevent personal injury, injury to others and This sign warns of death or serious injury. G Do not install, remove and reinstall the unit by property damage, the following instructions must be G Do not share outlet. -
Page 4: Name Of Each Part
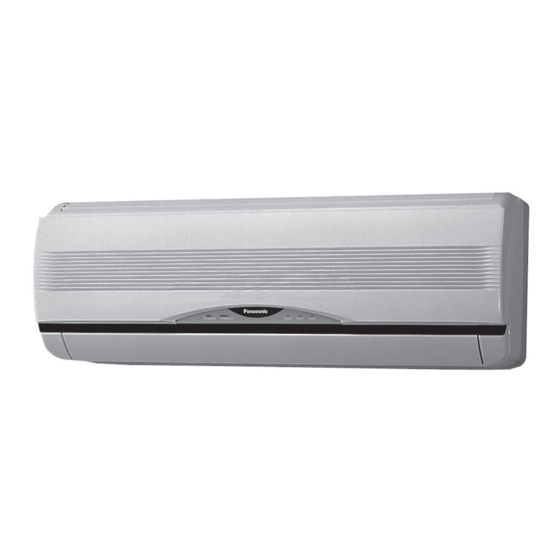
NAME OF EACH PART I Indoor Unit I Accessories G Indoor Unit (when the front panel is opened) G Remote Control 1 Front Panel 1 Front Panel G Remote Control Holder 2 Air Filters 2 Air Intake Vent 3 Air Purifying Filter 3 Power Supply Cord 4 Air Outlet Vent I Outdoor Unit... -
Page 5: I Remote Control
G How to Insert the Batteries NAME OF EACH PART I Remote Control 1 Signal Transmitter 2 Operation Display 3 Powerful Mode Operation Button 4 Room Temperature Setting Button (self-illuminating button) AUTO COOL COOL DRY FAN AUTO 5 Operation Mode Selection Button 6 Economy Mode Operation Button AUTO TEMP... -
Page 6: Preparation Before Operation
I Setting Temperature PREPARATION BEFORE OPERATION HOW TO OPERATE • Press 3 to increase or decrease the temperature. • The temperature can be set between 60°F ~ 86°F. I Indoor Unit • Recommended temperature: 75°F ~ 78°F COOL 2°F ~ 4°F Lower than the room temperature •... - Page 7 I Setting the Fan Speed I Setting the Horizontal Airflow Direction G Operation Details • Press 4 to select:- – Low Fan Speed COOL – Cooling Operation – Medium Fan Speed • To set the room temperature at your preference –...
-
Page 8: Setting The Timer
AUTO CONVENIENCE OPERATION OFF/ON POWERFUL I Sleep Mode Operation I Economy Mode Operation To obtain a comfortable room temperature while To save electrical power consumption. MODE ECONOMY SLEEP sleeping:- Please use this mode when the room has reached • Press 6. your desired temperature. -
Page 9: Care And Maintenance
CARE AND MAINTENANCE I Pre-season Inspection I Cleaning the Indoor Unit and Remote I Air Purifying Filters Control G Is the discharged air cold/warm? • Wipe gently with a soft, dry cloth. • Do not use water hotter than 104˚F or polishing fluid Operation is normal if 15 minutes after the start of to clean the unit. -
Page 10: Helpful Information
HELPFUL INFORMATION ENERGY SAVING AND OPERATION HINTS I Auto Operation Button I Auto Restart Control I Setting the Temperature • If power is resumed after a power failure, the • Approximately 10% of electricity can be saved. operation will restart automatically after 3 - 5 1/2 ECONOMY ECONOMY ECONOMY... -
Page 11: Troubleshooting
This is the answer main power supply, and then call your authorized • Air conditioner has been restarted, but does not Panasonic dealers or servicenter. • This is to protect the air conditioner. Wait until the air operate for 3 minutes. - Page 12 PRODUCT SPECIFICATIONS I REFERENCE CS-C9BKP CS-C12BKP Model CU-C9BKP6 CU-C12BKP6 COOLING CAPACITY Btu/h 8,600 – 8,760 11,900 – 12,000 Model Number: ELECTRICAL RATING Phase Frequency (Hz) Voltage 208 – 230 -------------------------------------------------------- Current (Amps) 3.9 – 3.7 5.7 – 5.2 Dealer’s Address:...
- Page 13 ALL OTHER COMPONENTS: ONE (1) YEAR - PARTS AND LABOR In- home service in the USA can be obtained during the warranty period by contacting a Panasonic Service Company (PASC) Factory Servicenter listed in the Servicenter Directory. Or call toll free, 1-800-211-PANA(7262), to locate a PASC authorized Servicenter. In-home service in Puerto Rico can be obtained during the warranty period by calling the Panasonic Sales Company telephone number listed in the Servicenter Directory.
Need help?
Do you have a question about the CS-C9BKP and is the answer not in the manual?
Questions and answers